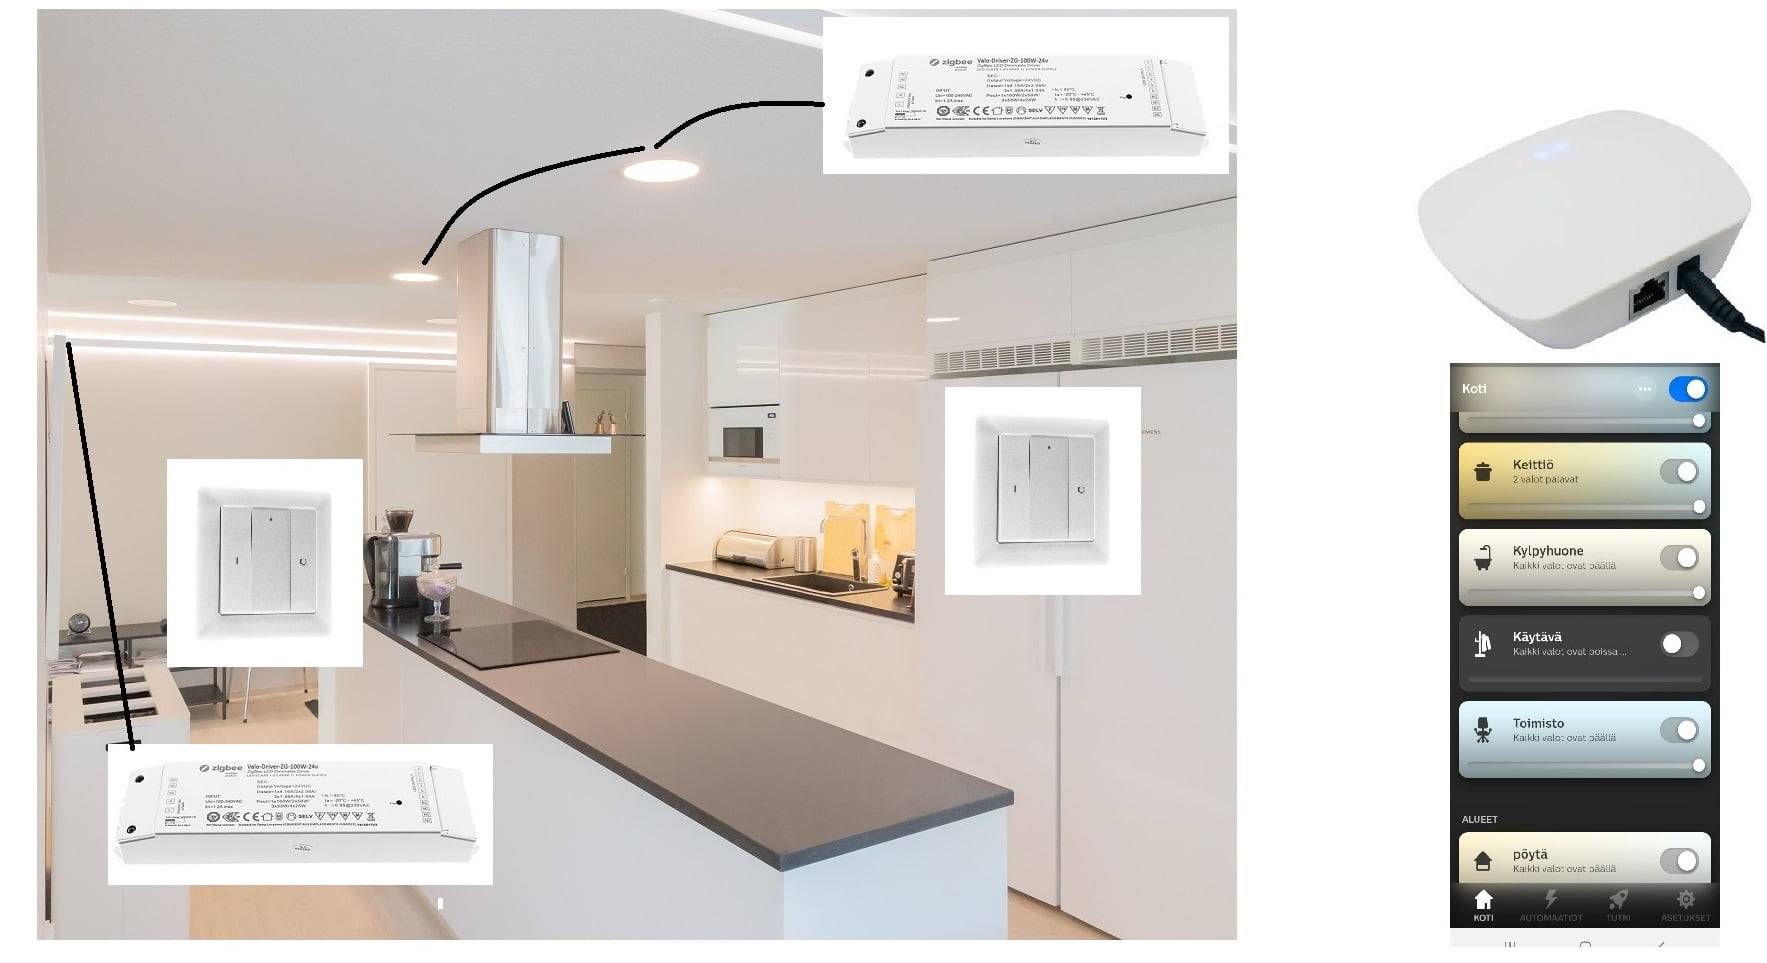
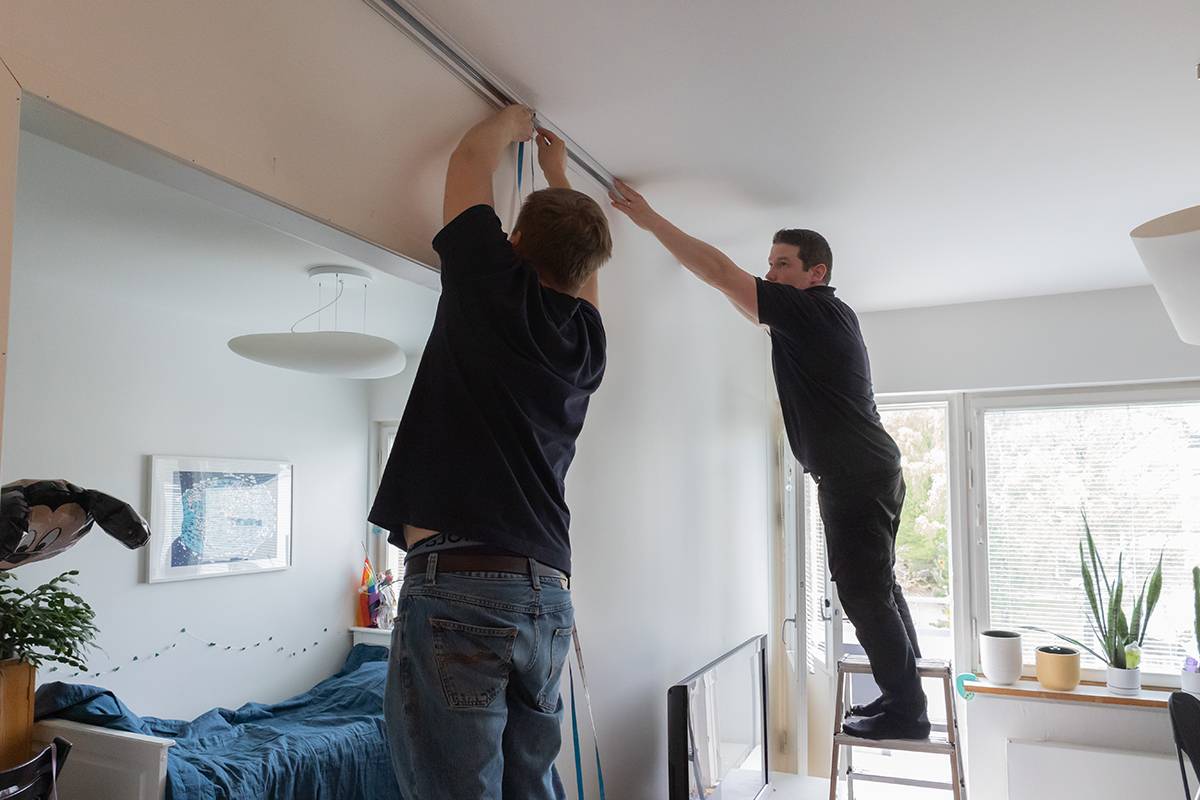
The retrofit installation of LED strips is relatively easy in many locations. The most important factor to consider is determining where to get the power supply for the LED strip. In most cases, low-voltage LED strips are preferred, as they provide more flexibility and customization options. These strips always require a driver. Therefore, it is important to consider how to route the power to the driver and from the driver to the LED strip.
It’s also important to determine how the LED strip will be controlled. Our selection includes drivers and receivers that can be operated with wireless switches—meaning it’s often enough to simply provide power to the driver from any nearby source.
If your home already has a lighting control system in place, it's best to choose a driver that is compatible with that system.
Our sales team is happy to help you find the right products for your needs!
Light for the TV stand or feature wall
When it comes to LED lighting for a TV stand or feature wall, it’s a great chance to get creative. In most cases, the purpose of the lighting here is to create a cozy and ambient atmosphere, rather than provide strong illumination.
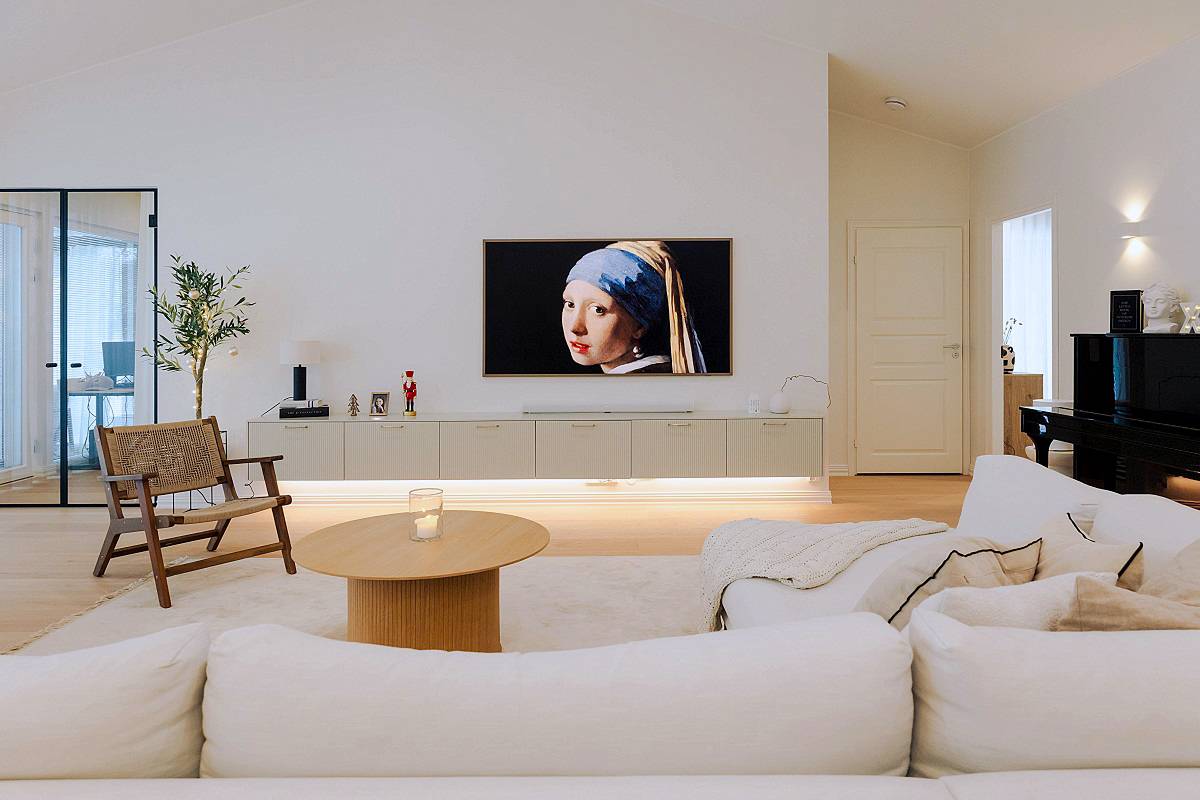
Lighting under the TV stand is often easy to implement, as there are usually power outlets nearby for other electronics. All you need is to supply power to the driver, which then powers the LED strip. The driver can be controlled using wireless switches, which can be placed wherever is most convenient.
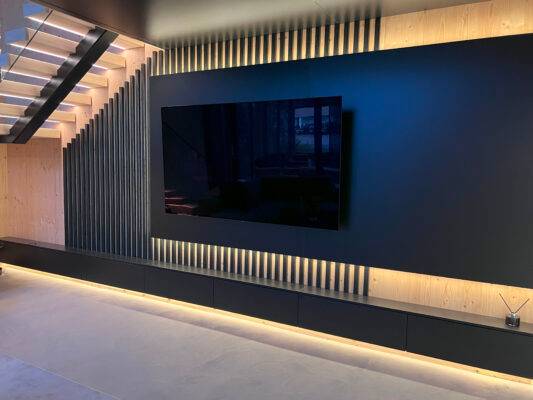
Retrofitting an LED strip into a TV corner is easiest when custom wall structures are built. In the example image, one of our customers has created a stunning TV corner where both the lighting and the TV are beautifully integrated into the background.
These types of wall solutions make it possible to hide cables and technical components, ensuring that nothing unsightly remains visible.
Retrofitting an LED strip behind a cornice board
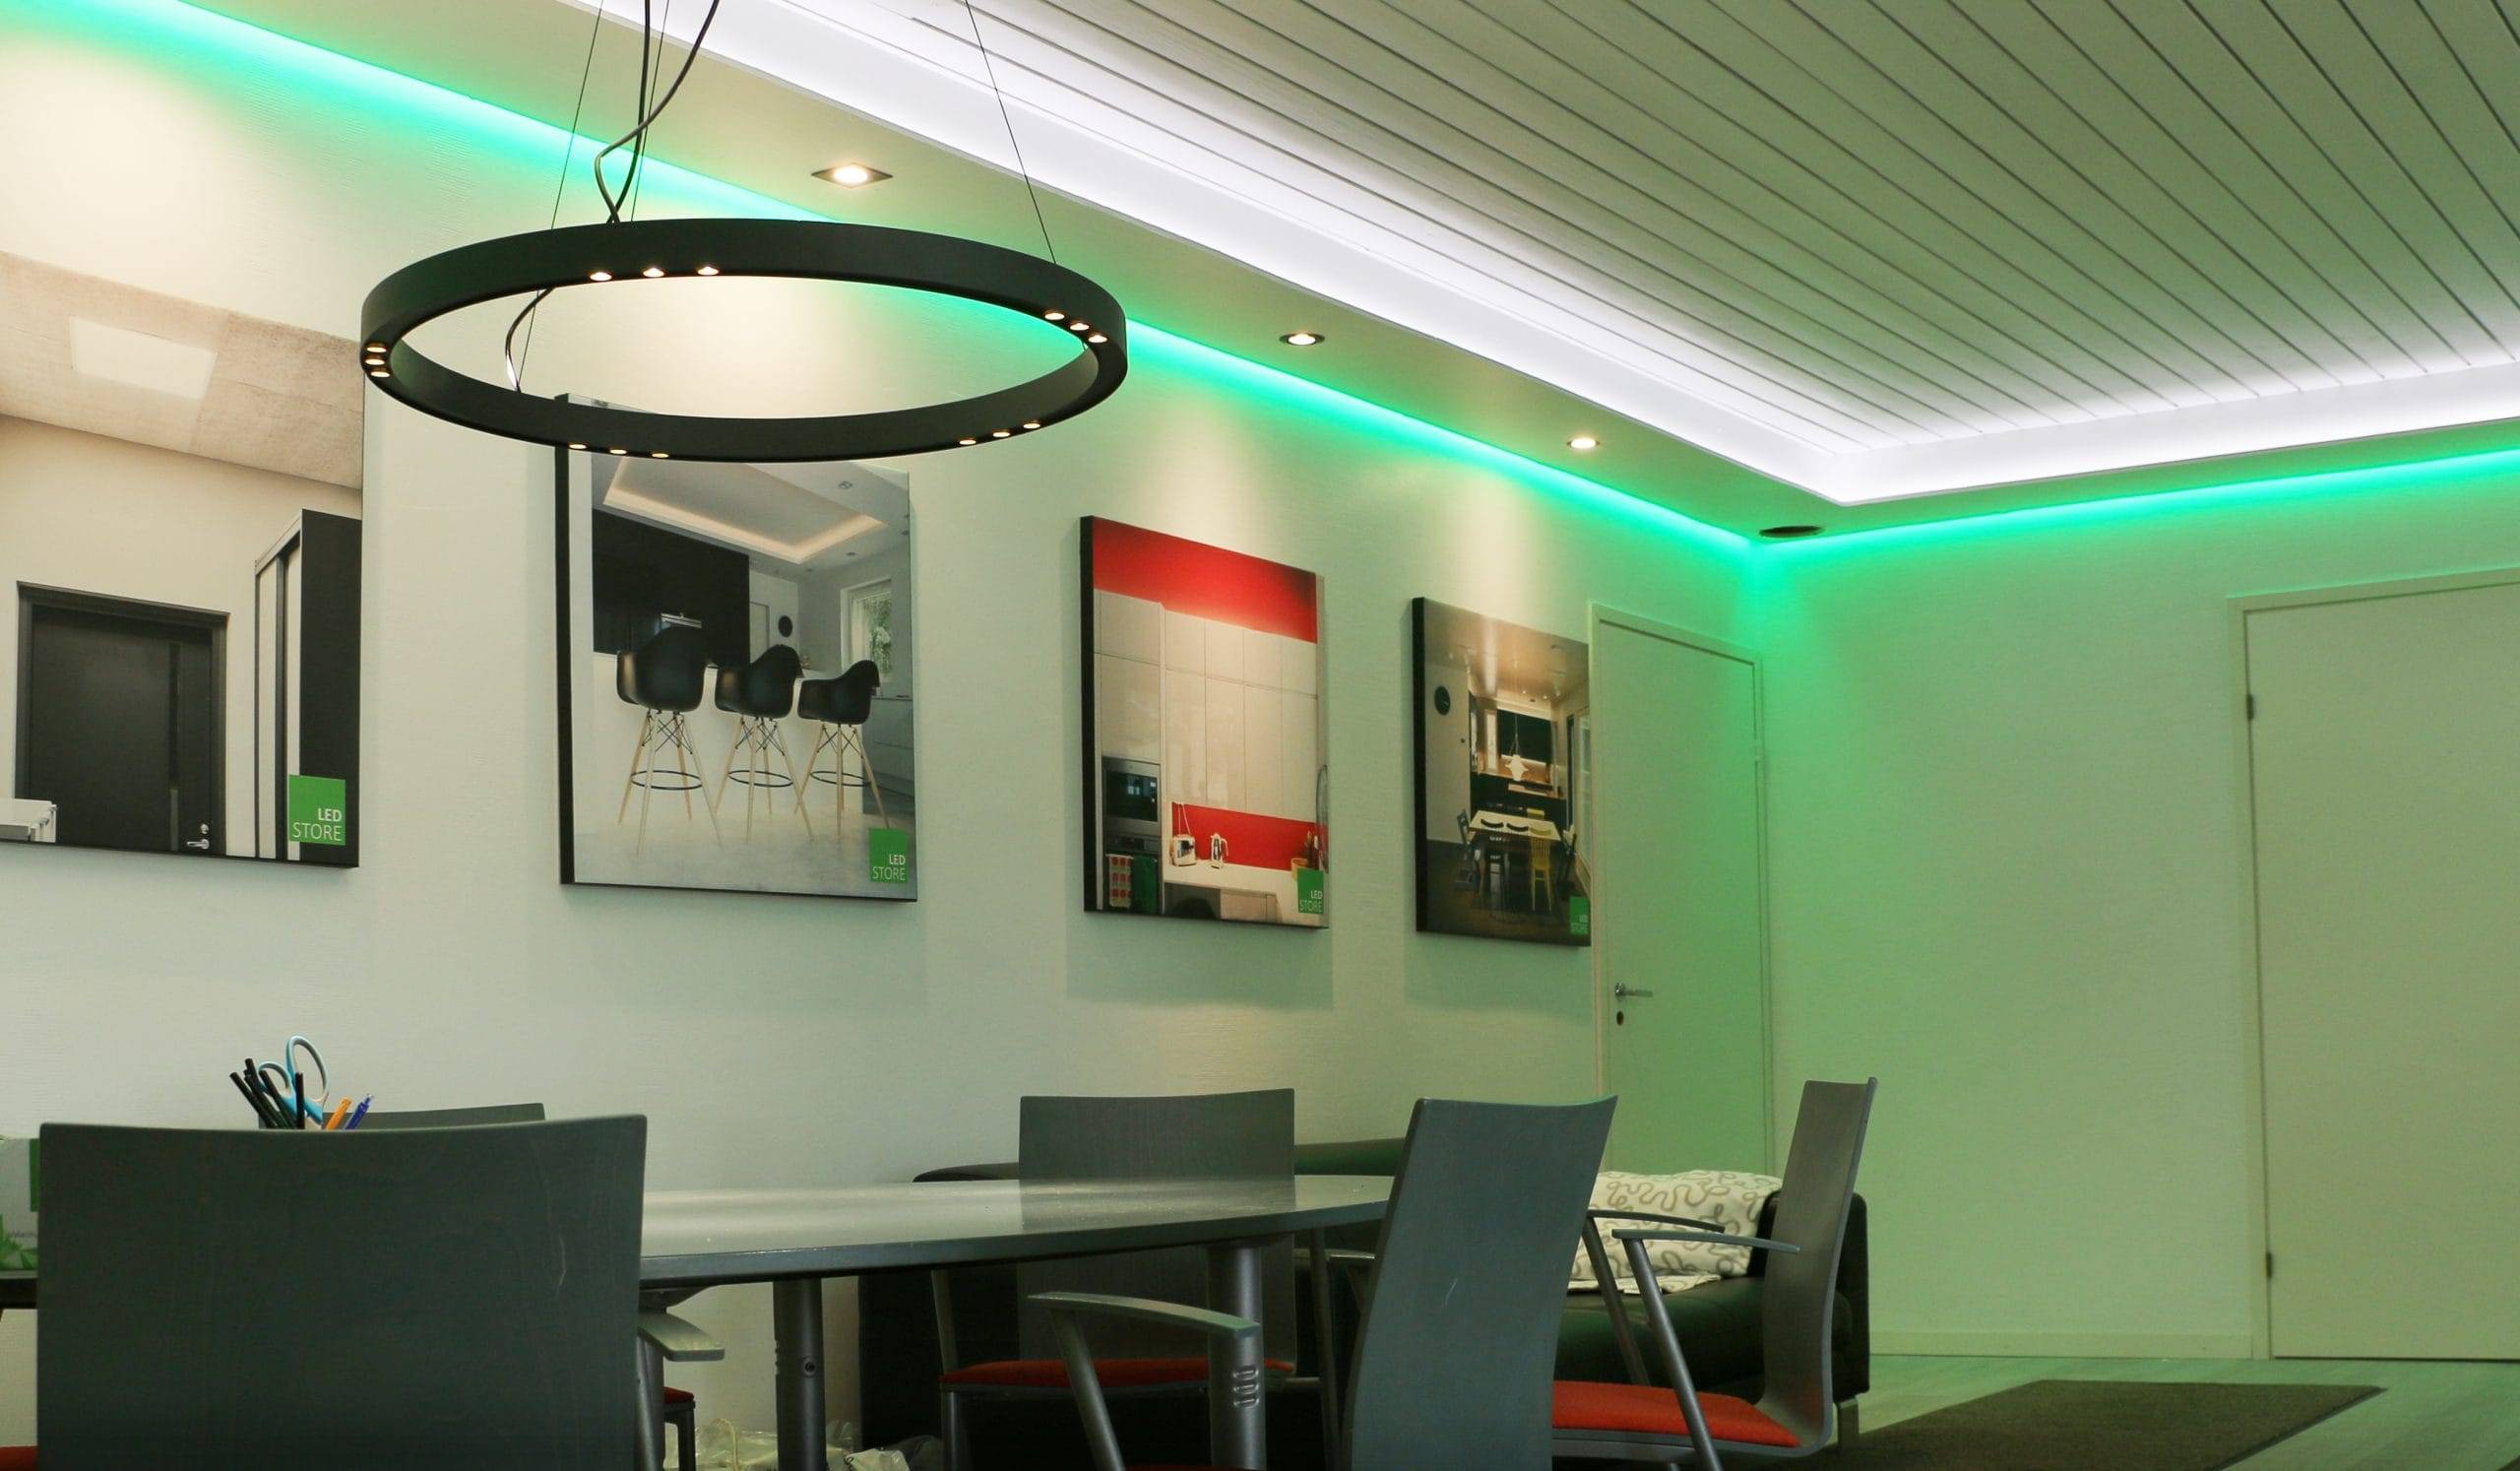
Lighting installed behind a cornice board has been popular for quite some time—earlier, similar setups were often done with fluorescent tubes. Nowadays, LED strips are the go-to solution behind cornice boards.
Retrofitting an LED strip behind a cornice board is extremely easy—often one of the simplest places for LED strip installation. In most cases, the driver fits between the cornice board and the windows, meaning the only visible part of the setup is the cable running down to the outlet.
If you're replacing an old fluorescent light with an LED strip, there’s often no visible cabling at all, as the power supply is usually already in place behind the cornice board.
The solution adds ambiance and extra light, but it cannot serve as the room’s only light source, as the light doesn’t project strongly enough from behind the cornice board to illuminate the entire space.
One of the greatest advantages of this type of lighting is that when using a sheer curtain, an LED strip installed between the window and the curtain lights up the fabric—creating a soft glow that also helps block the view into the home from outside.
Retrofitting an LED strip in the living room
Retrofitting an LED strip in the living room is relatively easy. All that’s needed is a power source for the driver, and from there, a connection to the LED strip.
Living rooms typically have multiple power outlets, and often there are shelves or cabinets where the driver can be neatly hidden from view.
In most cases, LED strip lighting in the living room is desired near the ceiling or along the wall. The LED strip profile works best when installed from end to end across the room, allowing the power feed to be neatly routed down to the driver in a corner.
Of course, there are exceptions, and if you're considering retrofitting an LED strip, it's a good idea to consult a professional for tips and guidance.
Retrofitting an LED strip on a wall
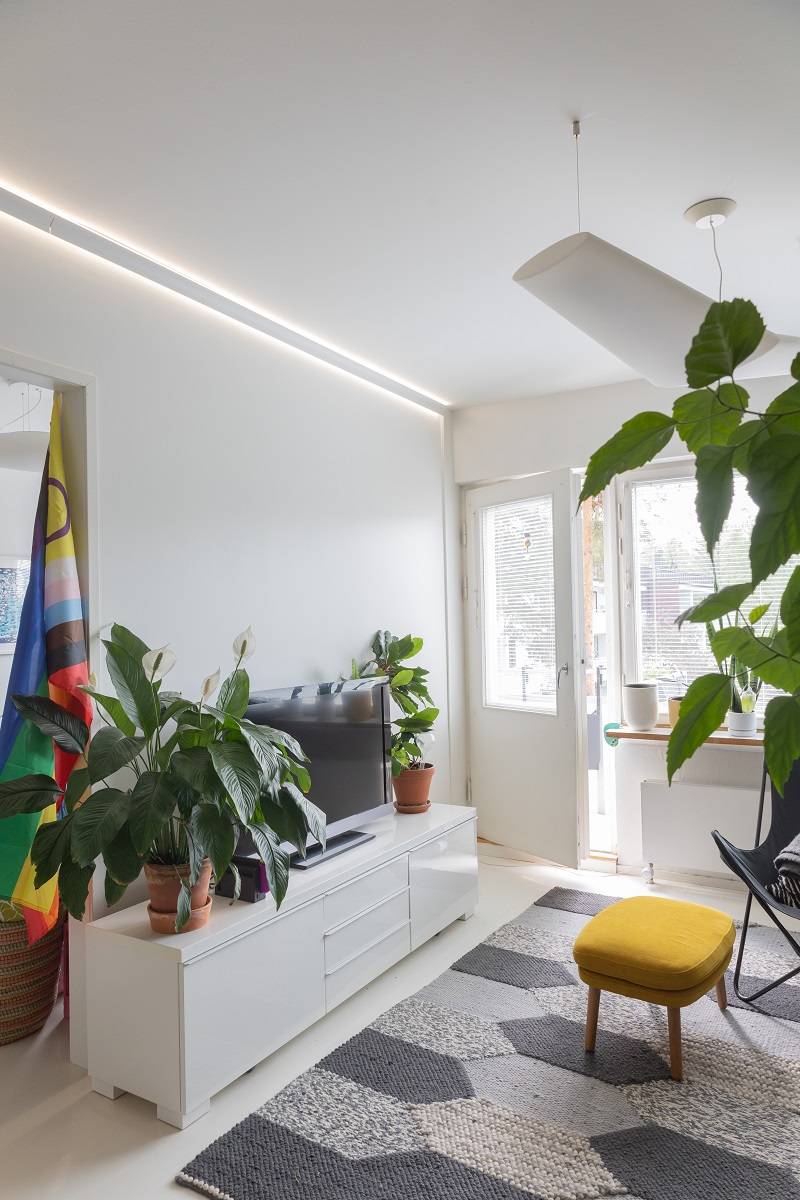
Retrofitting an LED strip on a wall requires more careful planning. Where will I hide the driver? Where should the power be routed from? What type of profile should I choose for the installation?
If you want a profile that lets light in from both above and below, you should install the profile about 40-60cm from the ceiling (for normal height spaces). Then you can think about how to get the wiring to the driver in a neat way. For example, if there is a wardrobe on one side of the room, you can run the wire through the wall to the wardrobe and connect the transformer to that side. In this case, the wiring will not be visible on the side of the LED strip.
If the transformer is to remain in the same space, it is advisable to route the wires from the profile in a neat conduit to the transformer on the floor . The cleanest solution is to run the wires in the corner of the room.
LED strip installed under a bathroom or WC countertop
Retrofitting an LED strip under a WC or bathroom countertop can sometimes be a bit challenging. In WC and bathroom spaces, it's uncommon to have a power supply near the floor. When installing under the countertop, it's important to consider moisture protection requirements and determine where the power will come from. If part of the vanity is full-height, the power cable can often be discreetly routed—using, for example, a tall cabinet like a mirror cabinet—to bring the supply down to the underside of the countertop.
If you want the LED strip to light up automatically when you enter the mode, you can use an approach sensor, for example . When you want to control the LED strip with a wall button, you can do that too. Either wireless buttons can be used for control, or a traditional wall button can be used when connecting the LED strip to the same control, for example with a mirror cabinet.
Retrofitting above kitchen cabinets
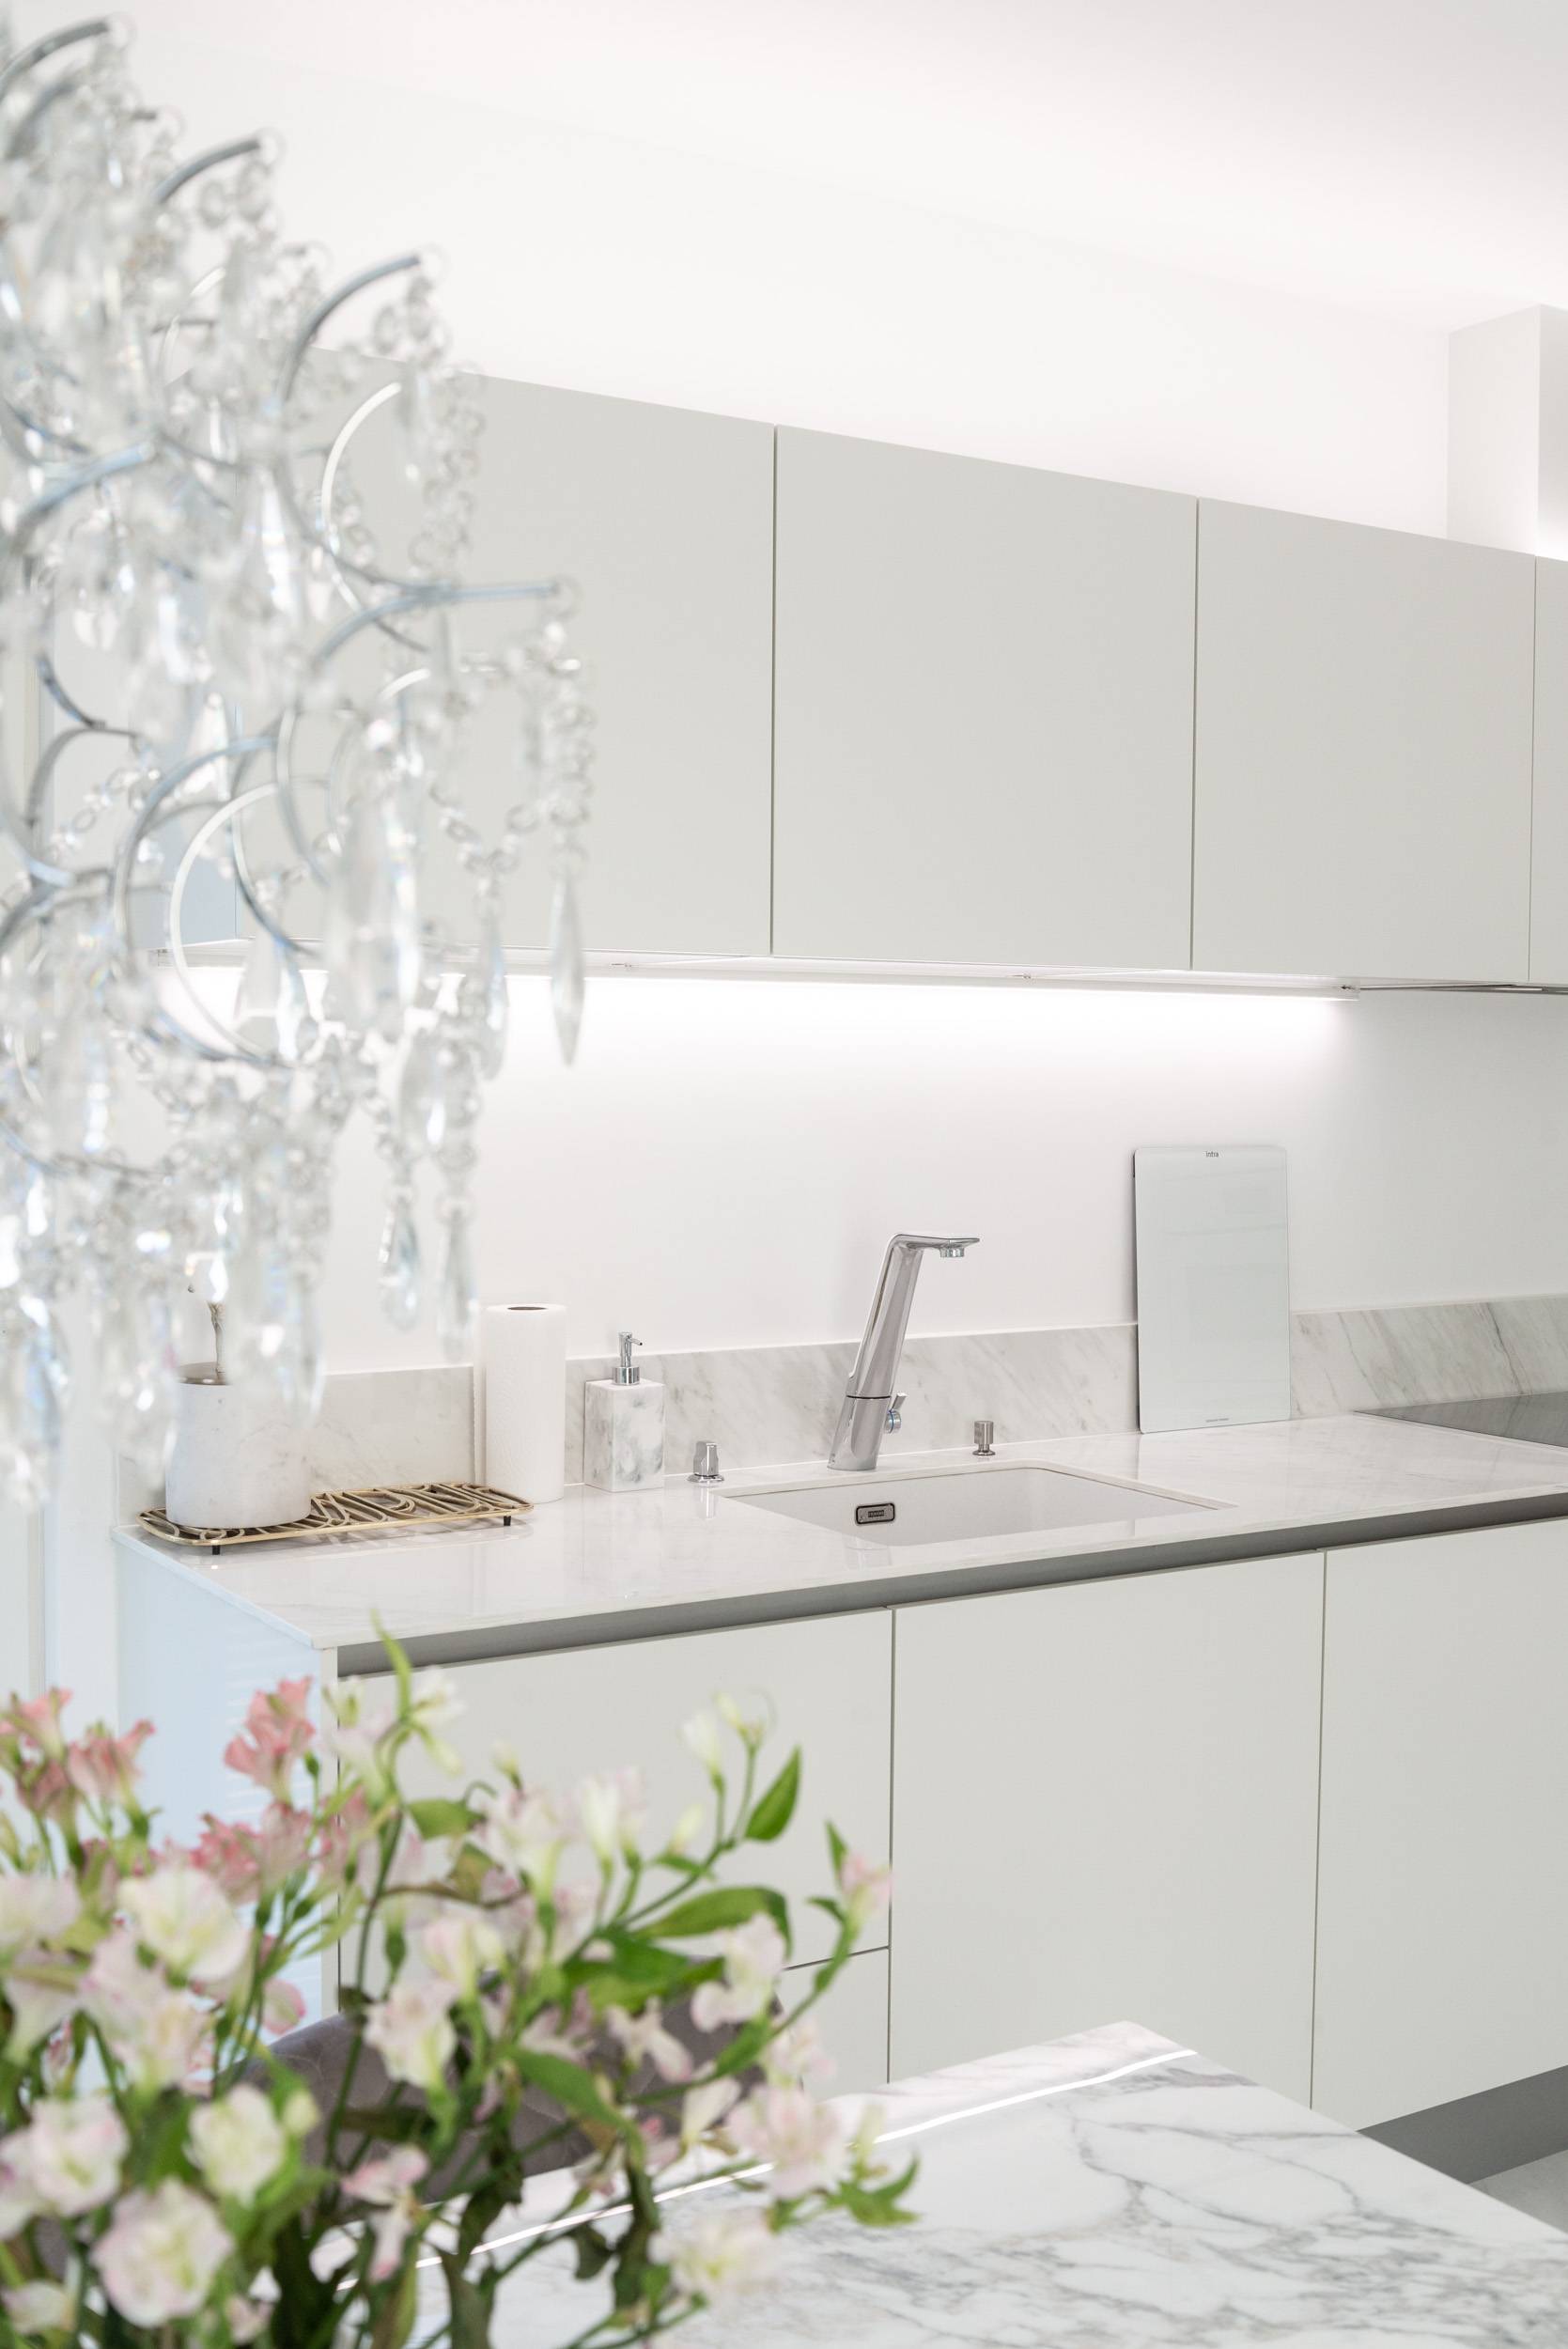
Retrofitting an LED strip above kitchen cabinets is usually easy, depending on the cabinet structure. The most important thing to determine first is where to get power for the LED strip’s driver. Common sources of power in the kitchen include behind the range hood, behind the refrigerator, or behind the microwave.
Here too, the lights can be controlled with wireless switches if desired. In most cases, an LED strip installed above kitchen cabinets serves as ambient or accent lighting, rather than general lighting—it doesn’t help illuminate the inside of the cabinets.
Retrofitting base board lighting
Retrofitting an LED strip into a kitchen base board is possible, depending on the availability of power. When installing LED strips in the kitchen base area, it's important to consider appliances and any ventilation grilles they may have. In some cases—for example, with dishwashers that tilt forward—the profile mounted under the cabinet may become detached. In such situations, it may be better to use a profile that can be mounted directly onto the base board itself, such as a 45-degree angled profile.
Retrofitting an LED strip under or at the head of a bed
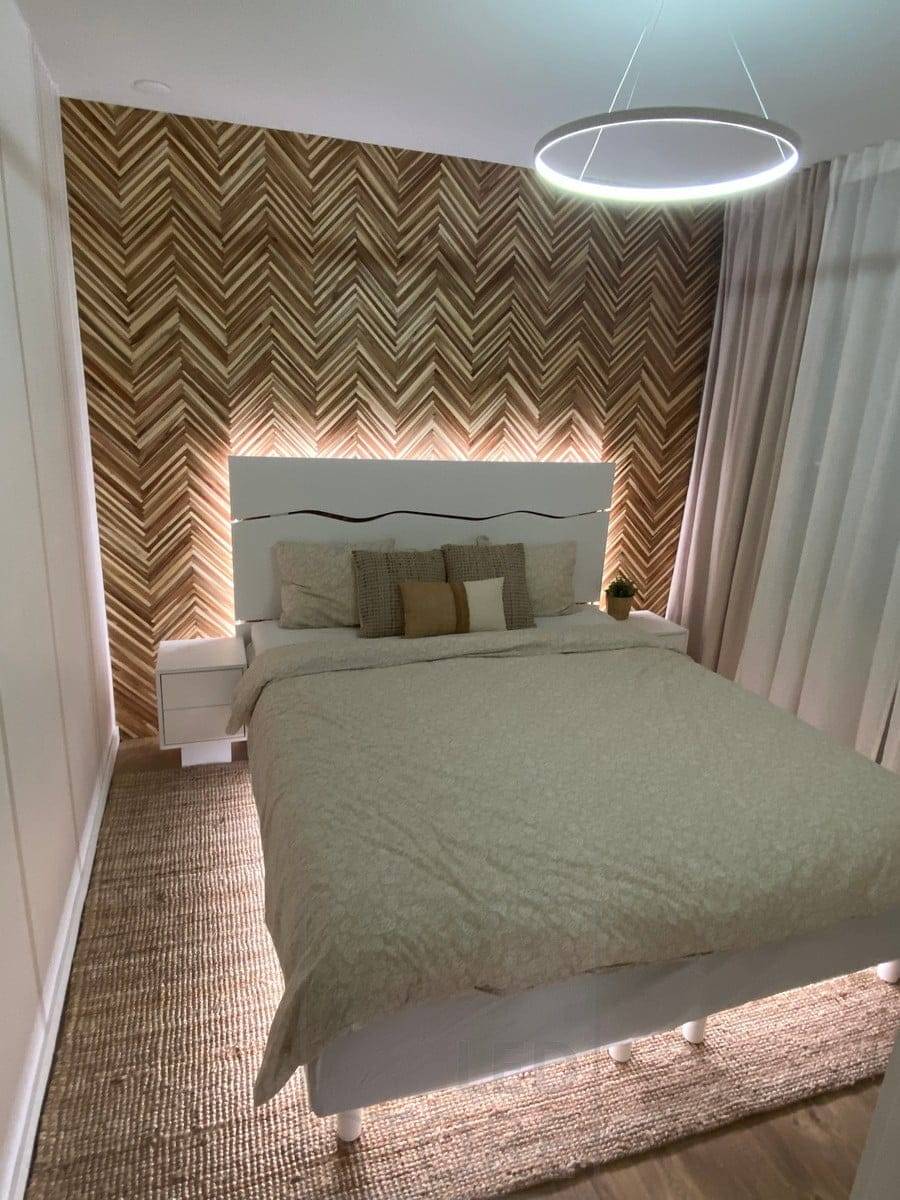
Retrofitting an LED strip under or at the head of a bed is easy in most homes, as there are typically power outlets on both sides of the bed from which the LED strip’s driver can be powered.
An LED strip installed under the bed works excellently as a night light when you want to avoid overly bright lighting. This type of setup is effective because it also prevents glare. It works well in both modern and more traditional homes. If desired, it can create the illusion of a “floating bed” by installing the LED strip all the way around the bed frame. A wireless switch should be placed close to the bed so it can be easily found in the dark of night.
You can create a variety of solutions with an LED strip for the headboard—the only limit is your imagination! In the headboard, the LED strip can be used as a reading light or to create ambiance, depending on the installation method.
Retrofitting an LED strip in a sauna
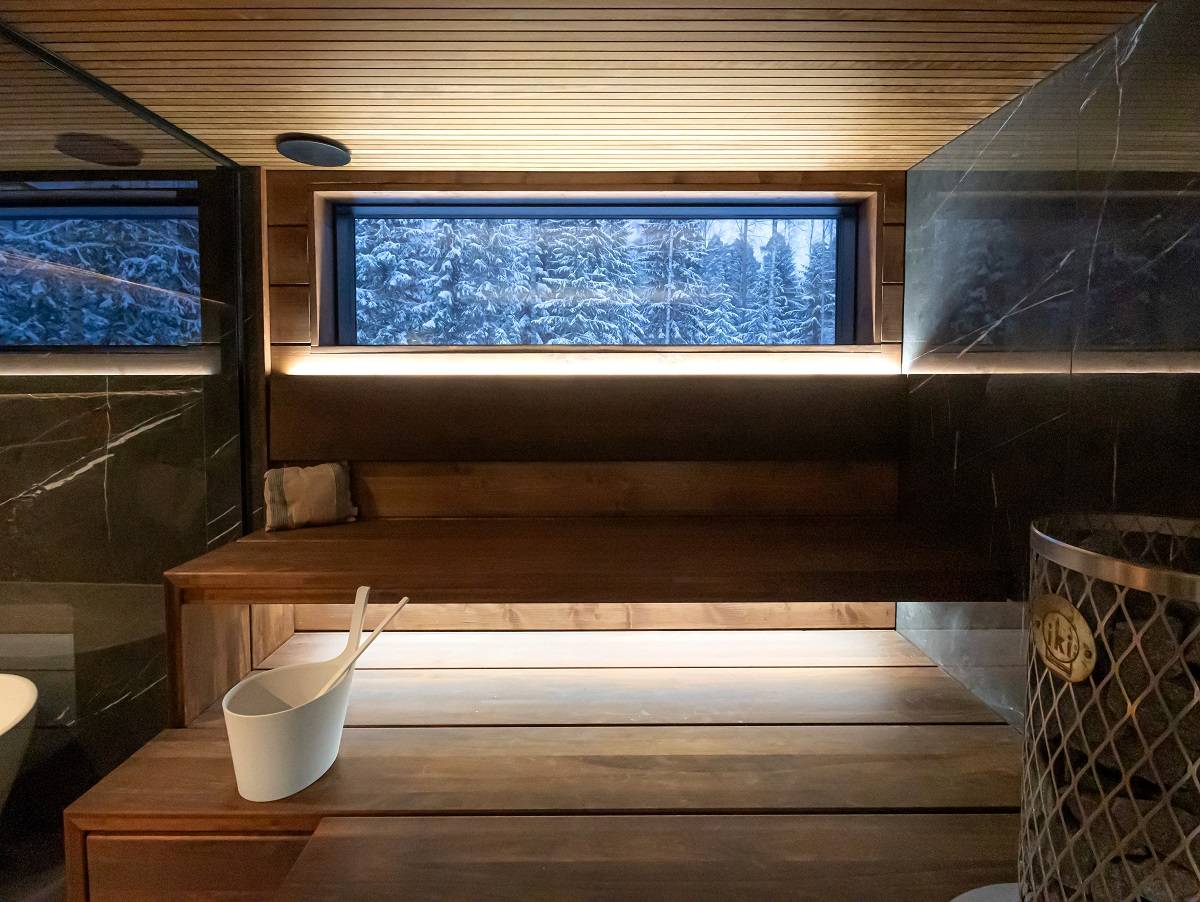
As with other locations, we recommend first determining the installation spot for the driver in a sauna. Retrofitting an LED strip into a sauna is often quite straightforward, as the power can usually be taken from the existing sauna light.
The most popular choices are installing the LED strip in the backrest or under the bench. The LED strip used in a sauna must be moisture-protected. We also recommend reinforcing the ends after the strip has been installed in its profile. In a sauna, I would only ever use low-voltage strips due to the moisture. In addition to moisture, the temperature must be considered: LED strips cannot withstand high heat, which is why we do not recommend ceiling installations.
The driver should be installed in a place where it does not heat up unnecessarily, such as under the ceiling. The transformer must be moisture-protected or installed in a moisture-protected box. The wires from the transformer to the strip should be protected from heat, at least if the strip is mounted on the backrest.
You can control the strip either with the sauna’s existing switch or with wireless buttons. The control method, along with the desired features of the strip, will determine the choice of driver.