
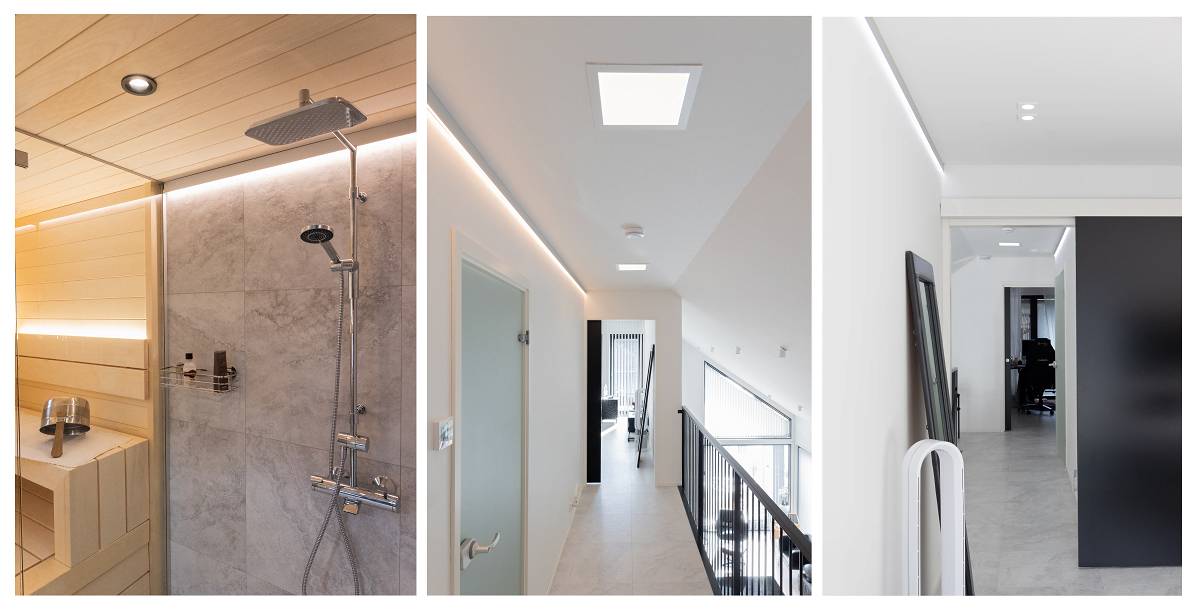
Do you need more light in your hallway or bedroom? Do you need to add some mood lighting to your living room, but you don't have electricity or light switches already installed? Don't worry! Atmospheric indirect light on the ceiling is easily achieved with a ready-made LED profile. Here we present an installation for indirect light in the living room, bedroom and study.
Indirect light on the ceiling, installation options
Often we have a situation where we need more light in a room, but there is no light switch or electricity waiting in the ceiling. There is usually a light socket in the ceiling in the middle of the room, but pulling a wire from it across the room may not be the prettiest option. It should also be remembered that indirect LED lighting solutions usually require a driver. It would be nice to have a transformer hidden away, for example. behind the service hatch.
So how to install indirect light on the ceiling in a nice way? In this story we report a situation where, during the construction of a house, the wiring for the LED strip has been brought into a corner of the room from a service hatch. In other words, the construction and design phase had already taken into account the installation of the future LED profile. The installation of indirect light can also be done as a full retrofit.
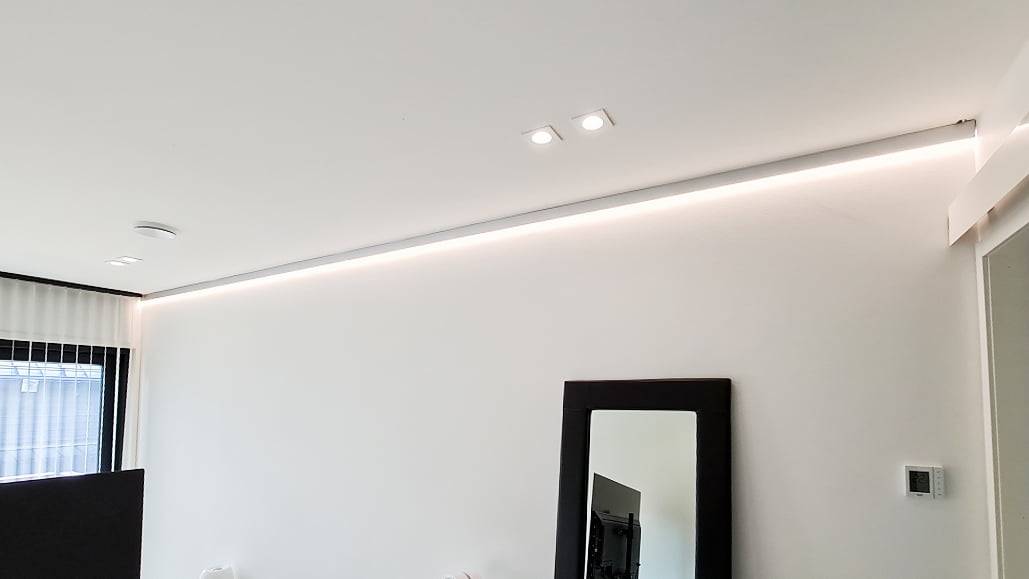
The product used was the INDIRECT2 led profile, where only the bottom surface of the profile was fitted with a SOLO CCT 14,4W/m LED strip with colour temperature control. This led strip allows a good light output in the bedroom. This LED strip is fully dot-free and temperature adjustable. As a result, the lighting can be adjusted as required, from warm (2700K) to cool (5500K).
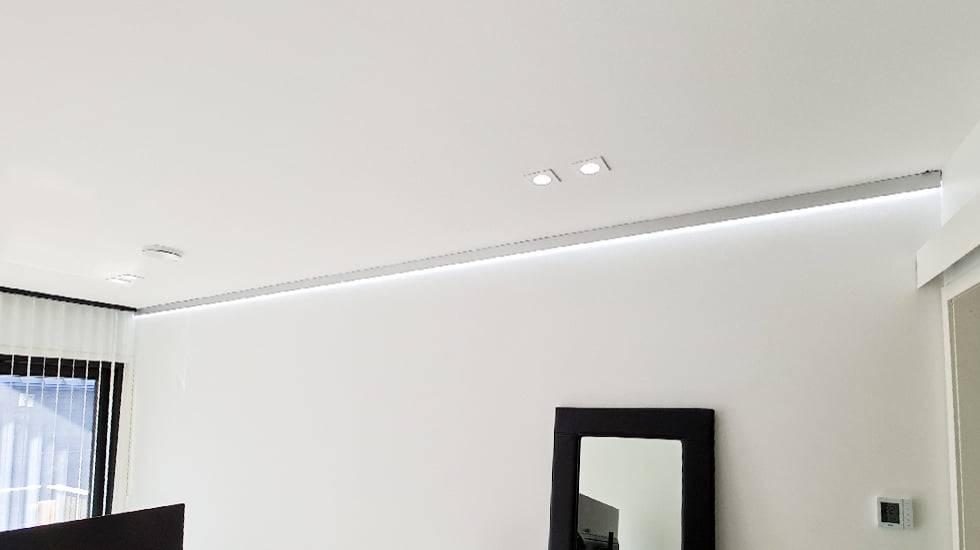
Indirect light for the ceiling made in the LedShop or at home
Below is a summary of the steps to be taken when retrofitting a profile to a space.
A) Preparatory phase:
- Decide where to install the lighting and transformer.
- Measure how long LED strip and profile you need, and the length from the strip to the nearest power supply and/or socket.
- Choose the right LED strip for your needs.
- Get an aluminium profile for the LED strip according to the installation location and your needs.
- Decide how to control the strip. NOTE! CCT and RGB strips require more than just an ON/OFF button to control the tones.
B) The machining stage:
- Cutting the aluminium profile to the correct length and making a lead-through for the connecting cable.
- Cutting the LED strip to the correct size and soldering the connecting wire to the end of the strip.
- Fixing the LED strip to an aluminium profile if the traction consists of a single profile section. If there are several sections, the LED strip is attached only after the profiles have been fixed.
C) Installation when using wireless luminaire control:
- Fixing of profile brackets.
- Pressing the profile into the brackets.
- Gluing the LED strip in place and pressing the cover in place.
- Running the wire in a corner under the protective gutter to the transformer.
- Connecting the transformer to the electricity supply e.g. with a plug.
- Pairing a wireless button with a driver.
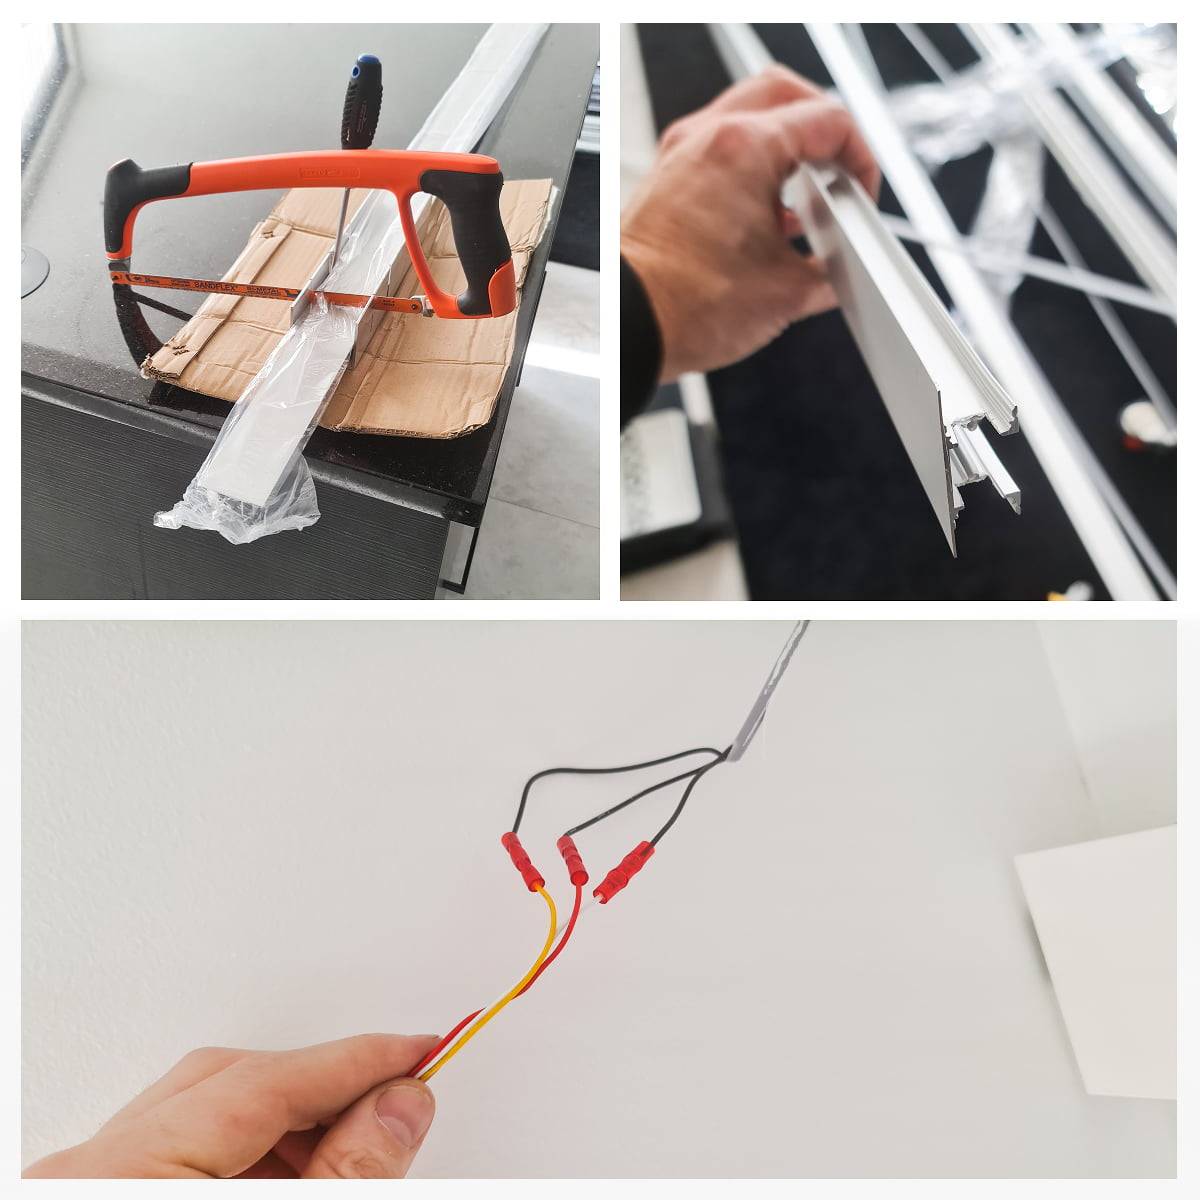
The site had been planned in advance for the necessary power supplies for indirect lighting and the cable was ready and waiting at the end of each installation site. The other end of the connection cable was ready with a driver, for which only a mains connection was needed.
A typical location for a transformer is in the ceiling, behind the service hatch. Panel lights, for example, can also be used as a service hatch for transformers if required. At this point , in the wardrobe next to the bedroom , an LED panel 300x300 light was installed and used as a service hatch for the LED strip driver. This left the ceiling surface intact and tidy.
RGBW and CCT light with colour temperature controlled LED strips often use transformers controlled by wireless buttons. This means that the control is wireless, eliminating the need for wiring to the buttons. More on this later.
On-site installation
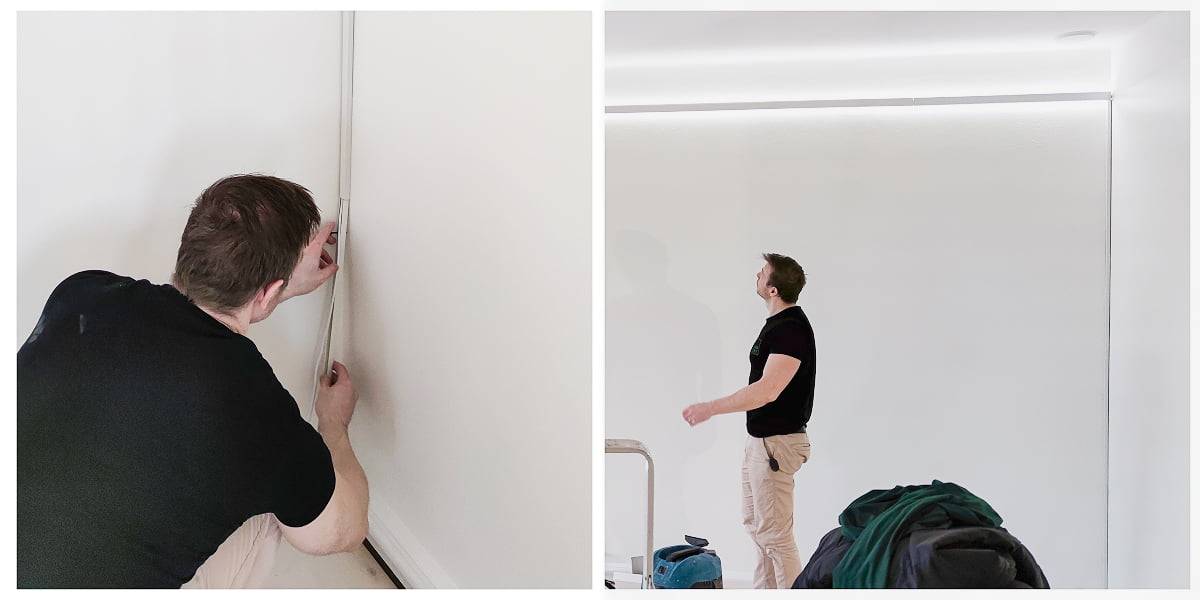
So the first thing to know was how long the indirect light would be on the ceiling. The profiles were cut with a hacksaw, but it is also possible to cut them with a powder blade because aluminium is soft. The feed end of the profile was shaped using side cutters to cut off pieces. This to give the top wire and its connectors (apico or solder) a good space in the upper groove of the profile, from where the wire runs to the led strip.
Next, the locations of the brackets were marked on the wall. A small piece of profile was used to help get all the brackets flush. Most of the time the ceiling is not perfectly straight, so if each bracket was measured straight from the ceiling, they might not be in a straight line.
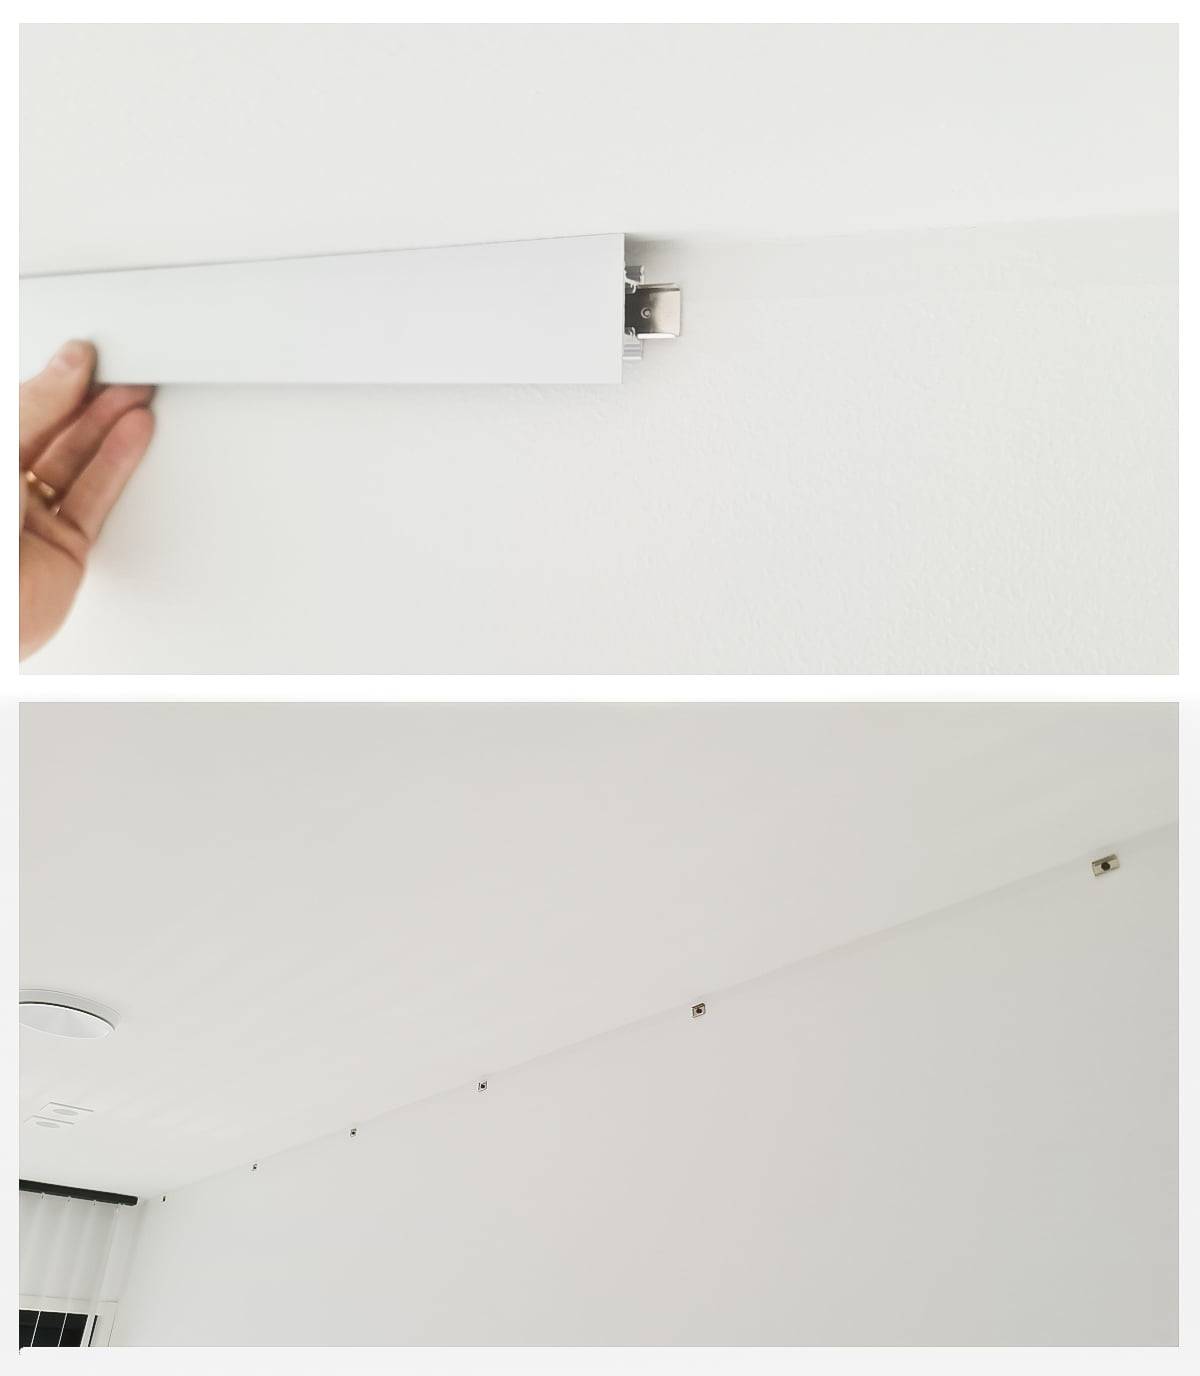
Next, the LED strip was attached to a wire hanging from the ceiling. The extra wires were easily grooved when the first profile was pressed into place on the wall.
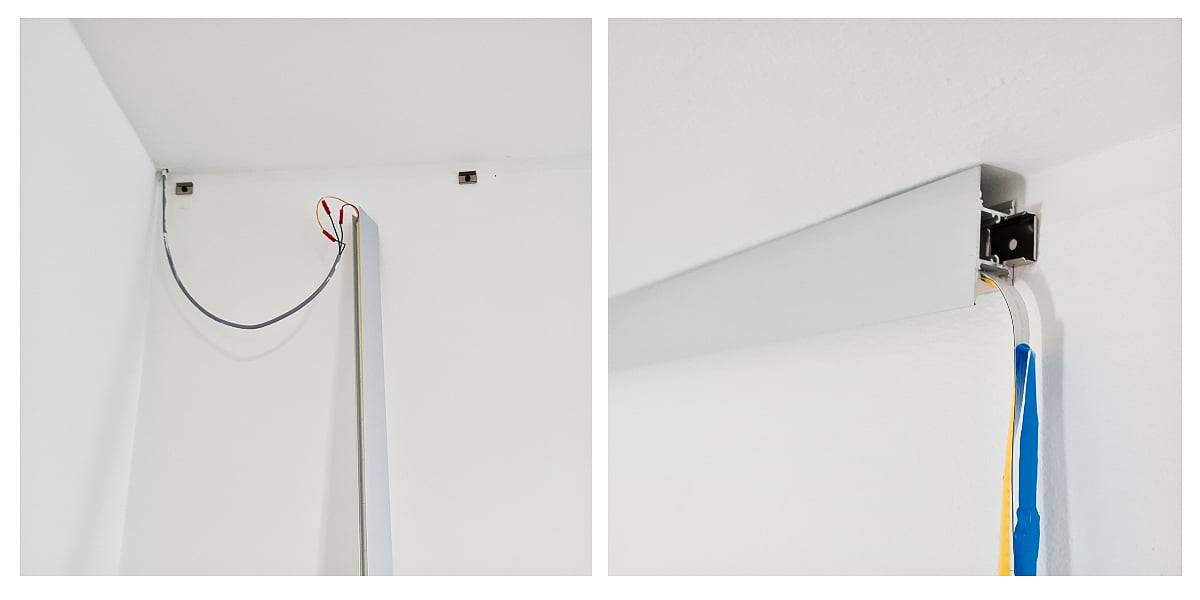
Once the profiles were attached to the wall, the double-sided tape was removed from the back of the LED strip and the LED strip was glued to the profile for the distance the profile was attached. The first piece of profile cover was slid into place (can also be pressed into place). It is advisable to install the covers crosswise so that the joints between the covers and the profiles are at different points. This increases the strength of the joints.
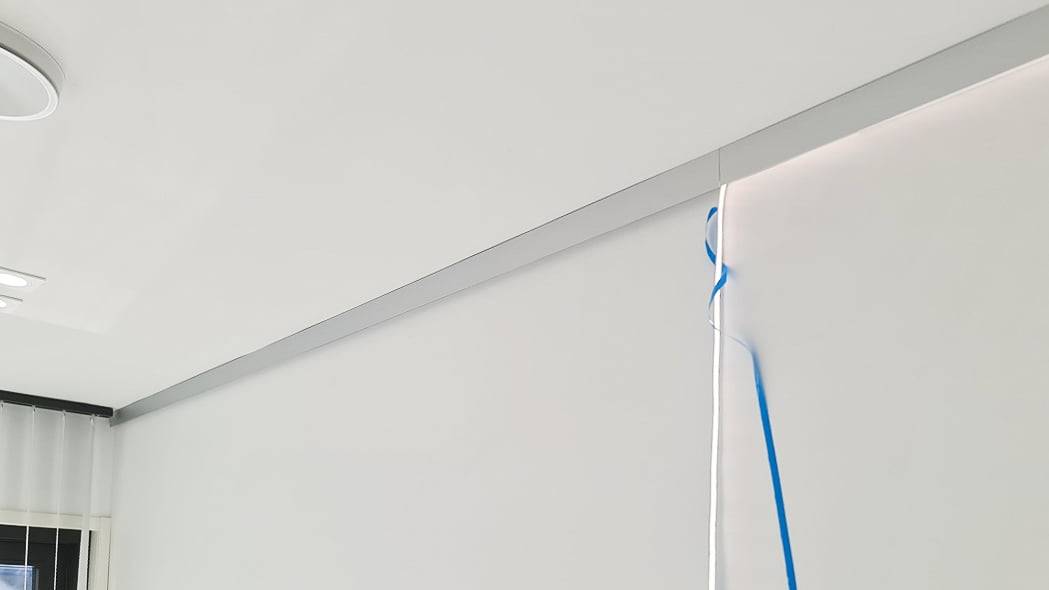
Finally, the remaining indirect profiles were pressed into the wall and then the end of the LED strip was glued in place. Finally, the last piece of profile cover was pressed into place. Next, the wires were connected to the transformer for testing.
Versatility with colour temperature control
The colour temperature of the light can be freely adjusted to the desired Kelvin level with an easy-to-use wireless controller. For example, a warm dimmed light in the evening to calm you down, or a slightly neutral and brighter light when it's time to clean or refresh yourself. For this project , the controller used was a Zigbee controller paired with a 24V 100W Zigbee driver.
The driver is supplied with constant current, but in this case there is also a traditional ON/OFF button to control the current flowing to the driver. It is good to remember that if the wall switch is in the OFF position, the wireless controller will not work because the driver will not receive power. The transformer has an internal memory and will light up with the same settings it had when it was turned off.
If you want to time and program the light, you need a Zigbee bridge or hub, such as Philips Hue or Samsung Smart Things. This site has Home assistant and Conbee2 turning on the lights at dusk automatically.
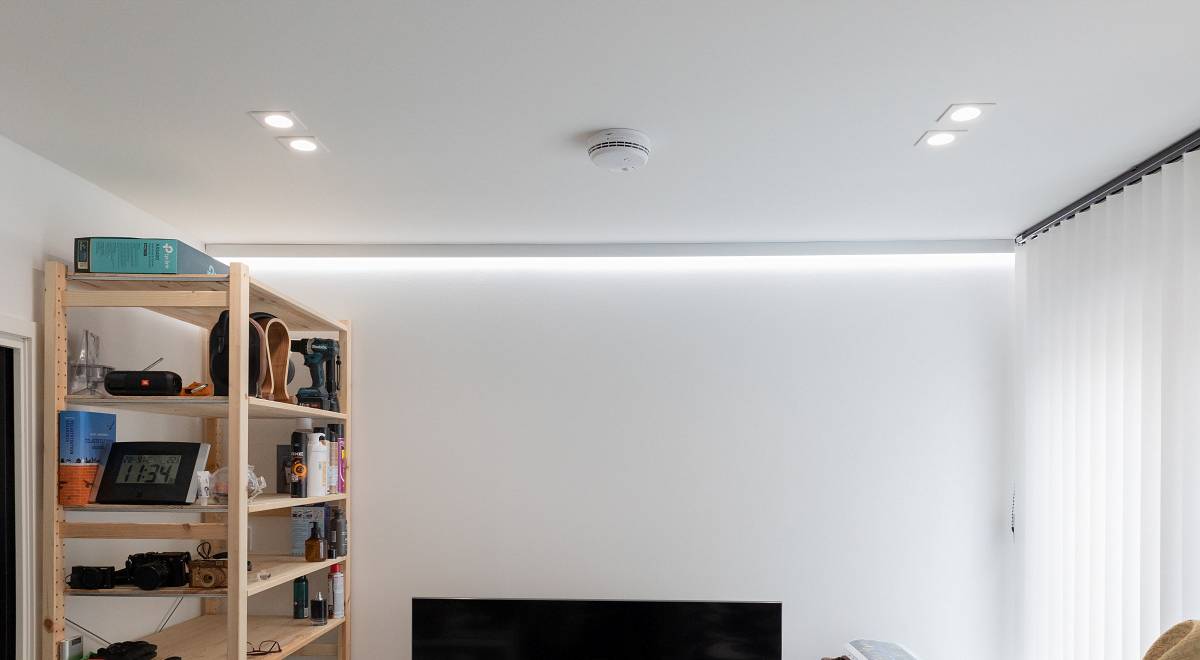
Light levels in the premises
A different amount of light is needed in a hallway, living room or bedroom. In general, however, I can say that 14.4W/m is enough to create a good atmosphere in any room. For bypass rooms, a lower amount of light is sufficient. In the evening, a low level of light is sufficient for most rooms and full power lights can even be perceived as too bright. This is why dimming is stubborn, at least in the living room, but also pleasant in corridors and bedrooms, for example. When dimmed, LED strip consumes less and saves electricity.
Indirect light in the ceiling as a retrofit?
Here we went through the installation of the LED strip and profile against the ceiling, where the cable is ready. If there is no ready-made wire at the ceiling line, the wire can be run down in a corner and connected to a transformer, which is plugged into the mains power supply. The cable in the corner is neatly protected by a white conduit, available from any hardware store. The transformer on the floor can still be hidden in a chest of drawers or bookshelf. The wireless button can be freely placed wherever you like.
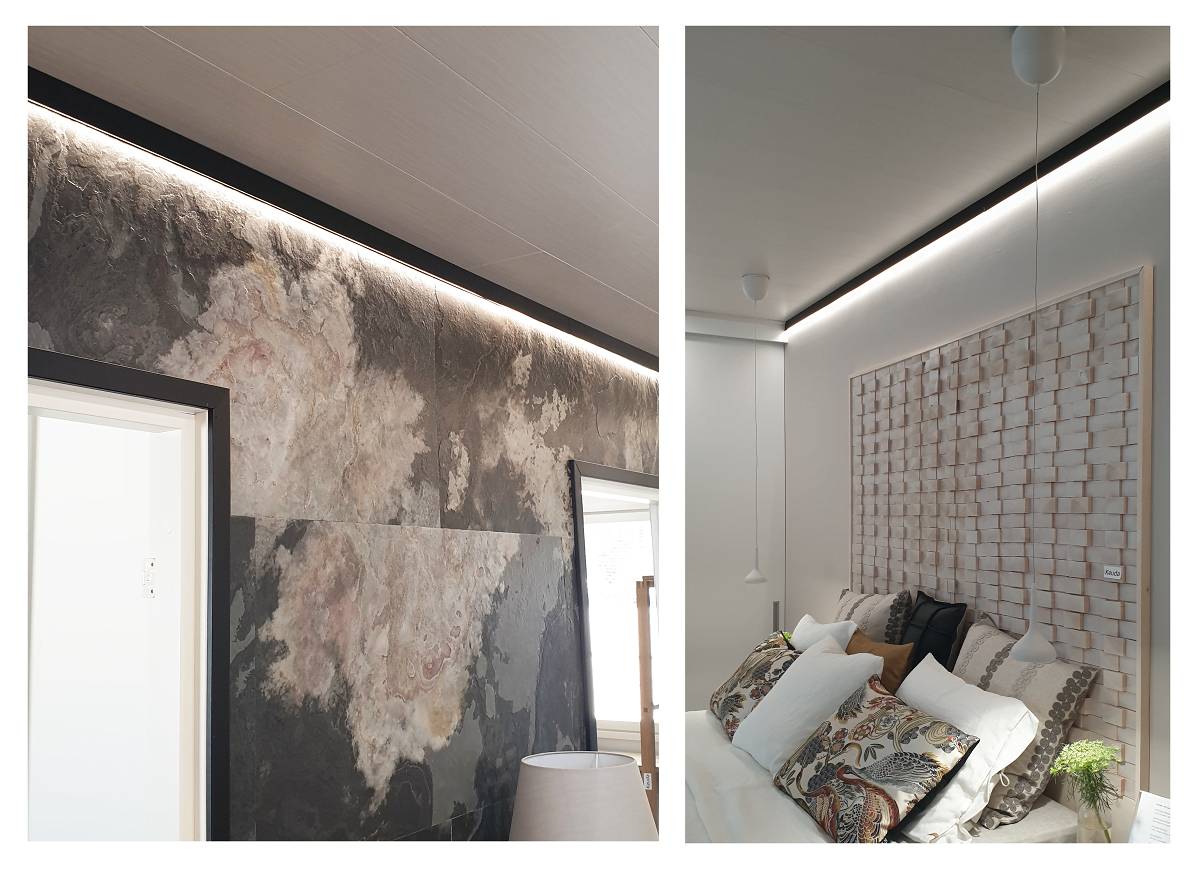
Two LED strips can be placed in the same INDIRECT2 profile if the need for light is greater. For more information on how to install it, see the article Indirect Light for the Living Room.
If you are interested in custom-made LED strip lighting, read more about our LedPaja service, and request a quote for LED strips ready for installation.
