CCT luminaires are versatile
Dimmable luminaires with dimmable colour temperature control provide more options for luminaire use than mono-tone dimmable luminaires. Changing the Kelvin of white light from warm to cool white plays a big role in creating the mood of a room. LedStore has been offering colour temperature adjustable products, i.e. LED strips, spots and panels, for several years now and their popularity has been growing steadily. At the same time, the options for wireless control solutions have also expanded, most recently the Zigbee protocol smart control solutions, which are compatible with a wide range of manufacturers' interfaces, including. Philips Hue, Samsung Smart Things, Lidl Silver Crest (by Tuya), and the USB Conbee 2 hub (by Deconz / Phoscon), the most versatile but most familiar hub in the LedStore range.Cabling of colour temperature controlled (CCT) luminaires
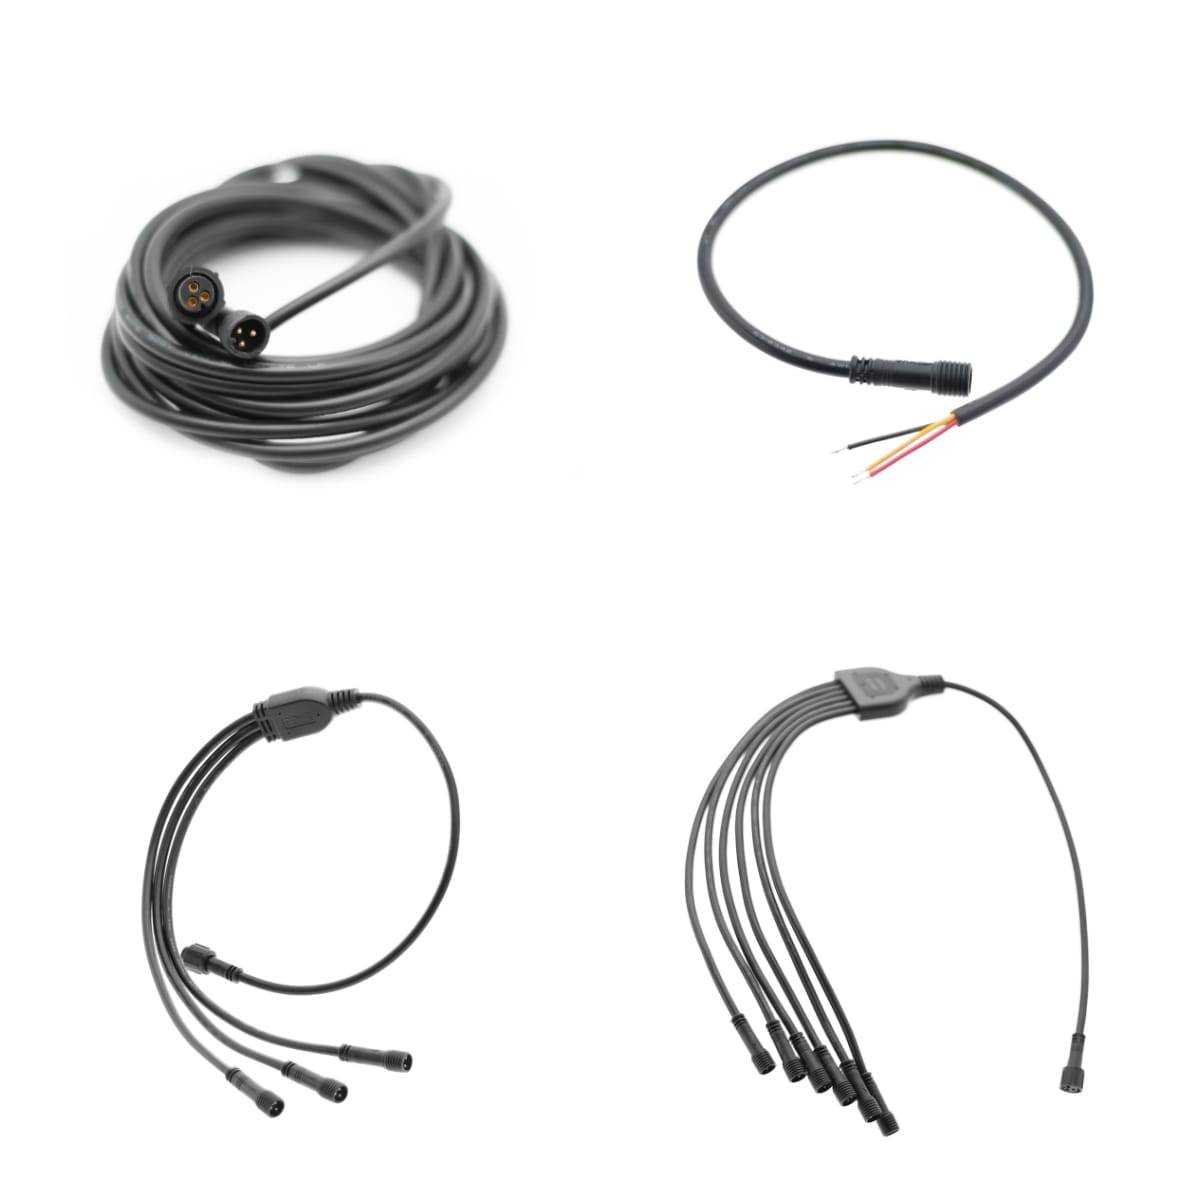
In a Zigbee installation, it is good to know that the low-current cabling of colour temperature controlled luminaires requires a three-wire cable, i.e. plus and 2 minuses. From the power supply, the voltage is adjusted between the two negative poles, allowing the colour temperature of the light to change continuously from warm white to cold white (between WW warm white and CW cold white). The commonly used three-pole min. 3x0,5mm2 when loads are low. You can also use a 3x1,5 mm2 cable. If the luminaires are colour adjustable, then it is an light luminaire, which is a five-pole, plus and four minus (red, green, blue, white). There are also lights with both colour and white light temperature control. RGB + CCT luminaires have five minuses (red, green blue, warm white, cold white) in addition to a plus. However, here we will focus only on CCT luminaires where the colour temperature of the light is to be adjusted continuously from the controller. LedStore also offers a wide range of luminaires with a choice of three light shades when installed. The switch on these lamps is on the side of the power supply, and once the colour temperature is selected, it cannot be adjusted from the controller. The luminaires are dimmable.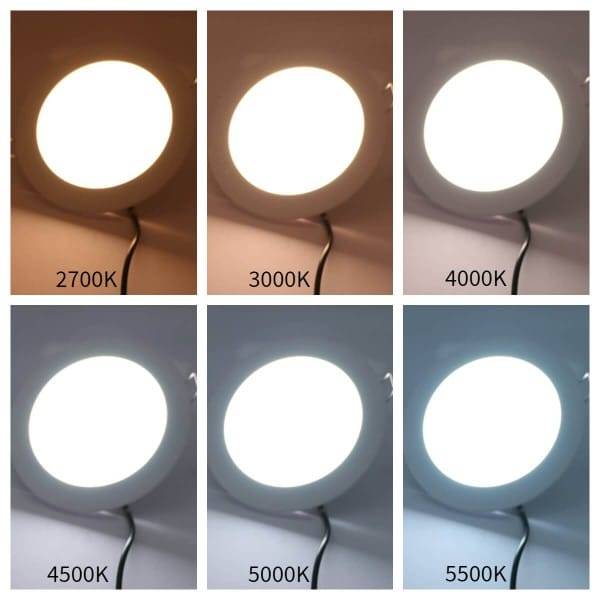
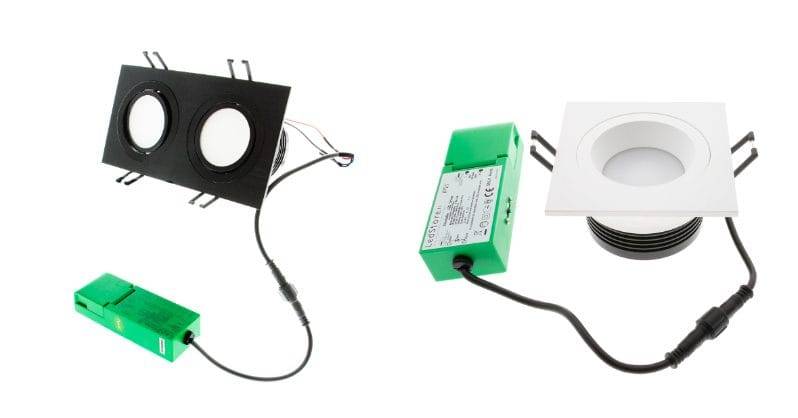
Cabling for spots and panels
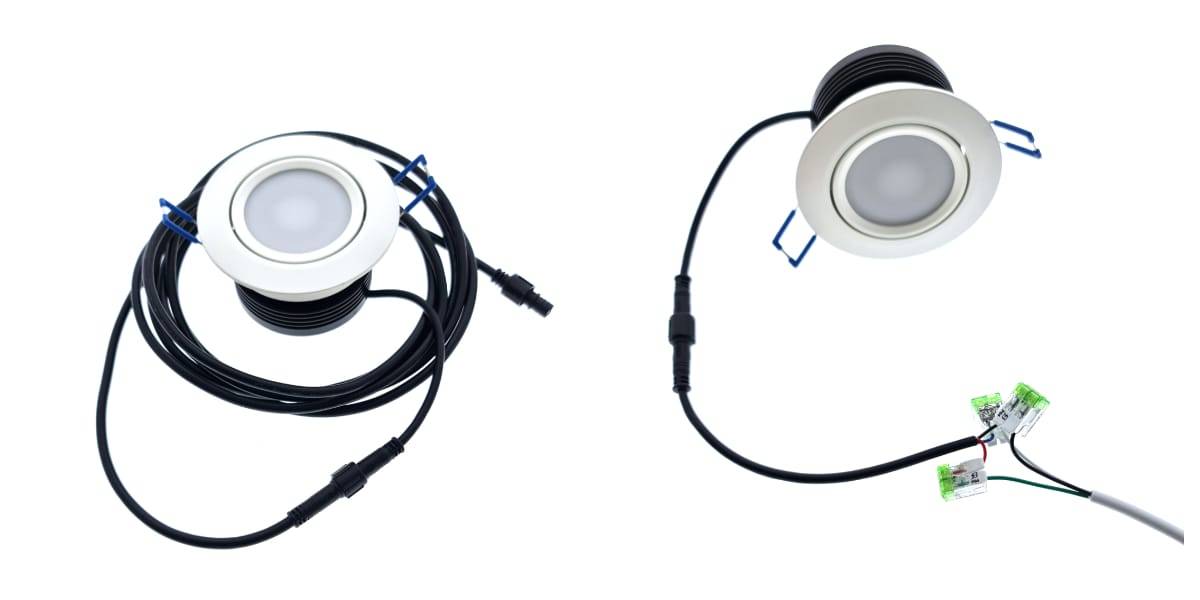
From the spotlights and panels (both square and round), the wires for the luminaire (24 V) are:- red = + plus
- black = - negative, warm white (WW)
- blue or yellow = - negative, cold white (CW)
Cabling for led strips
Our CCT LED strips already come in seven different product options (11.3.2022) for different uses and installation methods. However, they all have three wires that produce different shades of white (by adjusting the colour temperature, or Kelvin). On the Led strip, the cut-off points are marked with the white hue produced by that point. The 5 metre LED ribbon reel has 10 cm of flat cable at both ends. In most situations, these are not enough to reach the power supply, so the extension cord can be obtained from e.g. by installing more cable in parallel using lever connectors. We also offer 3x0,5mm2 double shielded white cored cable in metric lengths. The connecting wire can also be soldered to the power supply to a suitable length, making a neat connection and eliminating the need for lever connectors. We do this every day in our LedPaja service for both professional and consumer customers. We recommend a maximum bet length of 10 metres on a single pass.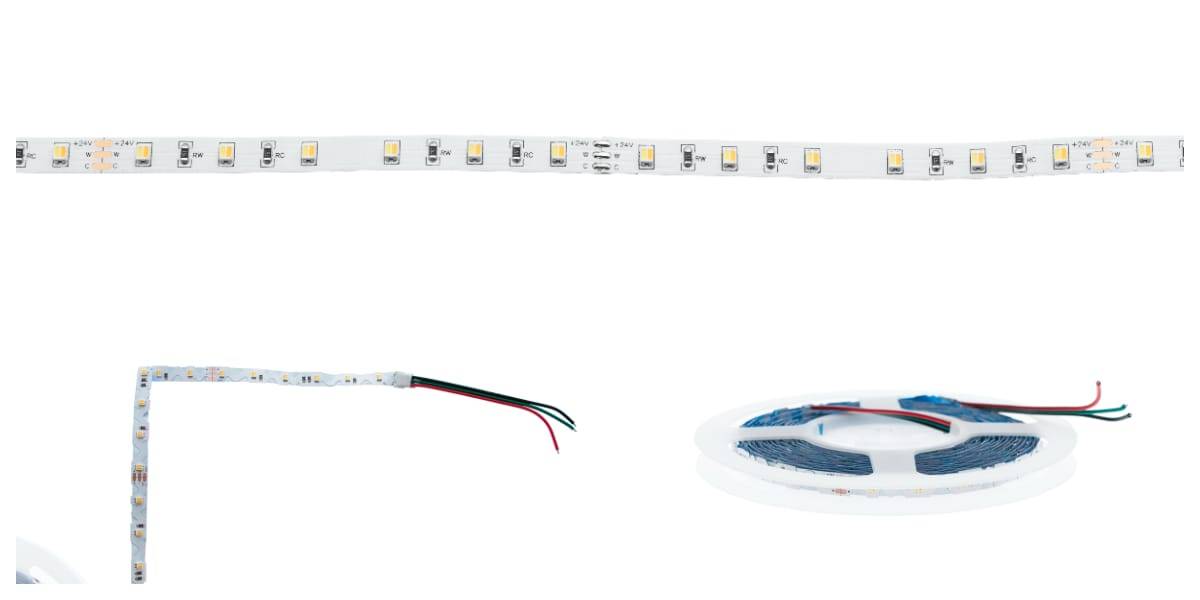
Location and load of power supplies
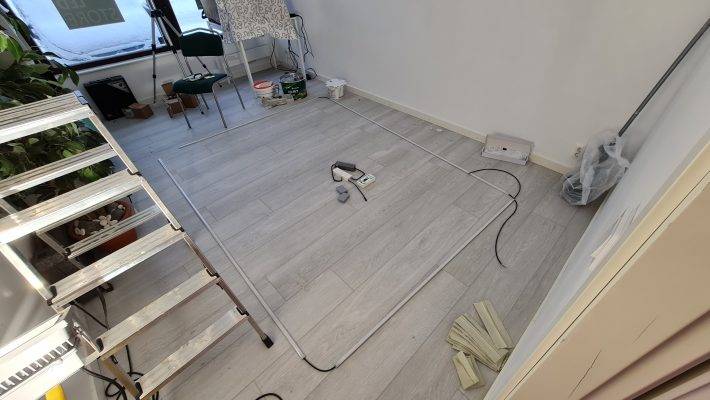
When installing luminaires with driver colour temperature control, a separate power supply is required for each group of luminaires. With CCT-led tapes, 24VDC constant voltage power supplies are used. At LedStore we also fluently refer to drivers, and this is in fact the term we use to describe the devices in our online shop. Depending on the size of the panels and ceilings, the power supply can be placed inside the mounting hole of the luminaire, leaving it behind/next to the luminaires. Power supplies for LED strip rails and spotlights often require a service hatch. The power supply can also be located in the centre if the cable has sufficient cross-sectional area. Our tried and tested experience is that up to 10 meters before the luminaire can be pulled with 3x0,5mm2 cable and 20 meters with 3x1,5mm2 cable. A common solution is to place the power supplies on top of or inside the cabinets, so that they can cool down well. They are also easier to handle when pairing (Zigbee or RF). The driver load for LED strips and LED spot or LED panel groups should be selected with a load margin of 15-20%. This way the transformer is not overloaded and does not fail prematurely. We do not recommend installing power supplies tightly against any material, even if they are well protected. Indeed, the surface temperature of the power supply can reach 70-80 degrees Celsius, which will curl some of the vapour barrier plastic and make an air leak, in these situations a board or plasterboard is inserted to insulate the transformer directly from the plastic/paper. So install the power supplies behind the service hatches, or scatter the power supplies around each LED strip or group of luminaires. A "farm" of several large power supplies in a confined space heats up the room. The operating temperature of the driver is -20 to around +40 degrees Celsius, so it's a good idea to keep the room below 40 degrees to ensure the power supply works well and lasts a long time.Connecting to Zigbee control
In practice, the stepless colour temperature control of luminaires is achieved by installing the luminaires that are to be controlled as a group on one receiver/driver. For example, spots in one room are installed in parallel to a single power supply, which typically has a built-in receiver. If you also want to have a LED strip in the same room, it is connected to its own power supply (receiver built-in). This way, there would be two groups of luminaires in the room. Controls such as mobile control, like the Philips Hue below in combination with a bridge (hub), and the LedStore remote control with standard 4 group control or LedStore wireless CCT controllers. Since the power supplies are in constant current, the current can be drawn from the same supply. The power supplies are also marked with places for 24V CCT conductors. In Zigbee control power supplies they are the first three outputs, except for the 50W driver the order is +, - WW, - CW. If the + and - wires go the wrong way round, the lights will not come on. If they light up, but are adjusted the wrong way round, i.e. the light goes from warm to cooler white and vice versa, then the negative wires are reversed. The lights will not go out even if the wiring is wrong. They just either don't light or are incorrectly adjusted. Both problems are easy to fix by reversing the wiring.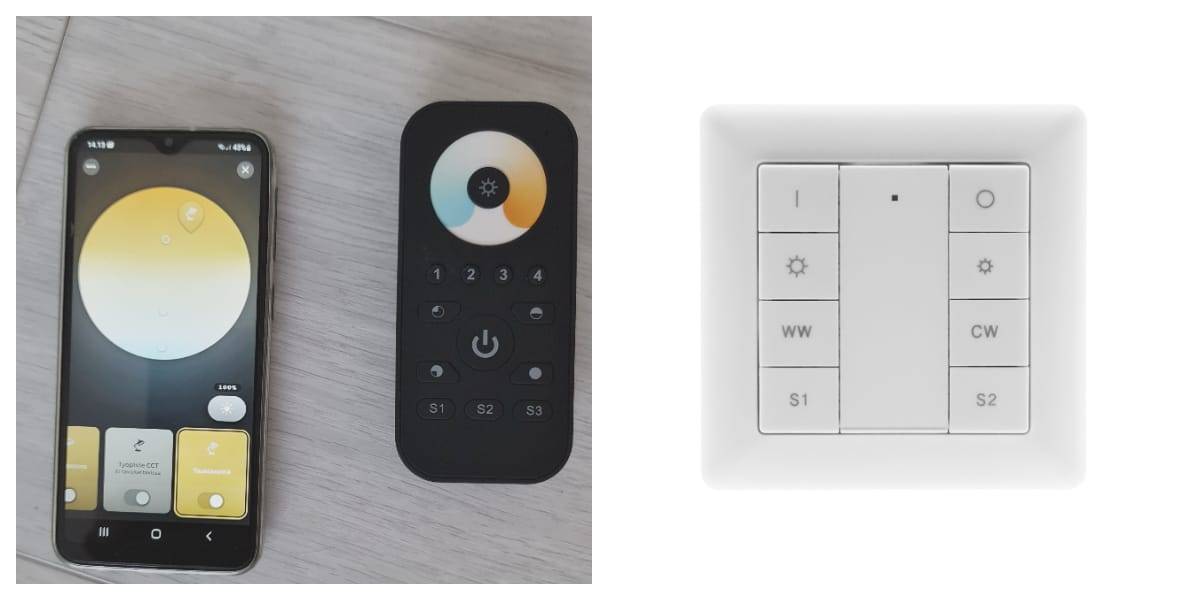
Zigbee installation - when to pair with a hub and when without a hub?
Power sources (receivers) can be located far away from the controller, as the Zigbee connection creates a mesh network between the devices. As a result, signal portability from room to room is not a problem, even in a large house. Each power supply/Zigbee device transmits a signal back and forth. When adding wireless controller buttons to Zigbee devices in the pairing phase, it is good to keep in mind that the light controller must be close, less than 10 cm from the power supply/receiver, in order for the Touch Link pairing method with the controller to work. In addition, if one group of luminaires is to be controlled by several wireless buttons, such as staircase or corridor lights, then several buttons are connected to one Zigbee power supply using a bridge/hub!
The benefit of connecting to a bridge/hub is of course that the control of the luminaires can be automated, and they can all be controlled from the same mobile interface, or from multiple mobiles connected to the same Zigbee network (bridge/hub).
It's still a good idea to have the control buttons either on the wall, or mounted elsewhere in case the network is down.
 Download here an easy guide to pairing: CCT transformer and dimmer and pairing guide paja 4.8.2022
Previous parts of the Zigbee blog
We've gone through the pairings in Zigbee lighting control part 1, part 2, part 3.
- In part 1 without hub/bridge, pairing
- Part 2 pairing with hub/bridge (Philips Hue and Samsung Smart Things)
- Part 3 completes the applications and takes into account more types of lighting.
- power supplies/receivers and controllers are connected as alight'. When the power supply is successfully paired, the lights will flash to indicate the connection and the light will appear in the app.
- The app cannot find the button, but you can see if the pairing has been successful by looking at the green light on the button. If the button light flashes 5 times rapidly at the end of the search, it is connected to the Zigbee network/hub.
- Once the power supplies and controllers are connected to the hub, additional Touck Link connections can be made between the devices, which means that in practice several buttons can be paired to the same power supply.
- If there are problems, reset and pair the power supply and the button again! It can take up to a minute to set up and reset the connection, so patience is required.
Zigbee installation - network switches, wireless controllers and mounting frames
The mains power is therefore needed by power supplies with built-in receivers, which are supplied with continuous electricity. If the site has cables for wall switches, then for wireless control: 1. electricity must be on in the box for the wireless control to work as there is a wireless connection between the controller and the power supply. The on/off switch remains off, and the box can be covered by a wireless button to change the control to wireless. The 2nd option is to use the wired control switch to operate the lights thanks to the internal memory of the power supply. The lights will come on in the last position of use. The bridge/hub and the remote control are then used to control the level and shade of the lights when the power is on. Of course, the automations will not work if the power is off. If you have wired switches and you want a suitable mounting frame for wireless controllers, LedStore's Zigbee controllers fit into the following mounting kits:| BERKER: | S1, B1, B3, B7 Glass |
| GIRA: | Standard55, E2, Event, Espirit |
| YOUNG: | A500, APlus |
| MERTEN: | M-Smart, M-Arc, M-Plan |
| SCHNEIDER: | EXXACT |
We write about smart lighting and how to control and pair it
For other articles in the series on Zigbee, see the links below:- part 1 Zigbee lighting control master part 1
- part 2 Zigbee lighting control master part 2
- part 3 Zigbee lighting control, part 3
- part 4 you are reading it now :) Zigbee CCT smart lighting from an installer's perspective - Zigbee lighting control part 4
- part 5 Zigbee lighting control master part 5 - pairing like this
