
The replacement of the Talomatti system is one of the lighting renovations, where the old centralised control is to be replaced by a modern, reliable and easily expandable solution. In practice, this involves removing the Talomatti control centre and replacing it with a lighting group-specific control system that works with both wall buttons and intelligent controls. Here are the challenges and costs of the retrofit.
What is Talomatti?
The Talomatti is essentially a "central controller" for the 12V lighting in a house, gathering lighting groups in one place and distributing control to them. The idea is the same as a group control panel in an electrical cabinet, but for low-voltage lighting: the lights are not "switch to light", but the wires going to the lights are brought to the Talomatti control panel, where they are divided into channels and dimmed.
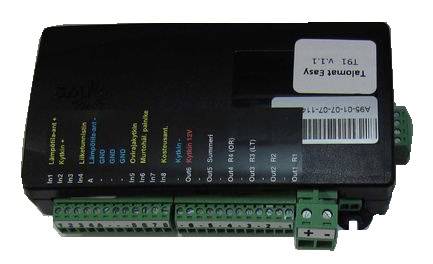
In terms of wiring, this usually means two parallel "networks":
- Power cable (for 12VDC lights)
Power supply (transformer) turns 230V into 12VDC. This 12V supply is brought to Talomatti, and Talomatti redistributes it to the lighting groups. Typically each group has its own output (channel), but the return ( 0V/GND) is often common or at least returns to the same point. - Control wires (from buttons to Talomat)
Wall buttons do not usually carry the power of the lights, but act as control signals to Talomat. The button sends a "command" (on/off, dimming) to the Talomatti, and the Talomatti does the actual dimming of the lights. Like PushDIM
Simplified, the Talomatti system looks like this:
- 230V → power supply → 12V (+ and 0V) → Talomatti control panel
- Talomatti channels → lighting groups
- Buttons → with control wires to Talomat
This centralised approach works well as long as the cabling is clear and documented. The challenge often arises over the years: wiring for buttons and lights may have been combined in boxes, and 0V/GND, for example, may be split or daisy-chained in places that are not immediately obvious. When the Talomatti is removed and replaced by several separate controllers, these old "common wires" and crossovers can turn up as unexpected symptoms - which is why, in a Talomatti rebuild, tracing and marking the cables is often the most important stage of the whole job.
Talomatti does more than just lighting control
If the Talomatti is installed as a whole-home controller (HVAC), and it works in all other respects, it is left in place. Only the lighting control is taken out of it.
Talomat's renewal on time?
There are typically two reasons for renewing a Talomat. The system fails or there is a need to modernise it (intelligent control, scene functions, app control).
The challenge is that it is a single manufacturer's product and there are no spare parts available. When problems start to occur, you can't find the right people and you can't service it any more, it's time to replace it.
In both situations, the same decision is taken: the Talomatti centre is removed and replaced by decentralised control per lighting group.
Common stumbling blocks: cabling, GND and "ghost controls"
So the problem may be that in the wiring of the house, GND/0V is distributed "somewhere along the way" between the buttons and the lights in a way that you can't see in the drawings. When a PushDim type control is introduced in its place, the consequences can be as follows:
- pressing one button also controls the other group (cross-control)
- there are blackouts / ghosting in the second group
- changing polarity (+ and GND crossed) does not "fix" anything, but typically prevents operation altogether (devices are polarity sensitive)
An important rule of thumb: the problem is not "common 0V in principle", but common 0V in the wrong place / wrong path, whereby load current and control reference confuse each other.
Talomatti centre out, old cabling recycled
The basic idea of renewal is clear:
- The Talomatti Centre will be completely abolished
- make use of old cabling as far as reasonably and safely possible
- group control is provided by modern receivers, making the system easier to expand and maintain
Solution: smart Zigbee 12V PushDIM controllers
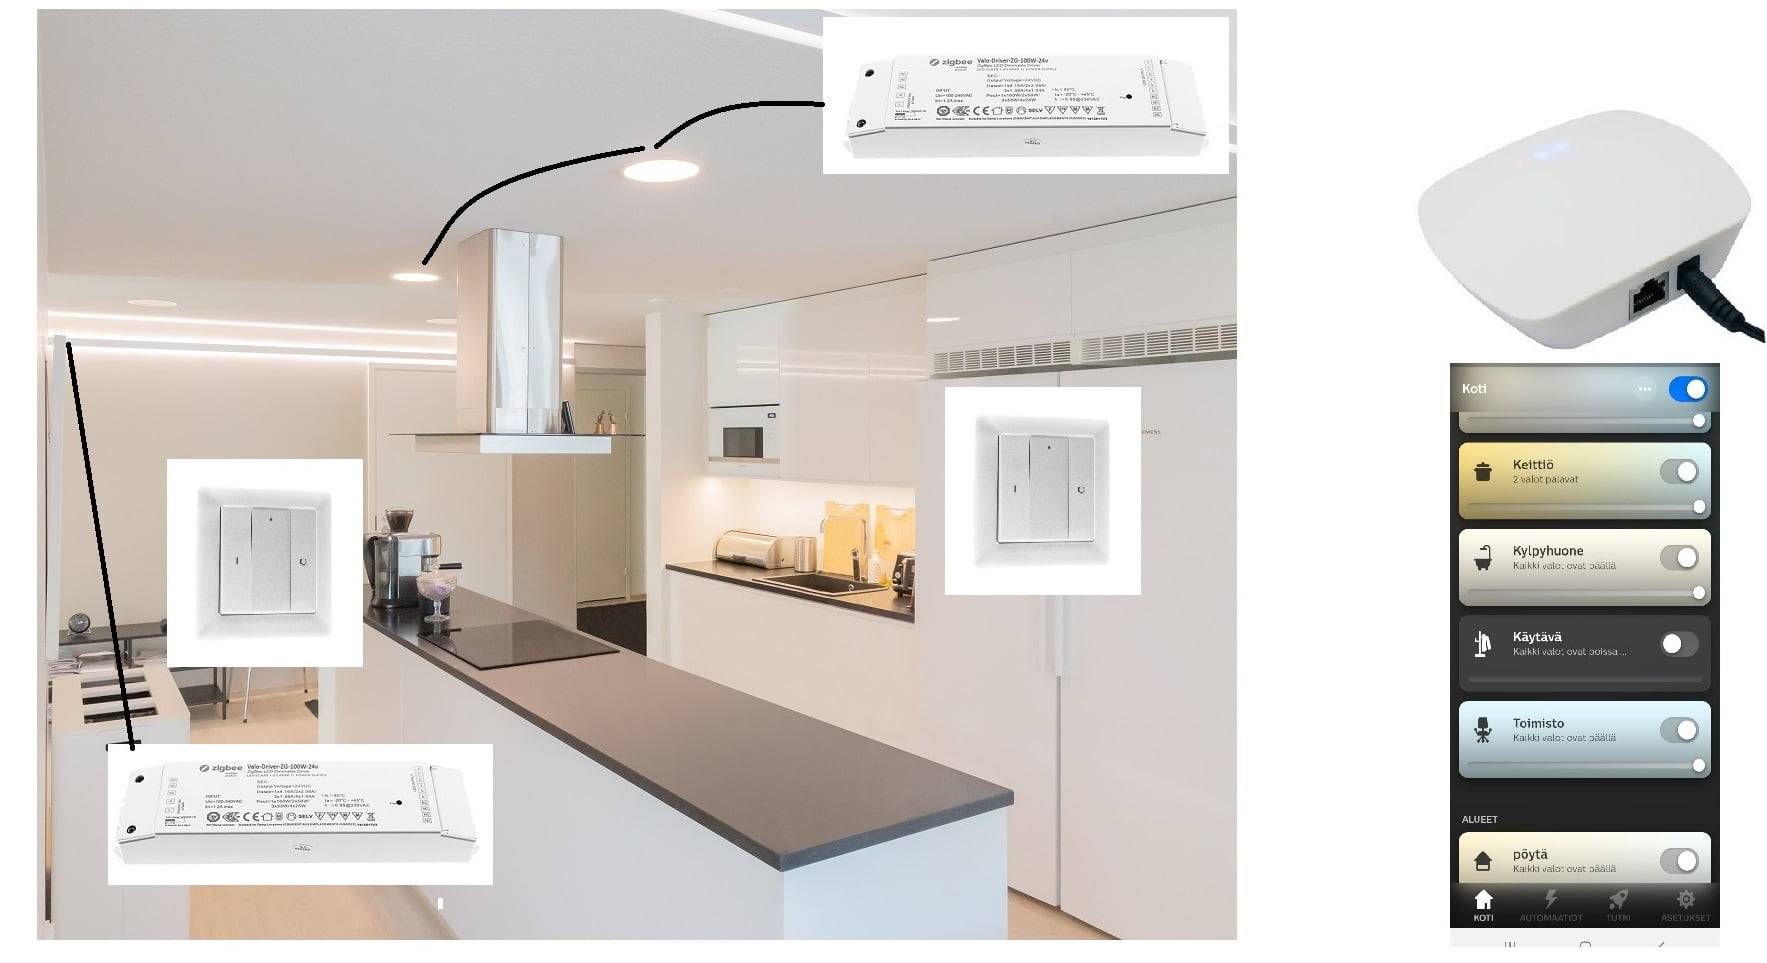
A good replacement VaLO Zigbee LED receiver 12-36V, for monochrome LED strips, 8A. It is mounted between the power supply (driver) and the LED load, and is controlled from the secondary side - i.e. the driver does not need to be dimmable.
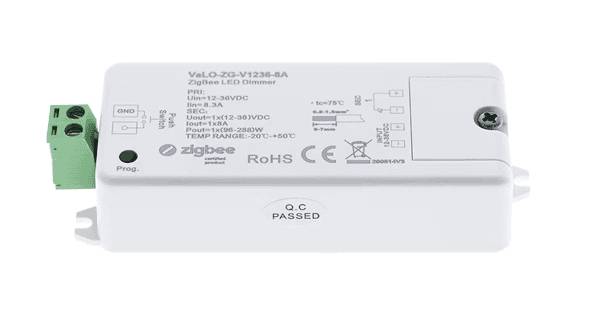
Essential points for practice:
- Zigbee controller works for 12-36V DC lighting
- the load per group is 8A ( power depends on voltage), i.e. at 12V 96W per group.
- the receiver can be controlled via a Zigbee hub and an app, and the system also allows for push-button control (depending on the destination and implementation)
The aim is to keep everyday life easy, so these controllers still make use of the old impulse (spring) buttons.
Steps and "field logic": how to do this in an orderly way
When the old cabling is used, we proceed in the following order:
- Clearing and marking cables ( this takes time - sometimes a surprisingly long time)
- Eliminate the farm gate and replace it with a clear distribution point (0V rail/group outputs)
- Group by group: one receiver, one load, one control → testing → next
- Continuous check: that the "GND" of the buttons is not connected to the return wire somewhere in the box in such a way as to create a cross-connection between the two groups
If the "one push turns off the other" phenomenon occurs during installation, it is almost always a sign that the control circuit outputs (GND) and load circuit returns (Impulse) are not properly separated (or two controllers share a control return path). In this case , the solution is usually found in the connection points and the topology of the cabling, not in "wire reversal" at the receiver end, which is also time consuming.
Another important thing is to check that there is no voltage coming from the transformers to the switches, i.e. no 12V voltage anywhere else but the lights.
Farmyard worm, cost of renewal
So the biggest cost and time-consuming part of the replacement is not replacing the equipment itself, but clearing the old cabling. In many locations, the GND/0V of buttons and lights are shared or cross-connected in one of the house boxes, which can cause PushDim control symptoms such as "one push turns off another". So a Housewarming repair always starts with tracing the cables, marking them and making a logical distribution point. This work takes between 1 and 40 hours, depending on how well the previous installer marked the cabling in the centre and of course the size of the house.
Once the old cabling has been mapped, Talomat should be replaced with smart Zigbee 12V PushDim controllers, so that the system works with both the old PushDim buttons and the desired Zigbee application (such as Azoula, Philips Hue or similar).
Cost-effective solution - Zigbee buttons
If the goal is to minimise site hours and avoid cabling surprises, the quickest route is often to switch from traditional buttons directly to wireless Zigbee switches. Depending on the switch model, they are paired directly to 8A receivers or programmed in a scene and stored on the buttons. That is, the wiring of the buttons is disconnected and the switch boxes are covered with new buttons.
Every starting point must be clarified to avoid unpleasant surprises in costs!
Buttons with direct pairing
The receivers are therefore usually located at the Talomat's place in the electricity exchange. Directly paired buttons therefore talk directly to the receiver wirelessly. In a smaller house, this works well, as the range of the buttons is 10-20 metres. That is, the button on the wall will communicate with the receiver in the control centre.
The wall can therefore be fitted with white or black buttons to match the Perus 55mm frames. For one, two or four lights. Or more than one on top of each other.
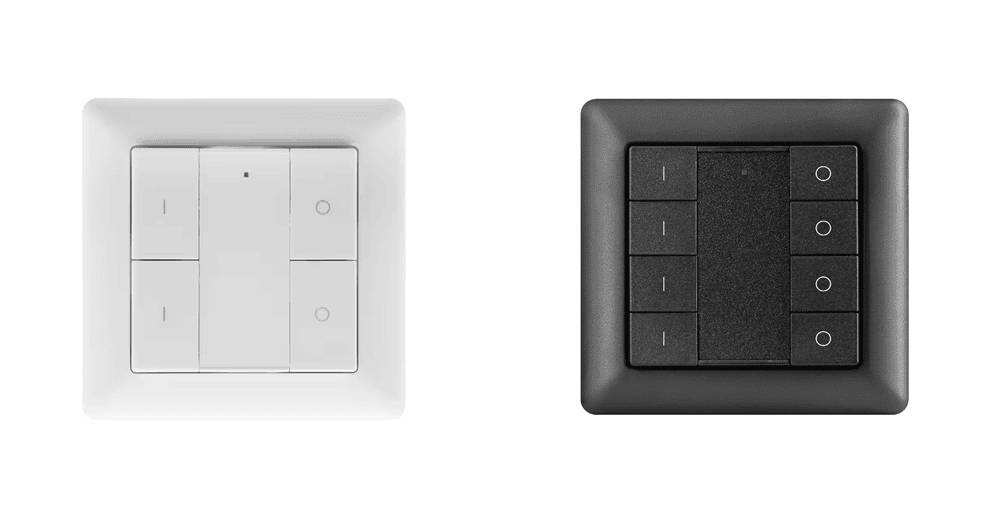
The challenge of direct pairing comes in a larger house or a stone-built house, where the signal can't get through if the centre and the button are far apart.
Situation (scene) buttons
Everything can also be programmed through the app. Installing scene buttons on the wall, whose function is defined in the application. The button is always linked to an ecosystem centred on a HUB installed in the home's local area network.
The most popular in Finland are Azoula or Philips HUE.
The advantage of this system is one clear button per room and intelligent automation of lighting.
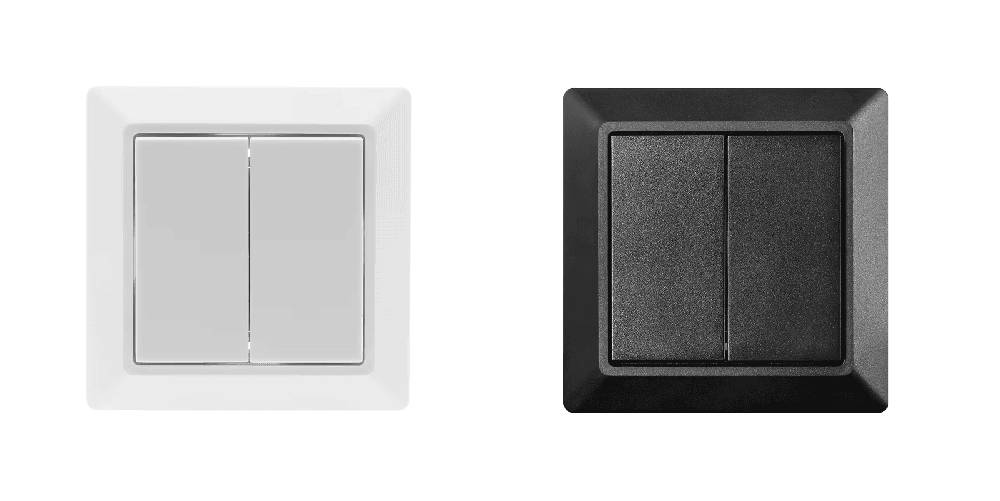
That is, there may be an automation running in the background that turns on, dims, turns off the lights at the desired time. So in the app you can create your own automations, add motion sensors (wireless!) and create situations.
Situations are lighting settings created at your own discretion. For example:
- Cleaning -> all lights on, 100% power
- Evening -> just turn on the spots and 60% power
- Night -> only one desired light on at 5% power
- Home/away situations
So these created situations can also be saved to buttons and the button can be moved to wherever you want.
In this solution, the HUB acts as a hub that receives and sends commands to buttons and receivers. It is often located in the middle of the home, so it works reliably in all directions.
Example costs of a farm to table exchange
Easy case, no brains
5 rooms, 8 groups of luminaires. The cabling is clearly marked and there are no "stolen" wires, no additional installations and no surprises added afterwards. Old buttons are used.
Work 8 hours á 65,00€
8 receptions á 40,00€
Total 840,00€
Difficult case, no intelligence
5 rooms, 8 groups of luminaires. Cabling to be sorted out. Old buttons are used.
Work 40 hours á 65,00€
8 receptions á 40,00€
Total 2920,00€
Wireless buttons, easy case
5 rooms, 8 groups of luminaires. Cabling is clear and Zigbee buttons are used. Local pairing, no app
Work 8 hours á 65,00€
8 receivers á 40,00€
5 Zigbee buttons á 80,00€
Total 1240,00€
Wireless buttons, a difficult case
5 rooms, 8 groups of luminaires. Cabling will have to be sorted out for the lights. Zigbee buttons will be used. Automation, scenet, etc.
Work 20 hours á 65,00€
8 receivers á 40,00€
5 Zigbee buttons á 80,00€
1 Zigbee HUB 99,00€
Total 2199,00€
Summary
It can be small or large. There are three things you can do to keep your Talomat replacement tidy:
- a proper cable survey is done ( and time is set aside for it - sometimes even a working day or two)
- The Talomatti Centre is abolished and the groups are streamlined
- control is implemented with Zigbee 12V PushDIM receivers and legacy buttons OR with the desired application and wireless switches.
Anything else to read?
If you are interested in renovations in general and the cost of lighting, here are a couple of interesting reads
Toilet lighting upgrade - Implementation and price