
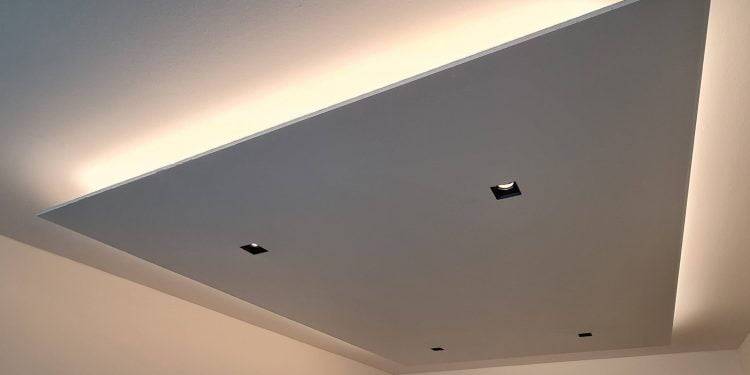
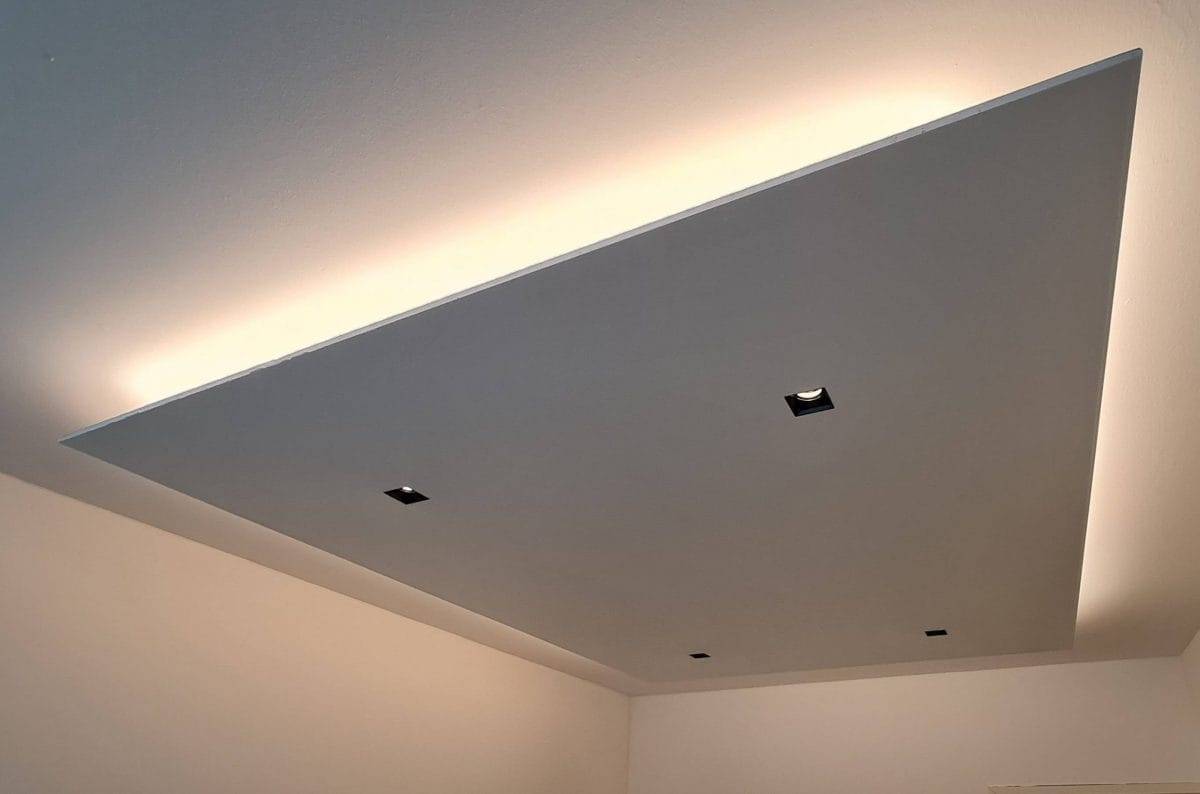
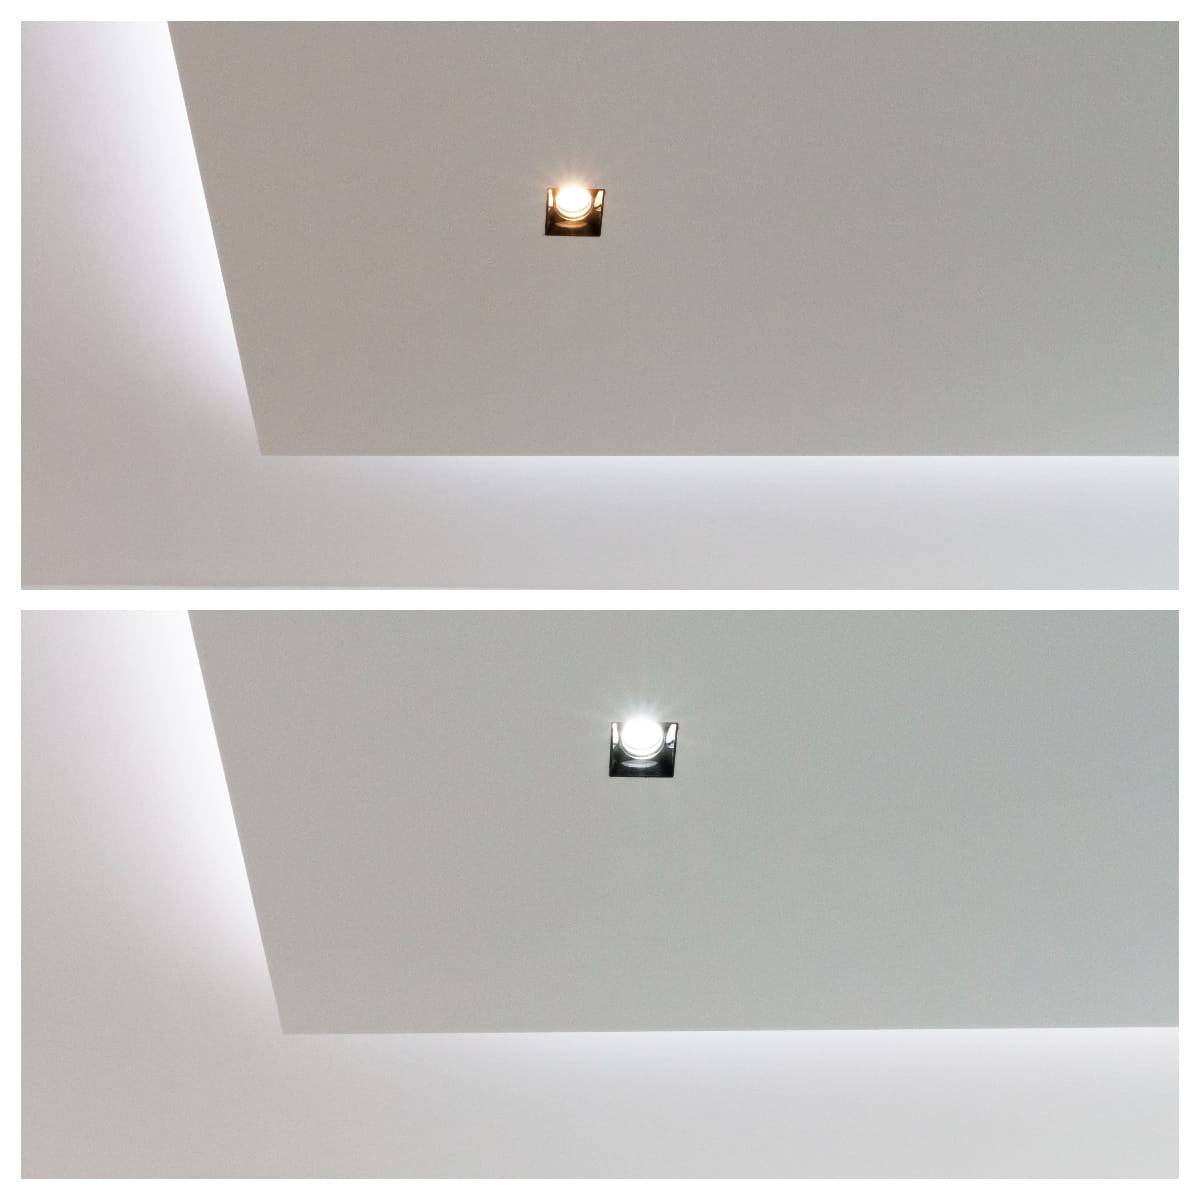
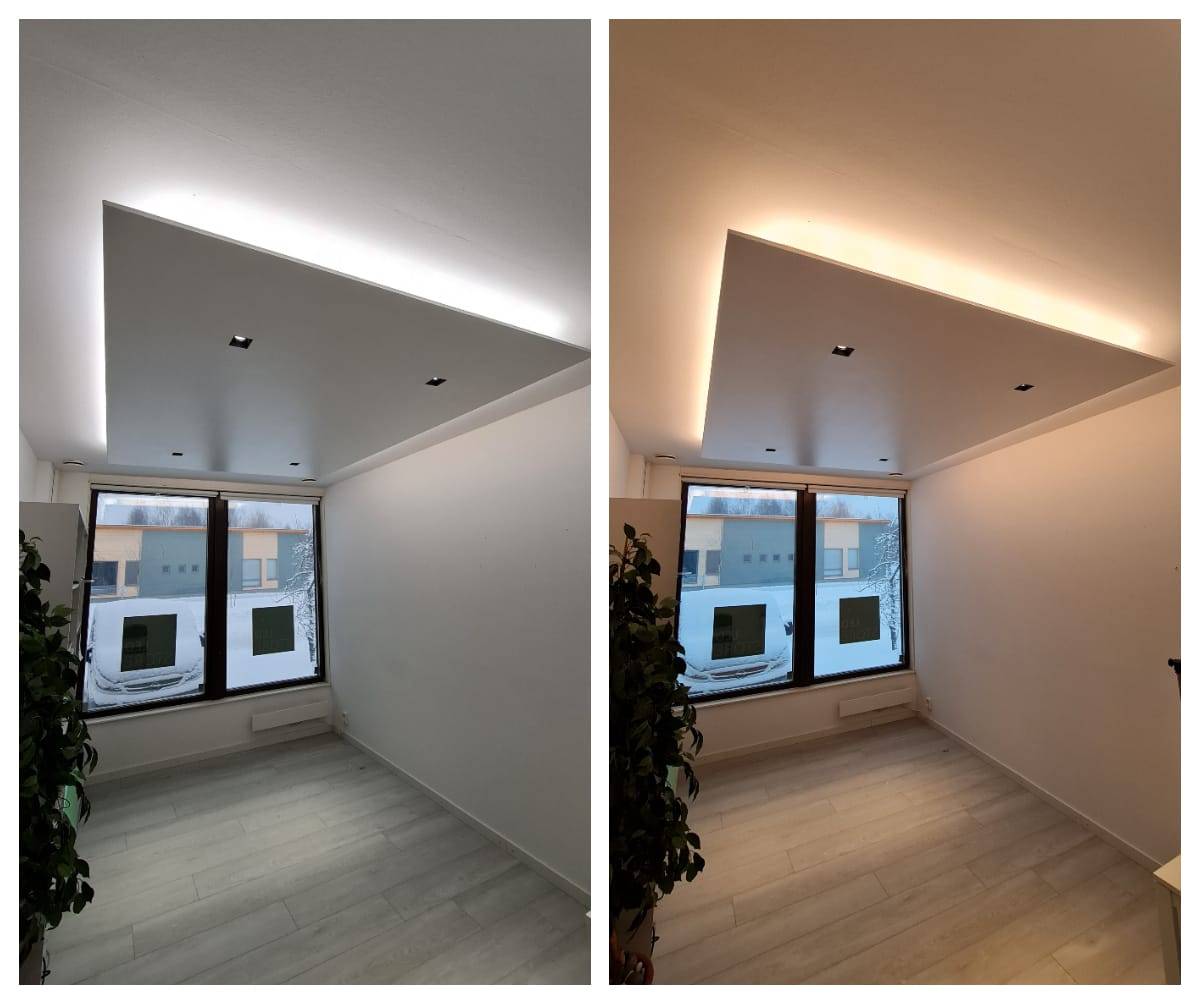
The lighting renovation of the lowered plaster ceiling was decided to be carried out in LedStore's premises using new, high colour rendering, colour temperature adjustable 22 W/m LED strips and frameless 13 W Piilo LED spots, as well as Zigbee smart control. This is a step-by-step description of the lighting renovation and the cost of the lighting and control system. The room combines indirect lighting and target lighting, which can be adjusted separately with a wireless controller. The lighting can be adjusted both by continuously changing the colour temperature of the white light and by dimming. The versatile and adjustable lighting allows the room to be used in a variety of ways. The space is equally suitable as a nursery, bedroom or study.
Making a lowered plaster roof starts with planning
The room had one spot in the middle of the ceiling and one light switch, and no changes were wanted. The renovation was done to take advantage of the lighting space in the ceiling without creating visible surface drafts, which is why the drop-down was placed on top. A single group of luminaires can be divided into two groups that light at different times by using receivers. The receivers are controlled by wireless buttons.
They wanted a more modern look and variable lighting. The lowered ceiling was easy to achieve and the renovation did not require any changes to the ceiling. The advantage of plaster ceilings is that there is room for small mistakes. If you drill a hole in the wrong place, you can patch it and make a new hole in the right place.
Indirect LED strip lighting was planned to be installed around the shelf in the lower level. For spot lighting, they wanted unobtrusive spotlights. Wireless dimming and white light colour temperature control were designed into the room, in addition to the existing switch.
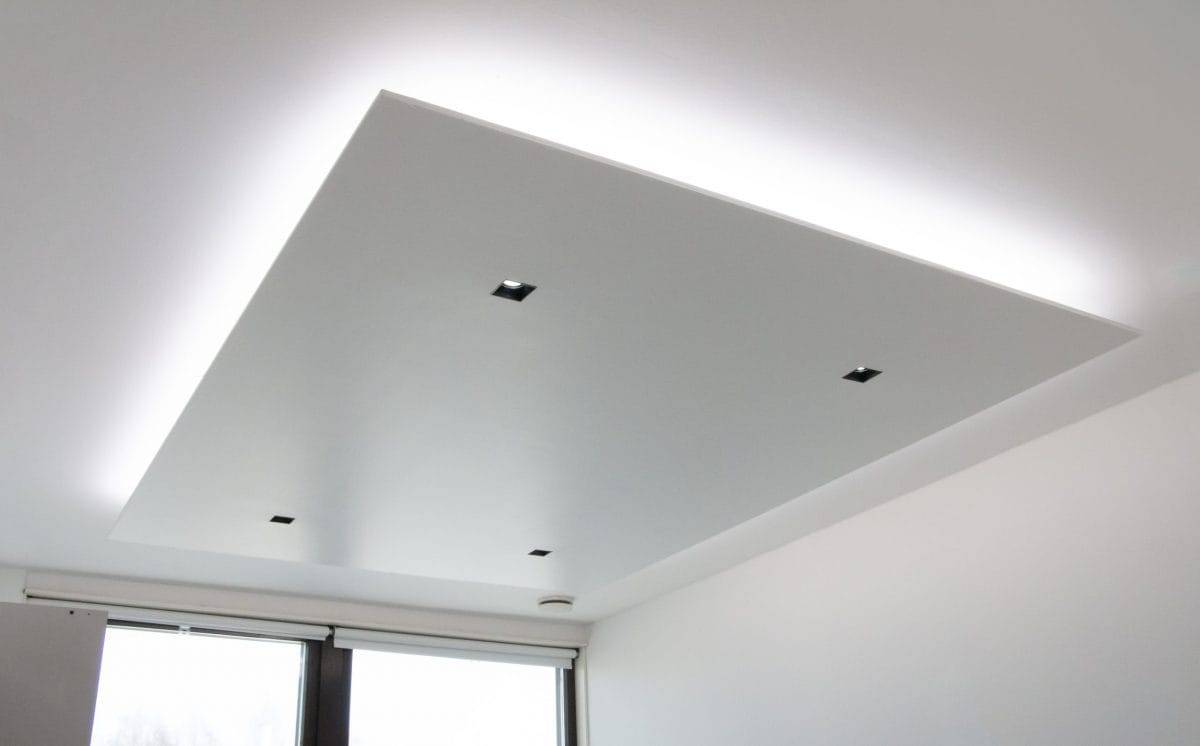
Although the room height was lowered by 10 cm with the lowered roof, the room is not affected by the lowering. Indeed, the increased amount of lighting nicely compensates and adds interest and vibrancy to the room. A downlight frame works great for applications where no changes to the ceiling or walls are desired or possible, but where recessed lighting and indirect lighting are still desired.
Roof, lowered from the centre, lowered structural section
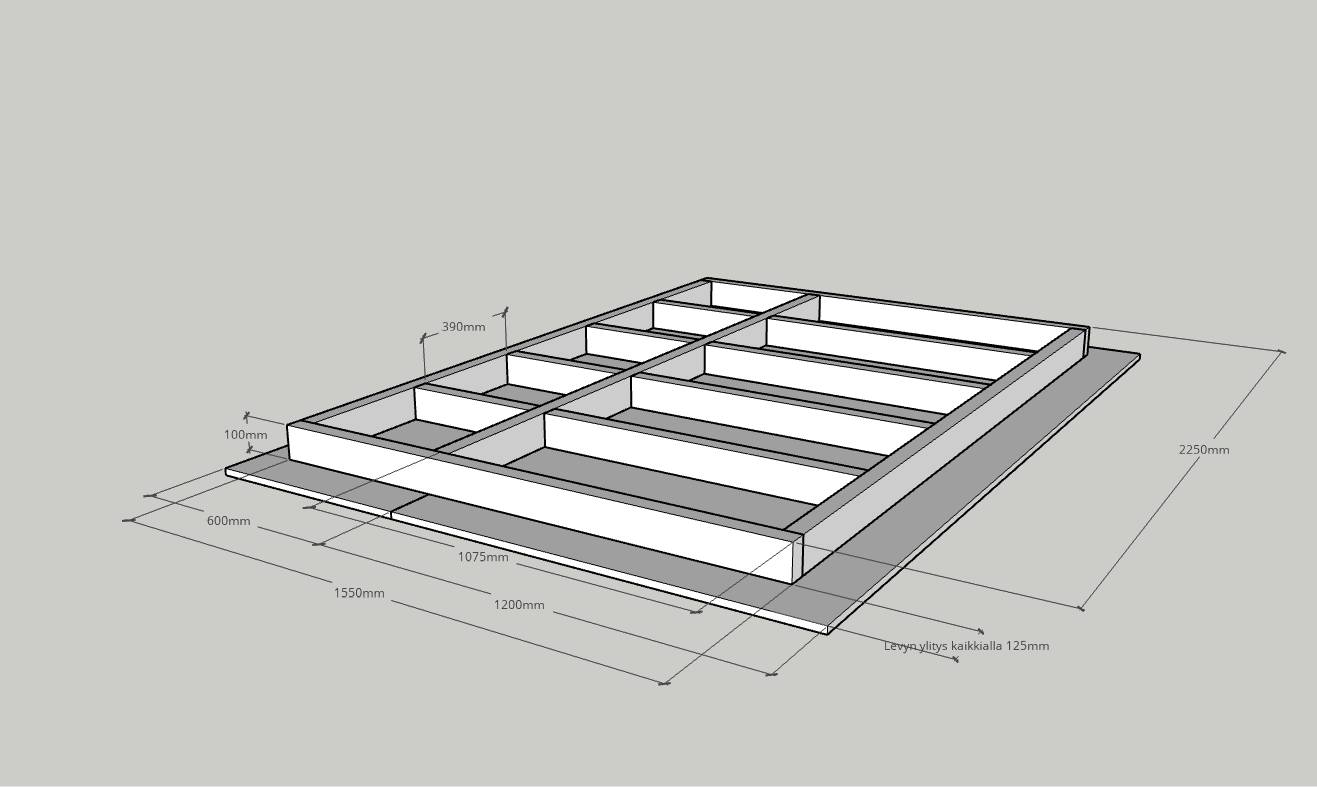
The picture below shows a sketch of the lowering frame with dimensions. The size of the plate frame is 1 550 mm x 2 250 mm. The longitudinal lap is positioned at the drywall joint. Horizontal spacings are 390 mm apart, as recommended for plasterboard installations. 1.5 Gyproc sheet was used for the lowering, giving a surface of 1 800 mm x 2 500 mm. This plan provided enough clearance, 125 mm in all directions, to be used as shelves for the LED strip. Wide enough shelves leave the LED profiles hidden and indirect lighting is nicely achieved.
Sunken ceilings - how to choose the right lighting
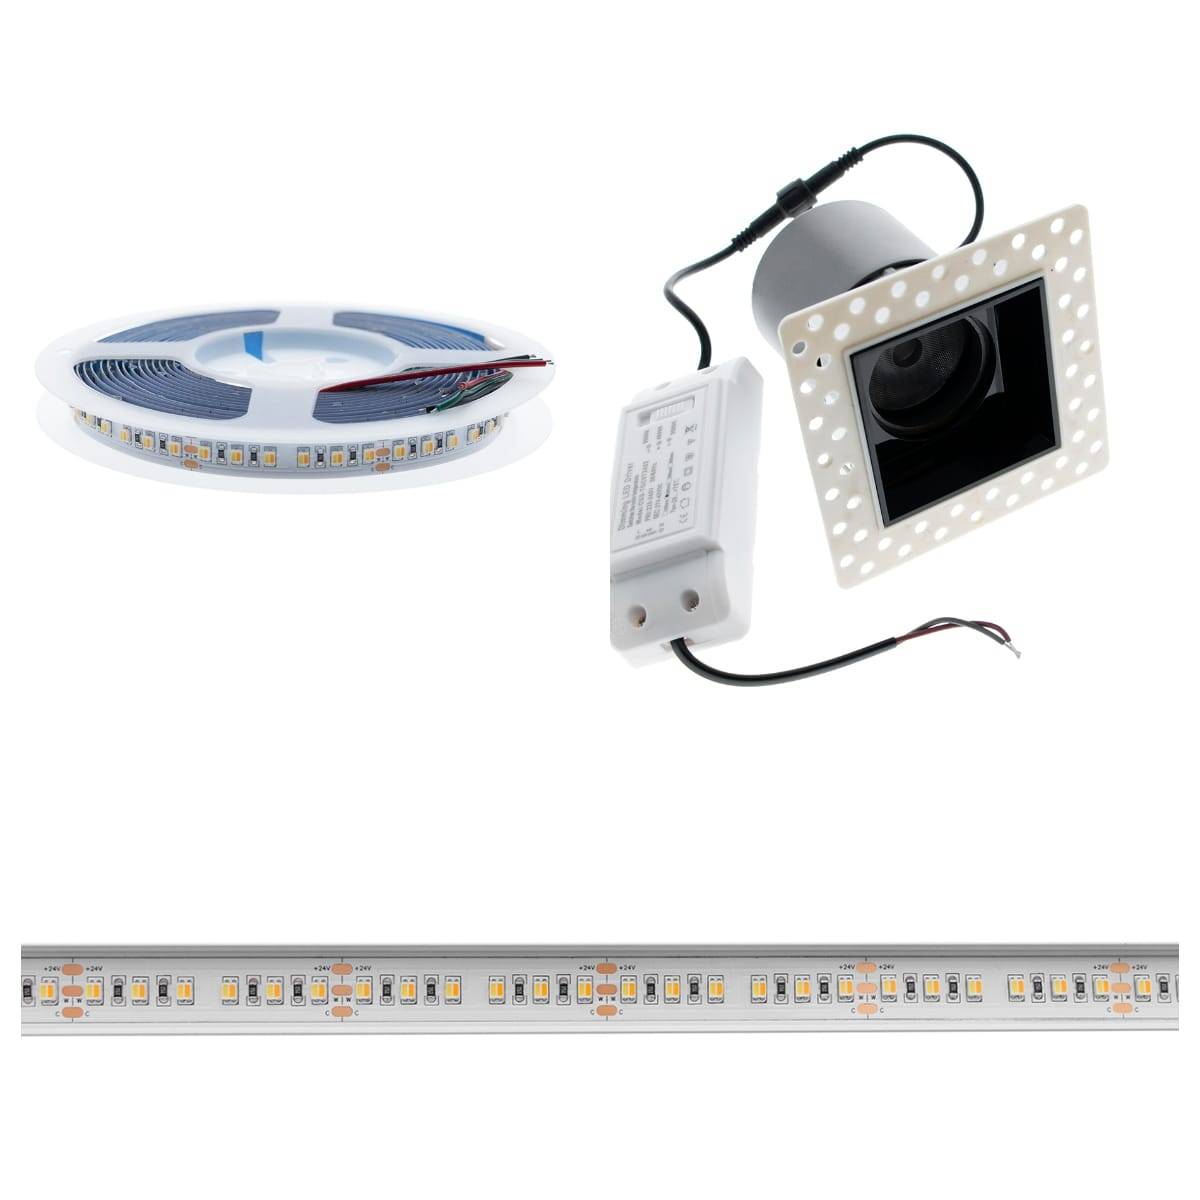
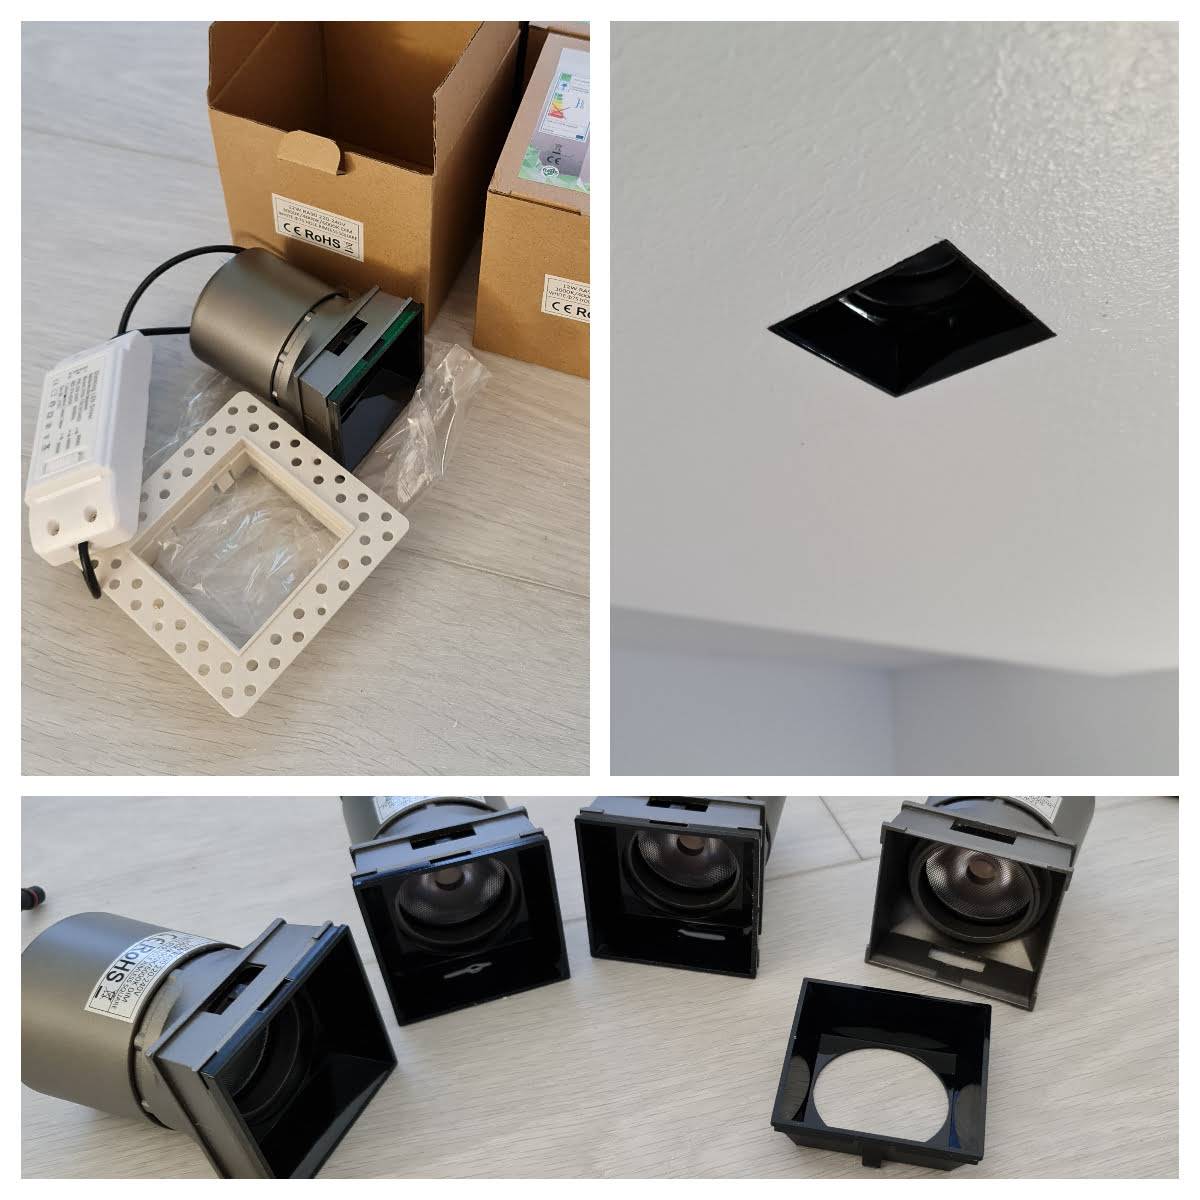
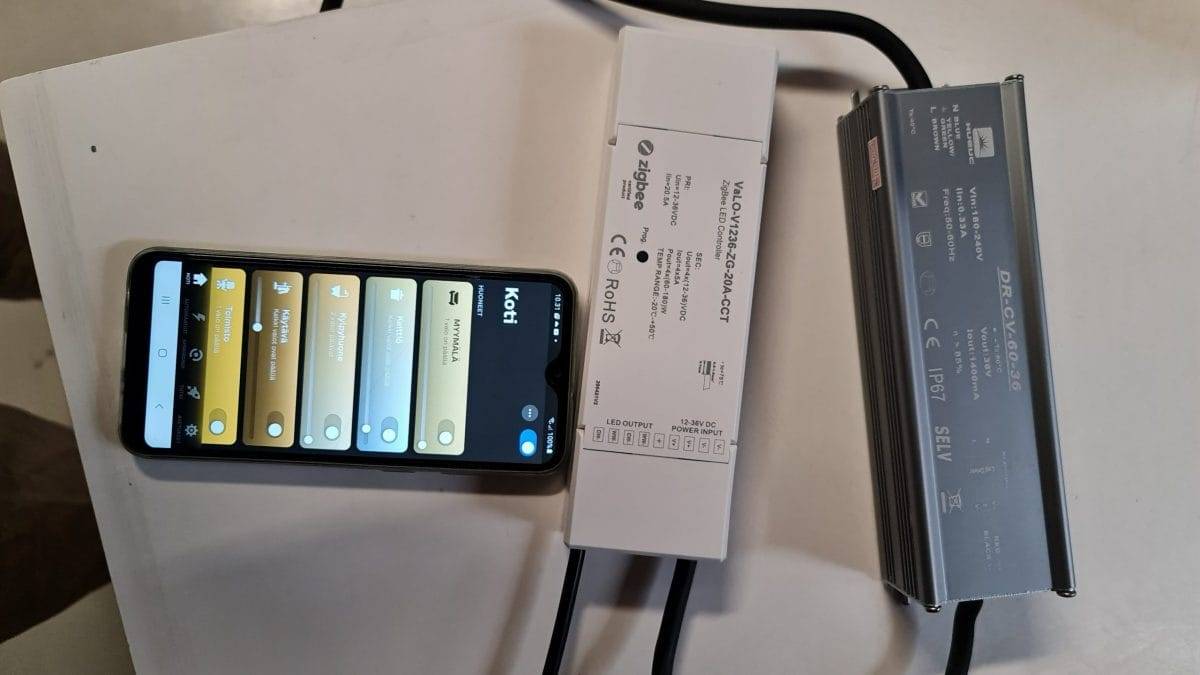
The LED lights were selected so that 22 W/m LED strips with colour temperature control were chosen for the indirect lighting of the room and 13 W Piilo LED spots with no frame and completely glare-free lighting from the side were chosen for the ceiling lights , and Zigbee smart control was used for the lighting control . In practice, a 200W RF driver for the LED strips and a receiver for the Piilo spots, suitable for Zigbee control .
The room was left with an already installed on/off switch, which can be used to turn the lights off and on in the whole room if desired. Wireless control receivers also allow the lights in the room to be controlled by a wireless controller. The luminaires are also connected to the Philips Hue mobile controller, which also enables programming and scheduling.
Indirect light on the roof - steps for a drop ceiling
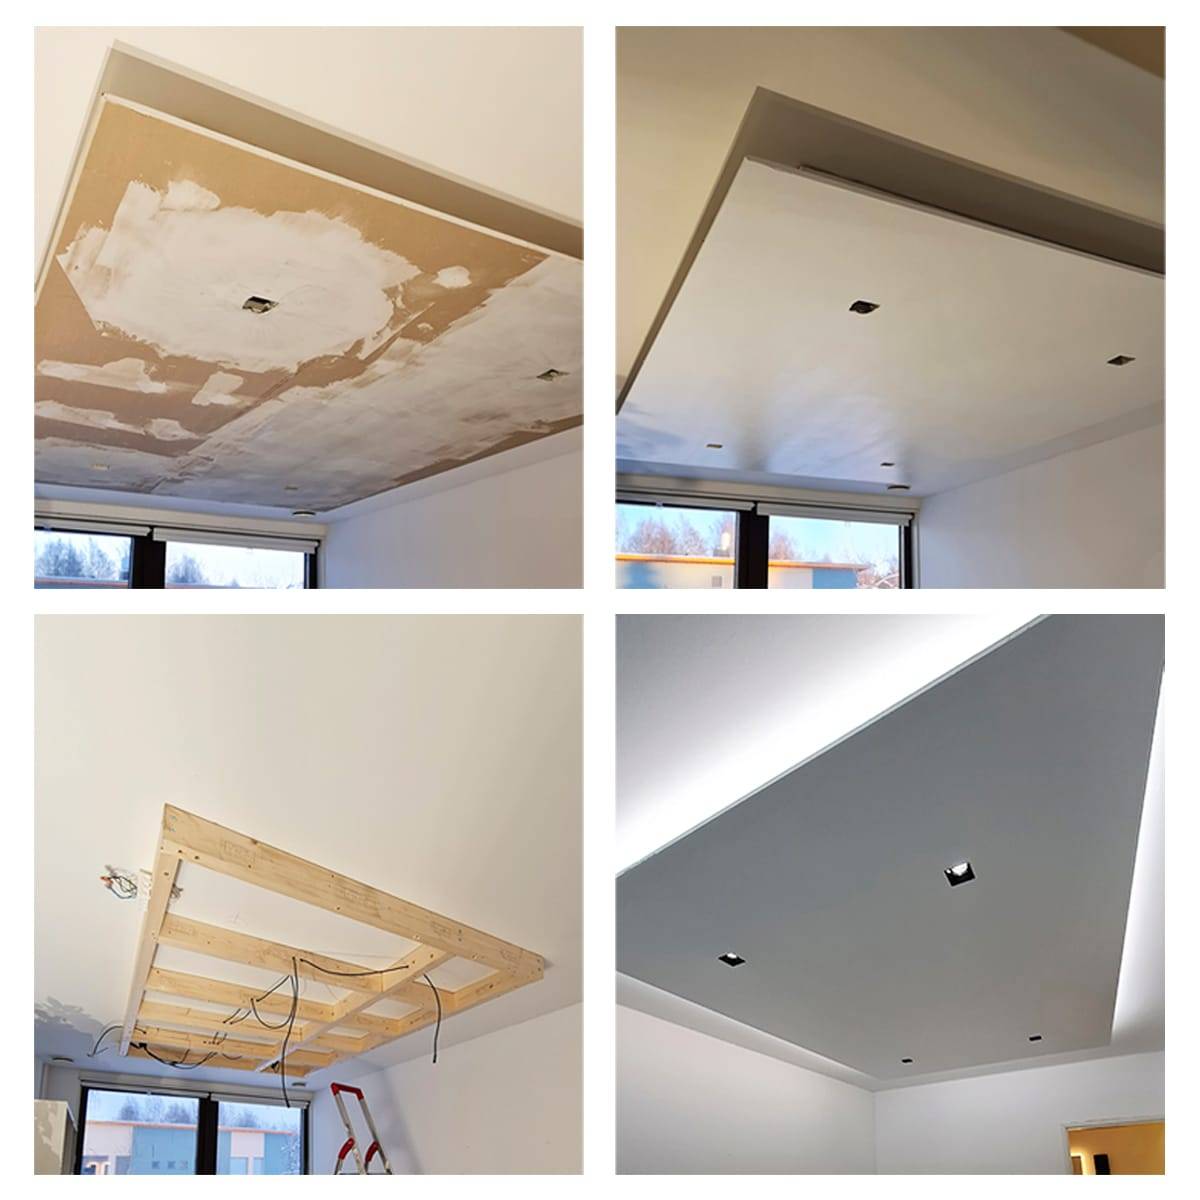
The size of the room where the descent was made is 12 m2. The area of the lower landing is 4.5 square metres, which is one third of the surface area of the roof. In summary, the stages of the renovation were as follows:
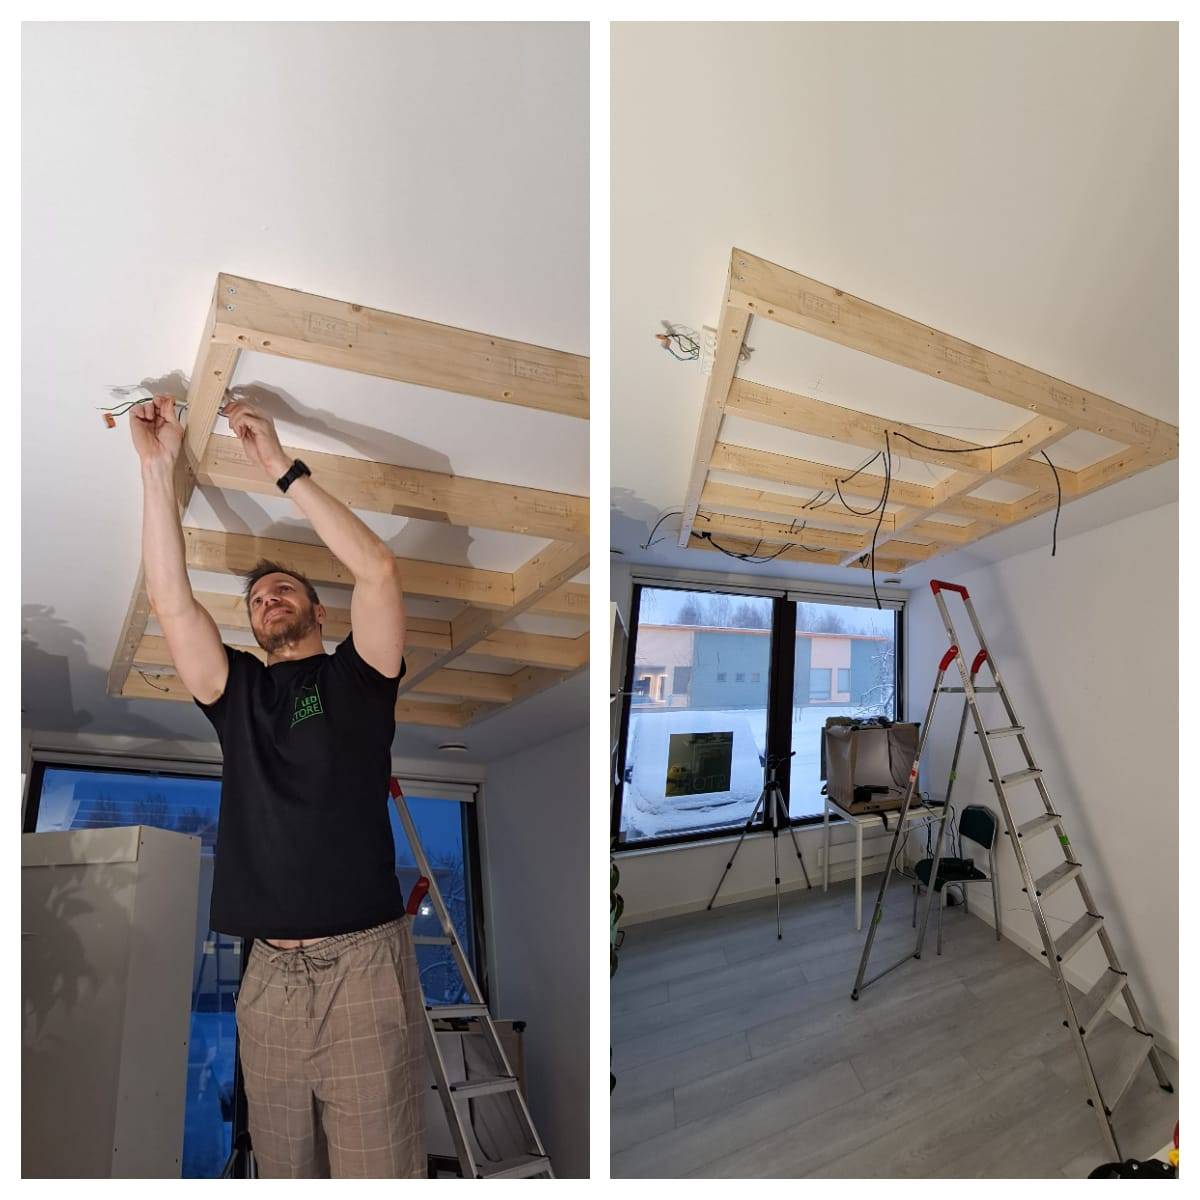
- The board frame is assembled and fixed to the ceiling.
- Wiring is brought to the spotlights and LED strips.
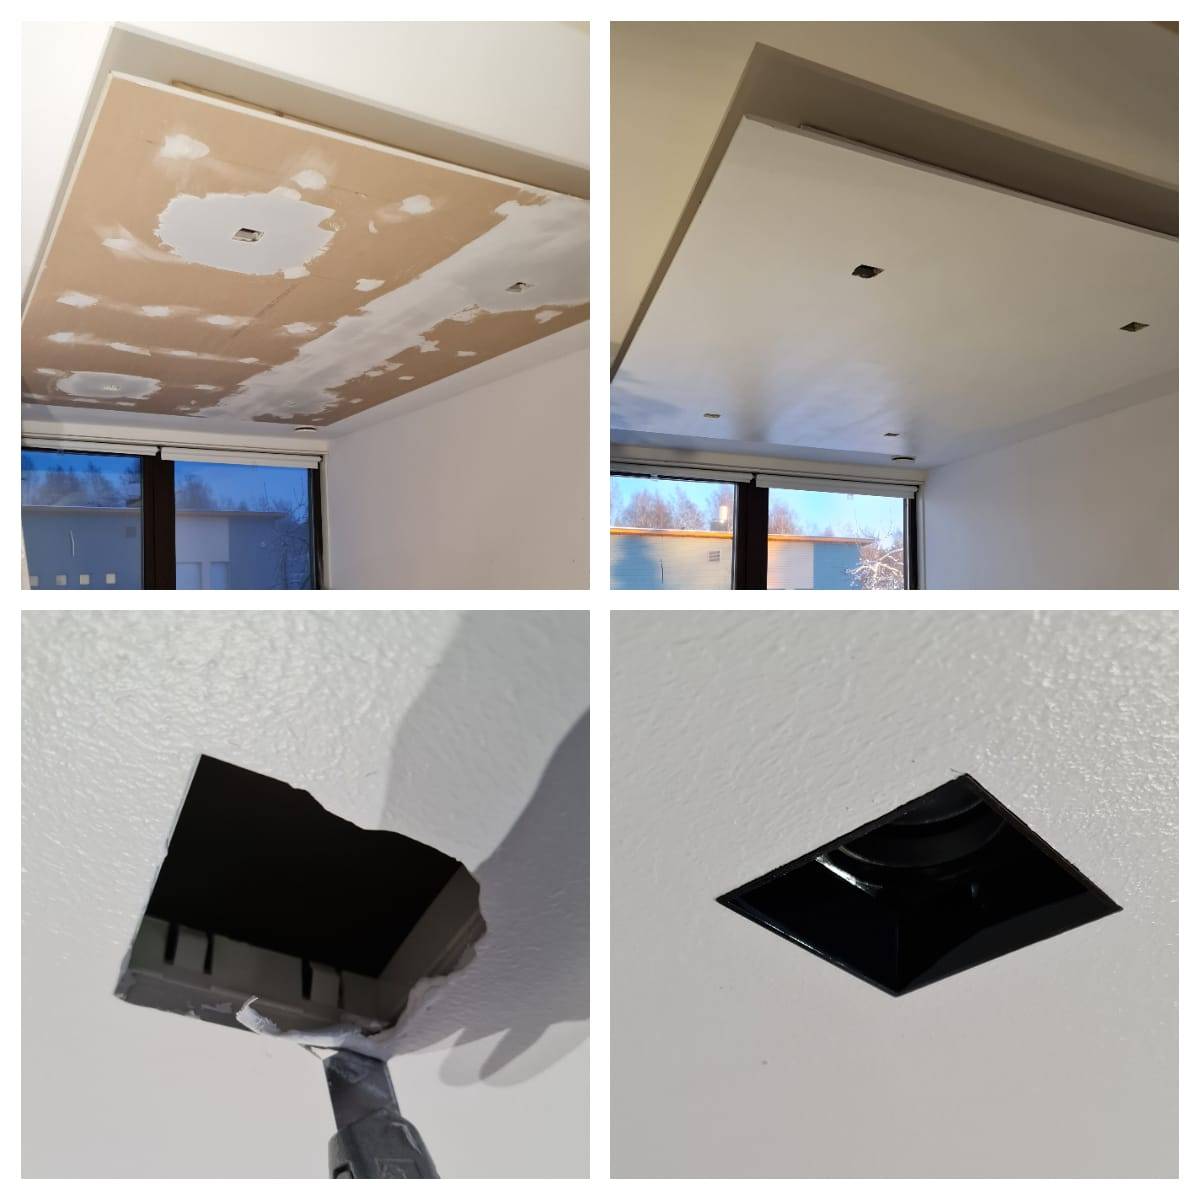
- The plasterboard is attached to the frame and the plastered frames of the silo spots are attached to the board.
- The surface is sanded and painted.
- Led rails are made ready for installation.
- Spotlights, LED rails are installed and connected to wireless controllers.
Making a landing - attaching the frame and wiring
The lowering frame was assembled according to the plan and fixed to the ceiling with 120 mm screws. Holes were pre-drilled about halfway through the fixing points. The wiring was pre-wired in the places where the spots and drivers for the LED strips were planned to be placed. The wiring of the concealed spots was done with a wiring harness designed for colour temperature controlled low current luminaires, with quick connectors for the spots ready.
Indirect roof lighting - preparing the plaster ceiling for installation of Silo spots
The plasterboards were fixed to the ceiling and levelled, sanded and painted. The plastic frames of the hiding spots were fixed with a screed and then packed on top and sanded a total of three times. The roof was made straight by spreading the screed about 50 cm from the openings with a long flange. After painting, the gaps in the lowered plaster ceiling were finished and the spots sat neatly in the frames. Finishing suspended ceilings requires precision, especially if the plasterboard is in several sections when it leaves the building.
Manufacture of Led strip rails taking into account the structure of the ceiling
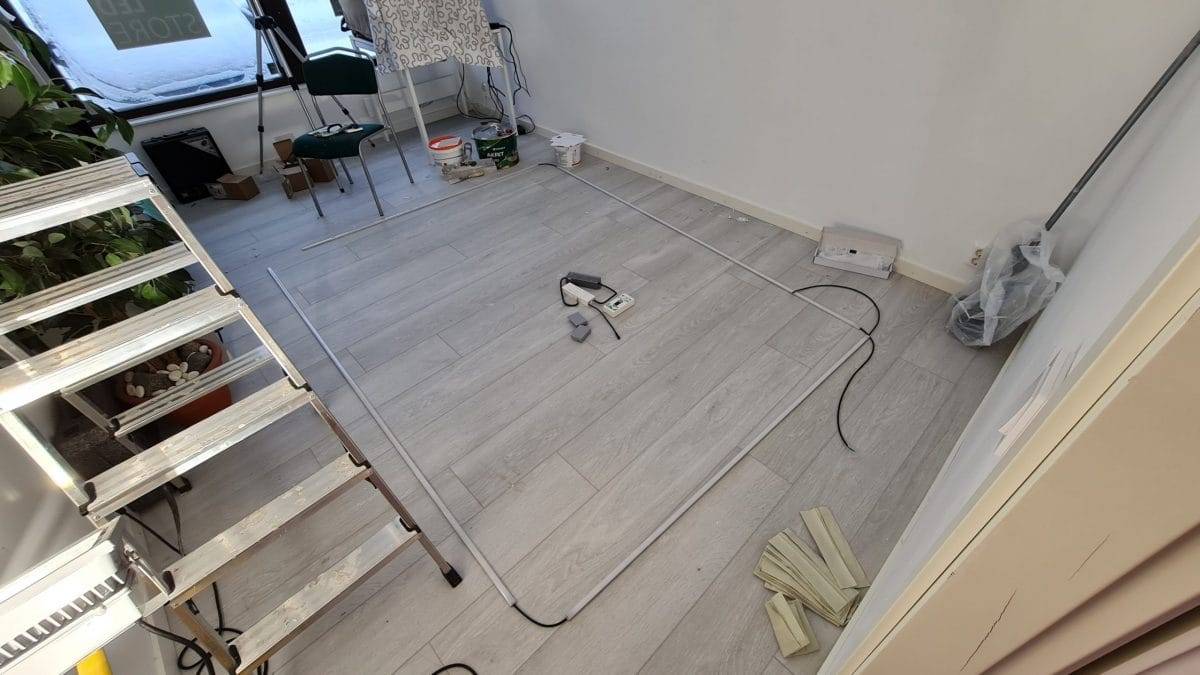
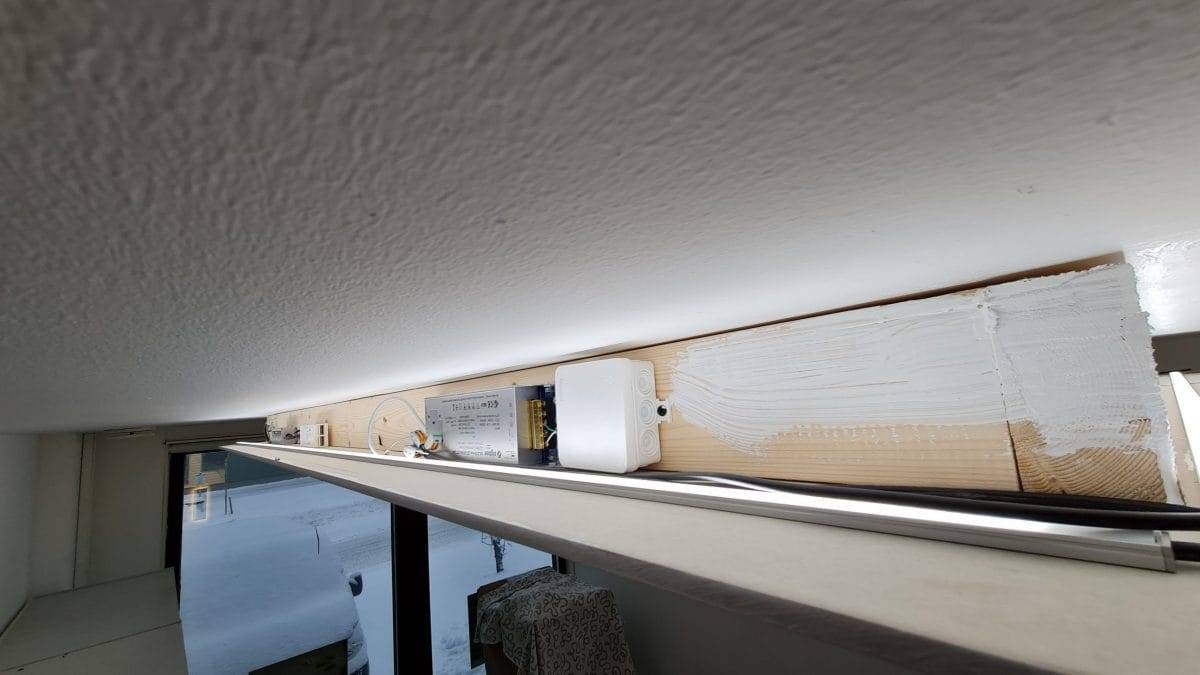
The selected colour temperature adjustable 22 W/m Pearl Ambience CCT LED strip was installed on a low profile surface, which was made into two L-shaped rails. Intermediate wires of about 10 cm were knocked into the corners. The rails were therefore dimensioned so that they are 5 cm shorter than the frame at both ends. The light opens out so widely that it is a good idea to leave the rails shorter than the corners in this form, so that the lights do not illuminate the so-called "light strip". on top of each other, so that the corners would quickly become brighter than with straight sections. It is easier to lift two L-shaped rails into place on the shelf of a lowered plaster ceiling than four interconnected rails, and you can still get both strip joints on the same transformer.
Switching on lights by connecting them to the remote control and Hue bridge
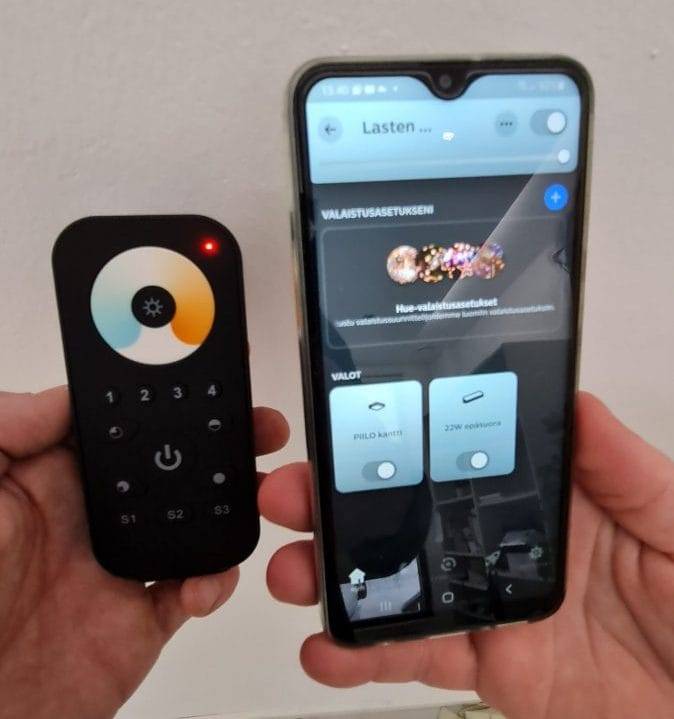
A large part of the convenience of lights is the ease of use of the desired features. So a simple Zigbee colour temperature remote control was chosen for the lights. The controller has a wall-mounted bracket to which the remote control is attached by a magnet. The lights were also added to the Philips Hue hub (link to external page). You can read more about Hue linking in our blog, Zigbee devices take over part 2.
Price of the whole (in 2022)
The materials used for the suspended plasterboard roof itself are very inexpensive. Board, plasterboard, screed, paint and a few screws cost less than €100. The cost of the lights was 564 euros for the spotlights, 847 euros for the LED rail ready for installation from LedPaja, 79 euros for the remote control, for a total of 1500 euros ( incl. VAT) in 2022.
The mood of a room changes dramatically depending on the colour temperature or brightness of the lights. We are very happy with the renovation, and we can recommend the centrally dropped plaster roof to others.
Ideas for implementations
If you want to make your drop-down plaster ceiling more decorative, you can paint it in a colour to match your interior, or even wallpaper it to look stylish.
This installation method can also be used with other luminaire combinations. For example, the same price is obtained by replacing the colour temperature adjustable LED strip on the ceiling with a 14.4 W/m 1,000 lumen per metre of the lower-efficiency Helmi Tunnelma, and adding two more Piilo spots to the downstand. In this case, the amount of direct spotlighting is increased and the indirect light is more clearly atmospheric.
If you are a light user who needs more colour, we recommend using SOLO SPEKTRI RGB+CCT led strip. In this case, the remote control becomes a controller that can be used to adjust both the colour temperature adjustable spots and the true colour changing LED strip.
Here's another article where we made a lowered plaster roof as a multilevel
1. Miksi keskilattialla alaslasketun kipsikaton valaistus on suosittu ratkaisu?
The plaster roof, lowered in the middle, offers a stylish and modern look, while allowing for versatile lighting options. It neatly conceals wiring and LED strips, giving the interior a cohesive and finished look. In addition, indirect lighting adds a soft and pleasant ambience to the space.
2. Miten LED-valonauha ja piilospotit toimivat yhdessä?
LED strip lighting provides uniform, indirect ambient lighting, while concealed spots provide targeted light for areas such as seating and work areas. By combining the two, a layered lighting solution is created, with a pleasantly soft general lighting of the space and spotlight accent lighting for added functionality.
3. Miksi LED-valonauha sopii erityisen hyvin kipsikattoasennuksiin?
The LED strip is thin and flexible, so it can be easily installed in recesses in plaster ceilings or behind mouldings. It consumes little energy and produces a pleasant, even light. It also makes it easy to create indirect lighting that is glare-free and beautifully accentuates roof shapes.
4. Miten varmistaa laadukas asennus keskilattialla alaslaskettuun kipsikattoon?
Careful planning is key. Ensure that the suspended ceiling is correctly sized for lighting and that there is sufficient space for wiring and power supplies. Use quality materials such as aluminium profiles for LED strip cooling and check for compliance with electrical safety regulations. A professional installer can help with the cleanliness and functionality of the end result.
5. Miten valaistusremontissa kannattaa huomioida himmennys ja ohjaus?
You should choose dimmable LED components and compatible power supplies and control devices. Dimming allows you to adjust the mood and brightness level of the lighting to suit different situations. You can also consider smart lighting solutions, such as wireless control systems, which make light management flexible and easy.
