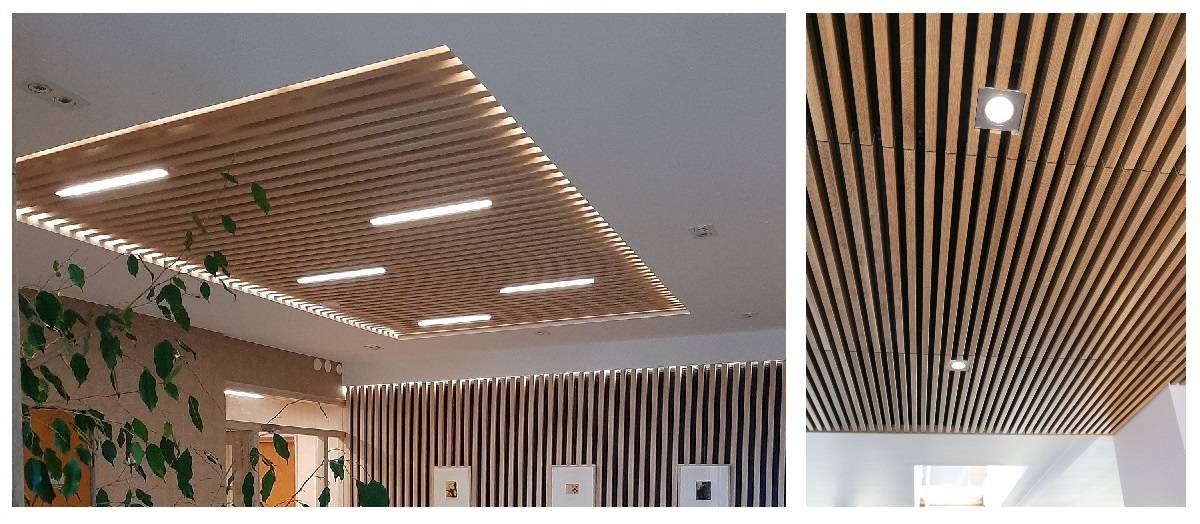
In the initial situation, the high space was illuminated by two fluorescent light bulbs. The space looked bleak and cold. A more homely atmosphere was created by redesigning the lighting. The ceiling was lowered and the space was equipped with versatile and efficient lighting with several types of luminaires. So at the same time, the lighting of the cornice was done.
Enough light, but a dreary sense of space
The main function of light is to provide enough light for seeing, doing and moving around. But equally important is the spatial effect that light creates. When LedStore transformed a purchased property into a space with a unique look, LED tube lights were replaced with stylish spotlights and indirect LED strip lighting.
The renovation started with the lowering and installation of the LED profile
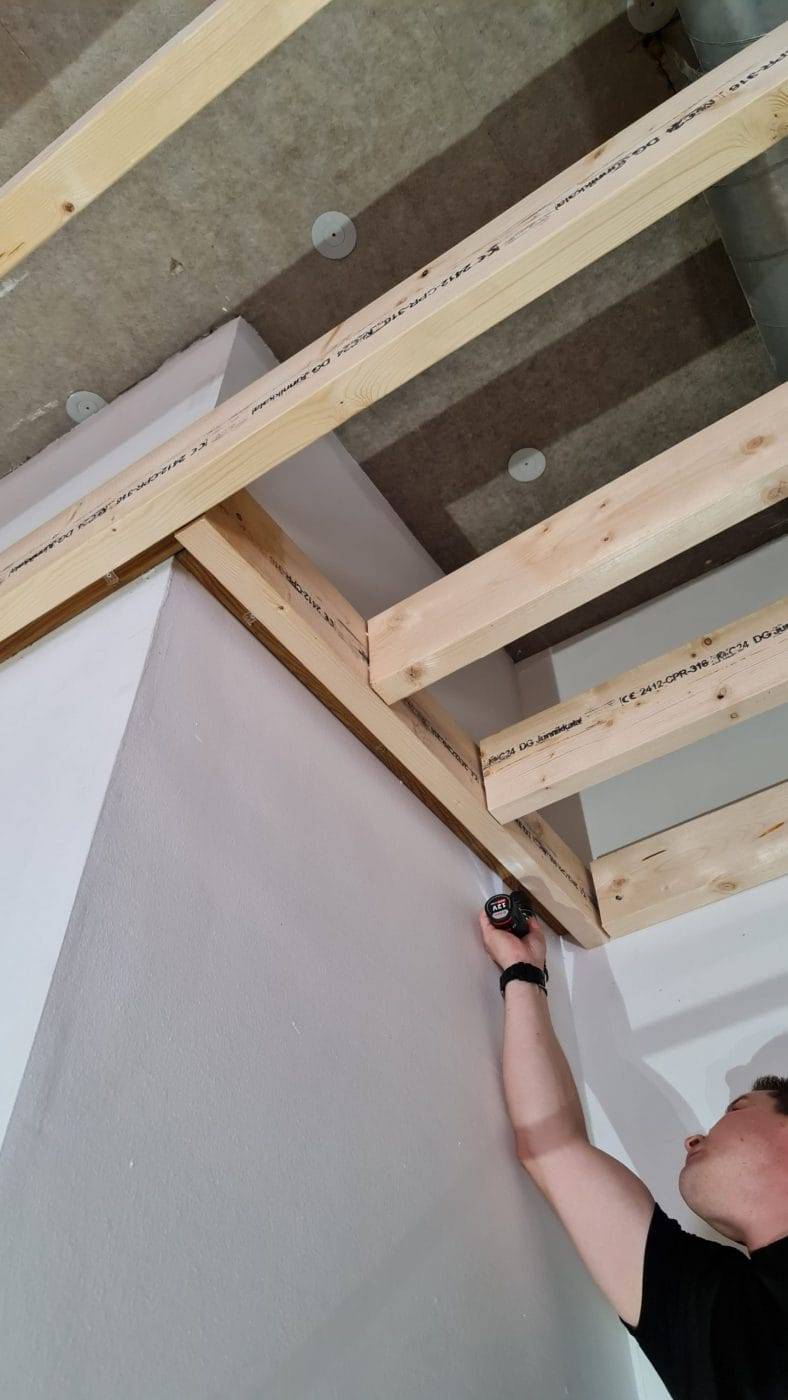
The ceiling of the high space had a drop-down space, so it was decided to make a fair drop-down in the ceiling and to use a so-called "drop-down ceiling". hipped roof with thermally treated panel. The height of the space was left at 310 cm at the lower end and 335 cm at the higher end. Installing the panel is easier than installing a pitched roof, as the panels are 15 cm wide.
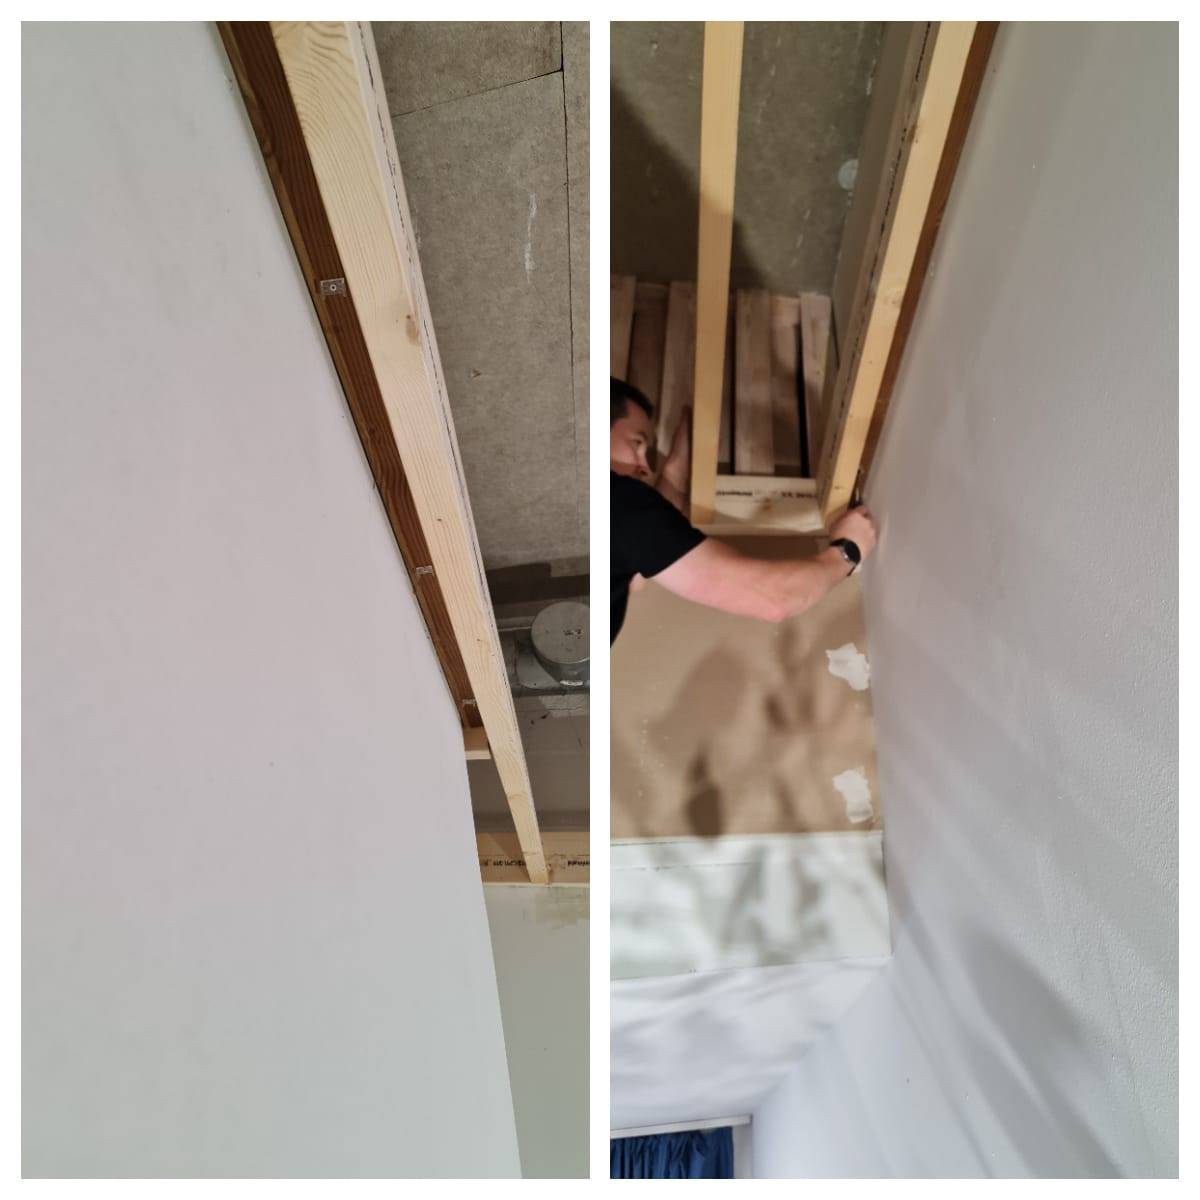
A drop-down frame was made for the ridge roof. A groove was left next to the wall for the LED strip.
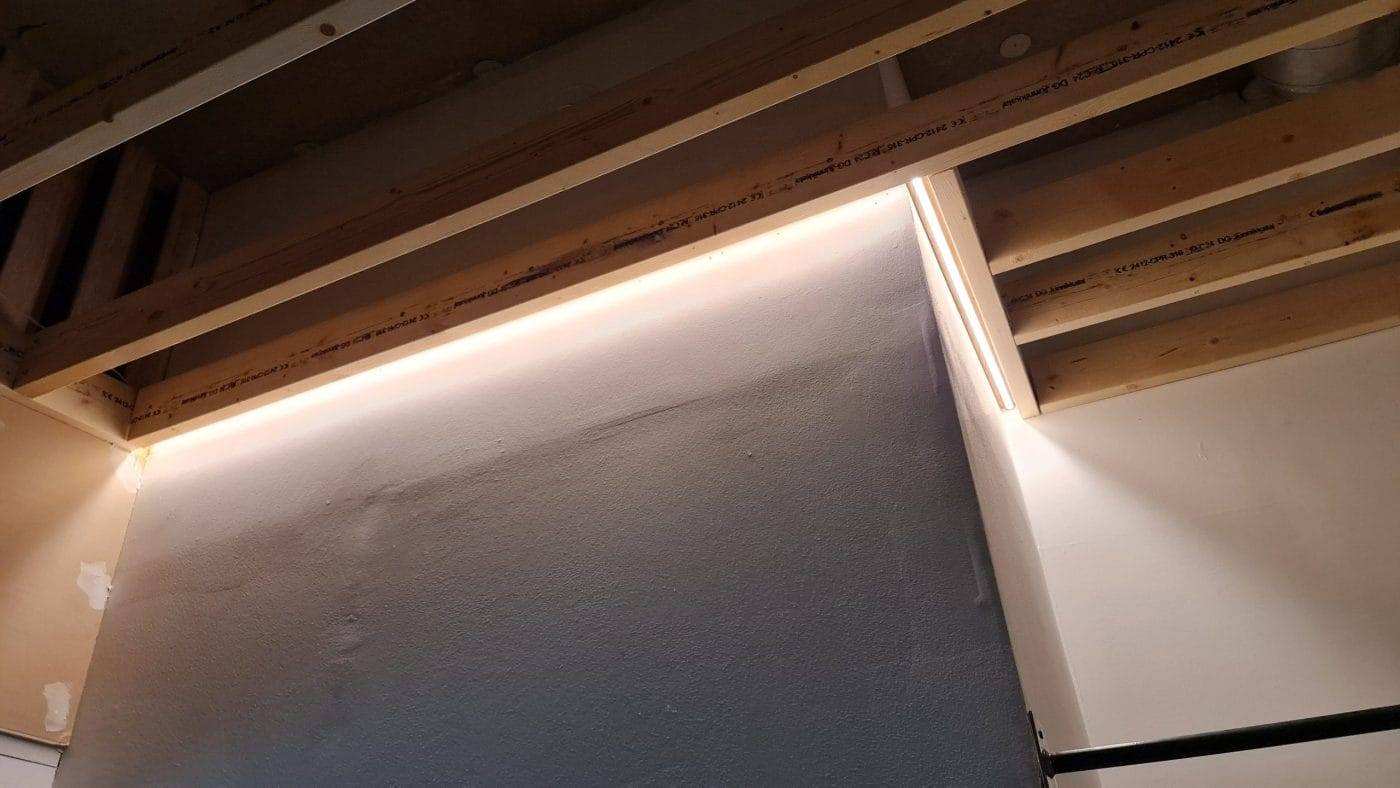
For two walls, indirect LED strip lighting was desired. The illumination of the skylight was done by installing a 22 W/m colour temperature adjustable CCT strip, which was fixed to a low black aluminium profile. The LED strip was installed in the groove of the ceiling, where it indirectly illuminates the white wall surface.
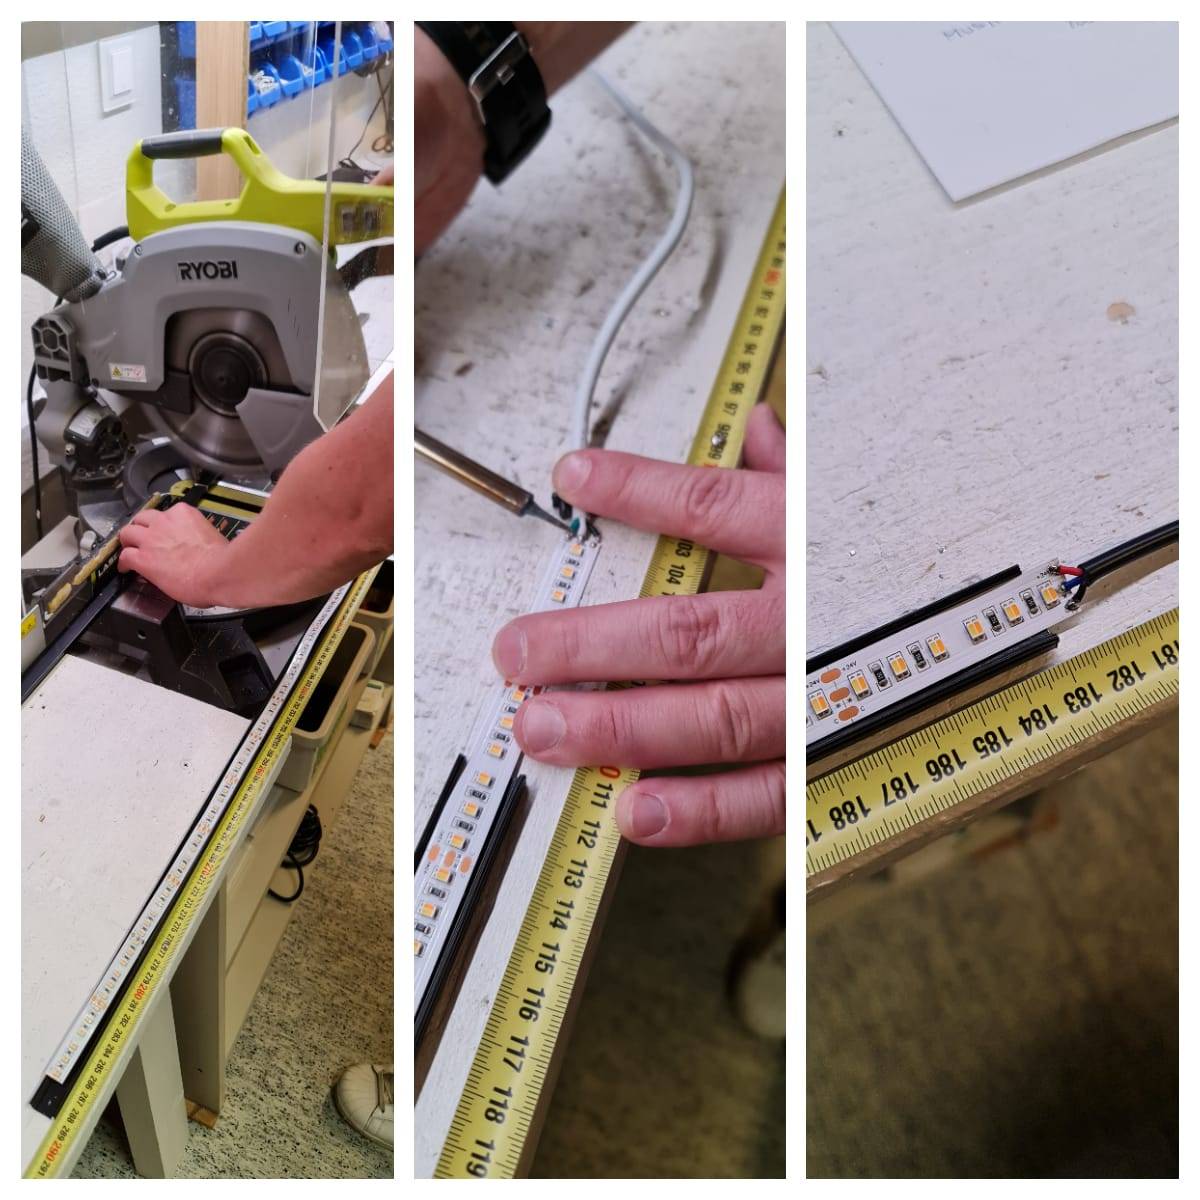
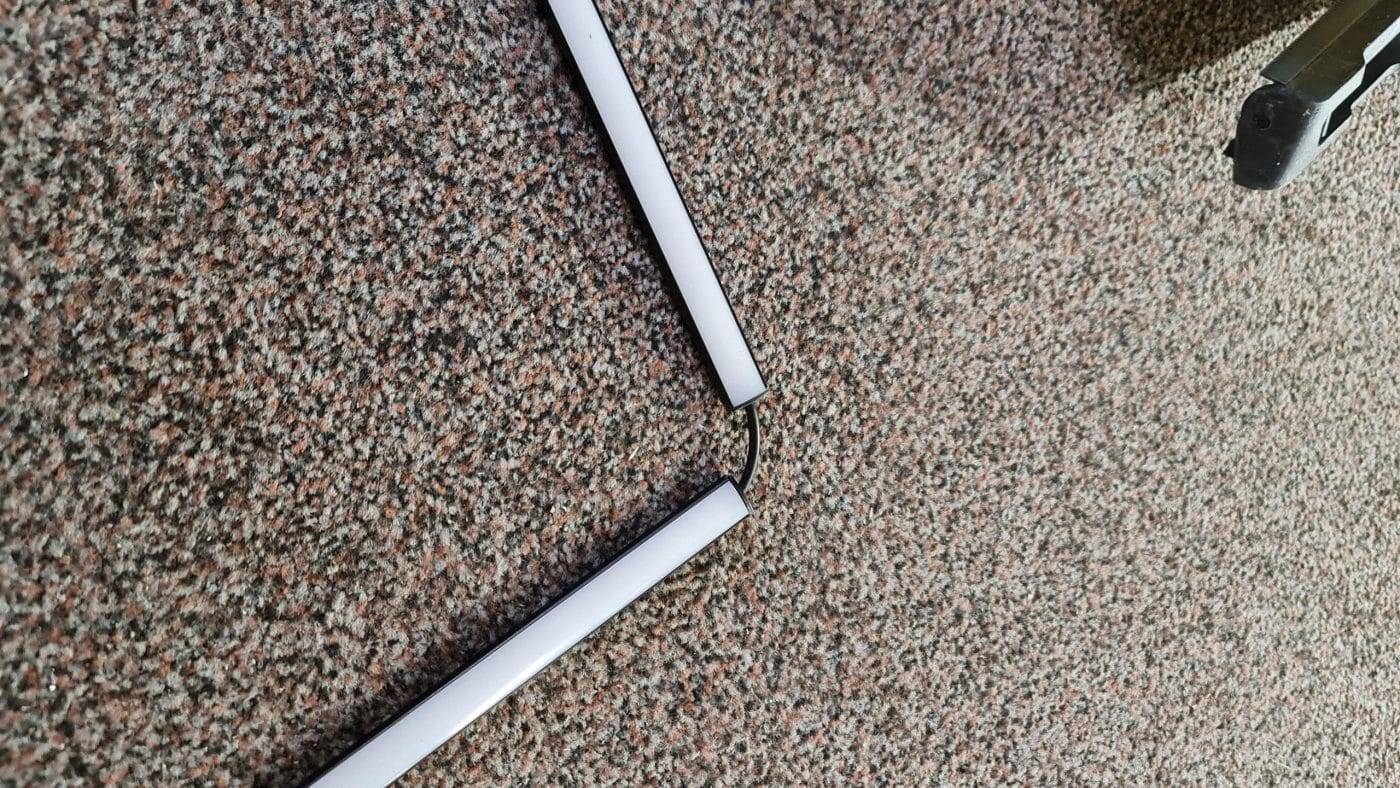
Led strip lighting was made to measure by LedStore's LedShop.At LedPaja, the LED strip and the black aluminium profile were cut to the right dimensions. The supply lines and corner lines were punched for installation. The colour temperature adjustable ribbon has a three-wire supply cable for colour temperature control.
For the Led rails, mounting brackets were attached to the groove at intervals of about half a metre using small countersunk screws. The width of the groove should be about 5 cm, so that the LED rail and brackets can be installed comfortably. 5m was easily created from a surplus "two-two".
The ready-to-install LED rail was fixed in the groove where the brackets were ready. On the right, the picture shows the wire feeding into the ceiling.
The LED strip was pressed into the groove and the lights were switched on.
Led strip in black profile with corner connection, ready for installation.Led strip 22 W/m CCT colour temperature adjustable gives plenty of light from a good three metres.
Strip ceiling lighting - installation of spotlights
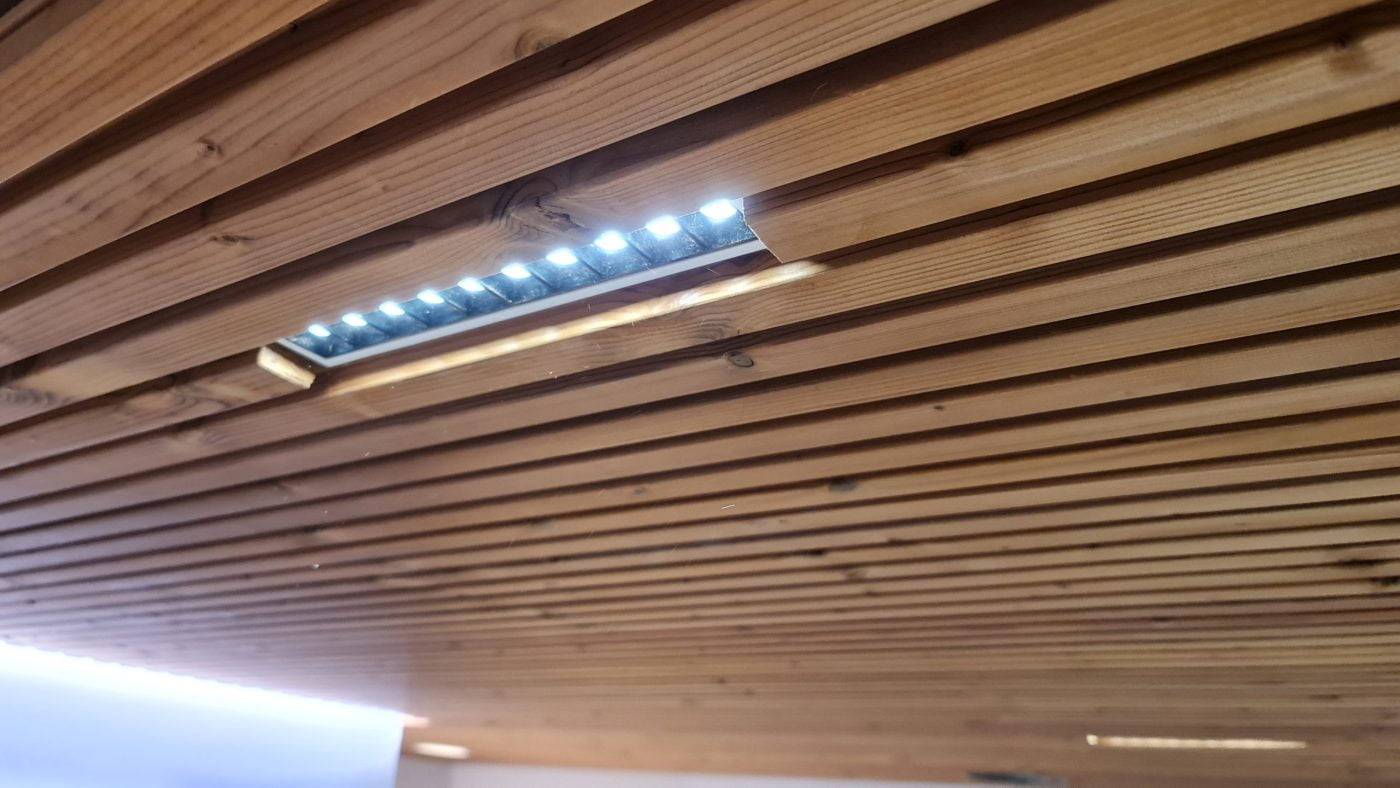
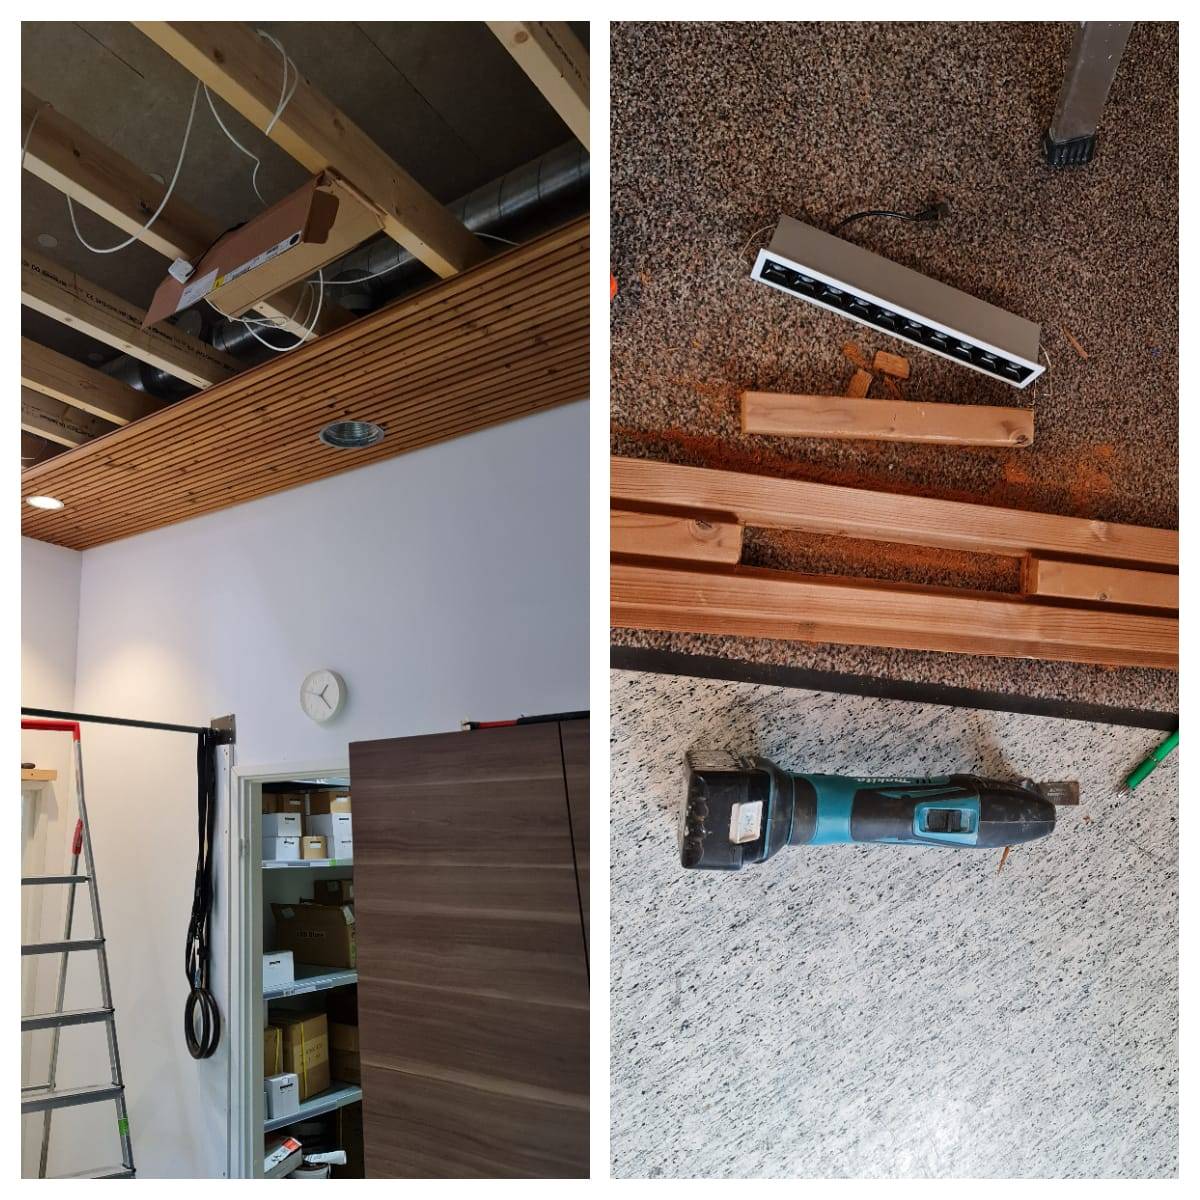
The lighting of the skylight was intended to be versatile by combining indirect light and spots. While the roof was still open, the wires were pulled to the lamps and the positions of the lamps were checked by moving the cardboard in which the lamp was embedded. Holes of the right size were made in the paneling for the light fixtures. LINJA 10 4000K with a neutral light colour was recessed so that the luminaires were recessed into the ceiling. Narrow 20W luminaires provide ample light in the space. Care should be taken with the positioning of the luminaire, as the light range of a LINJA with a narrow wedge is much more narrow than that of a general-lighting luminaire.
LINE 10 The positions of the luminaires were checked before the mounting holes were cut in the ceiling.When the lights are on, you will notice a great feature of LINJA 10, the light points are not visible when viewed from the side.
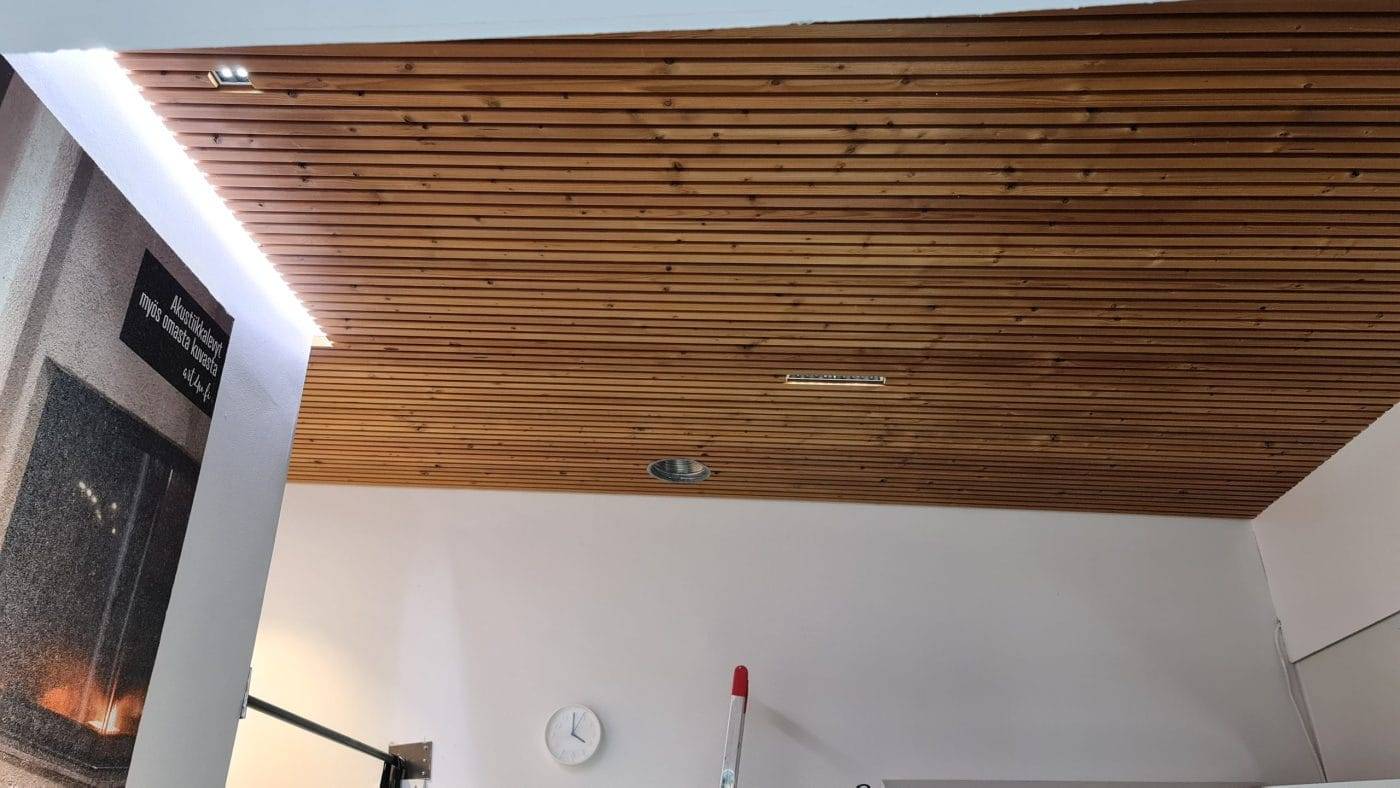
Finished strip ceiling lighting is unobtrusive. The LINJA 2 spotlight, part of the LINJA 10 family, was installed as an additional luminaire at the interior panel. This way, even if the LED strip is not on, the board will be illuminated. LINJA 10 and LINJA 2 are installed in the same group of luminaires.
Ceiling illumination using traditional strip lighting
This use of a cast-iron panel saved a huge amount of time and money compared to a traditional slatted roof. The whale panel cost approx. 70€/sqm when doing this + framing. It took a few hours of work. So the panel was just nailed from the pontoon to the column. A traditional ridge roof is made as follows:
A black ground cloth is usually first stapled on top of the coulomb.
Nail strips of the desired width/height side by side onto the fabric.
Repeat MONTHS..
At each stage of the installation of the flange, care must be taken to ensure that the flange spacing remains the same. This is a very time-consuming step. The materials usually cost less in bulk, but then it has to be processed and cut.
Nowadays there are also ready-made ridge roof elements, 100-200€/m2.
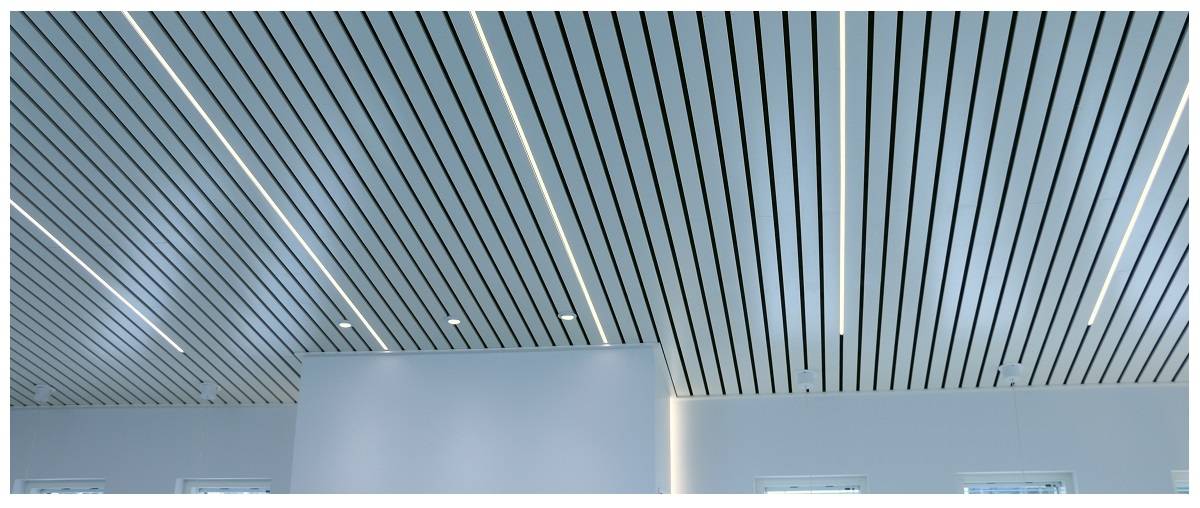
The lighting of a traditional strip ceiling can be done as above, i.e. the spots are usually grooved into the panel and the LED strip in the profile is between the strips. Here are a few pictures
Lighting of a traditional strip ceilingThe gutters between the boardsWelcome to visit the Led Store's high bay lighting showroom at Mesikukantie 16, 01300 Vantaa, Vantaa.
LedStore has been an expert in led lighting since 2010.
We have our own product design, so our products are technologically state-of-the-art.
We focus on light colour temperature controlled and high colour rendering index lights.
We do around
500 lighting designs in a year.
We offer a service of custom made led strips, i.e. custom made led light strips in profile.
Also installed.
Remember that we are always ready to offer our help to you along the way, by email (myynti@ledstore.fi) and by phone (045 251 4510).
As always, feel free to share photos of your own projects on social media at ledstore.fi at Instagram and ledstore.fi at Meta.
We love to see the cool things done by our LEDs, and it also helps to provide inspiration for those who are not sure about the power and awesomeness of LEDs.
Did you know that we already have over 3500 pictures of our LED installations in our Gallery!