Interior staircases often remain surprisingly dark, requiring additional light afterwards. If there are no wall or ceiling lighting points, one effective way is to invest in step lighting.
A LedStore customer quickly completed their own staircase lighting project and was very satisfied with the step lighting result. Typically, no modifications are needed for wooden stairs and installing the LED strip is straightforward. To attach the profile, you only need to screw in two screws per step, on the underside of each tread.
If you have a socket for the transformer, you can do the whole renovation yourself. The cost of the accessories for this renovation came to less than 600 euros. The LED power for 12 metres is 86W, and the lumens for the staircase are about 4 800.
Cutting the aluminum profiles to the correct lengths.
Cutting the LED strips to fit the profiles.
Soldering connection wires to the LED strips.
Attaching the LED strips to the profiles.
Performance testing.
Mounting the LED profiles in place.
Soldering the main line to the driver.
Connecting the driver and pairing the wireless switches.
Mounting the switches in the desired location.
Ready to use!
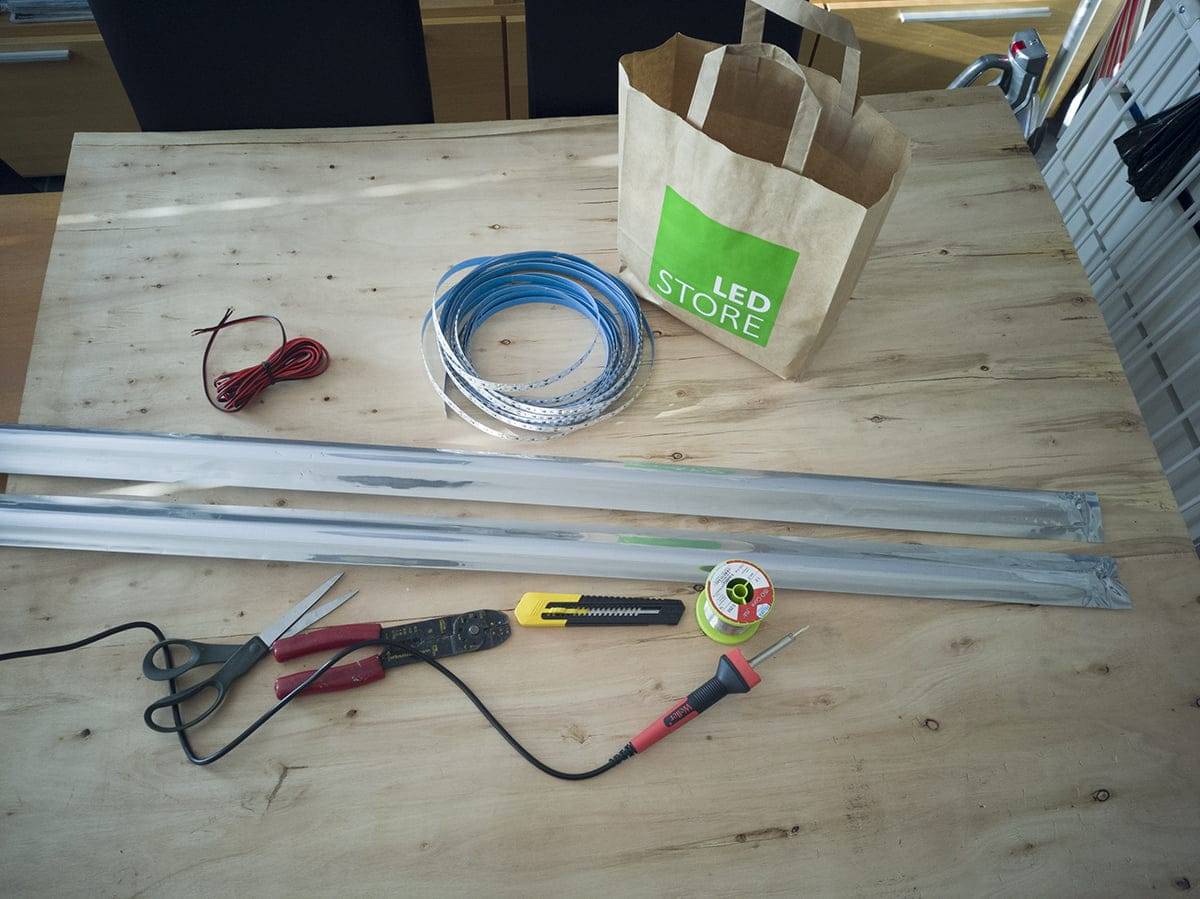
For the step lighting, we needed LED strip, aluminum profile, a soldering iron, solder, and low-voltage cable. To make strip connections and cut the LED strip, we also used scissors, wire strippers, and a utility knife.
Cutting the aluminum profiles and soldering the LED strips
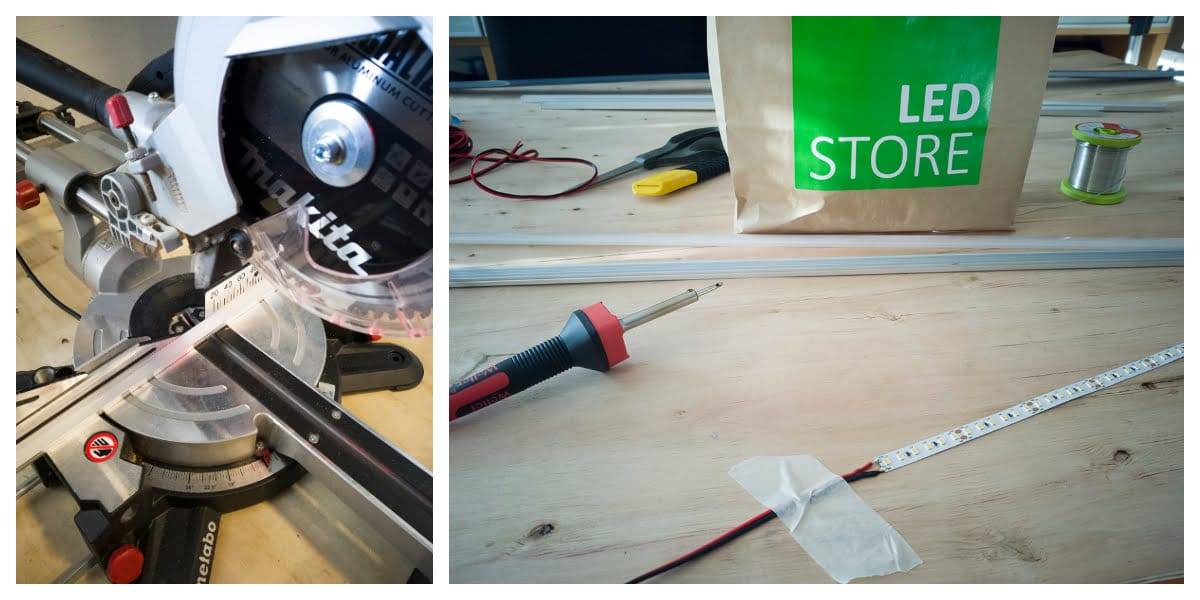
The aluminum profiles were cut to the correct length using a table saw. If a table saw isn’t available, aluminum can also be cut with a hacksaw. The profiles can be cut with the plastic cover in place. After cutting, any metal shavings must be cleaned out of the profile to ensure the LED strip can be attached to a clean metal surface.
When working with LED strips, it's important to pay attention to the designated cutting points, which occur every 5 cm on a 7.2 W/m strip. These points can be identified by the copper pads, which also serve as soldering points. Low-voltage soldering can be done by the user, even without electrical certification. The surface of the LED strip is coated with a transparent, thin, non-yellowing layer of silicone, so you'll need to carefully strip the silicone at the soldering point using a sharp knife. The silicone isn't bonded to the strip, so it peels off cleanly.
The LED strip and cable are lightweight, so it's helpful to secure one of them in place while soldering. Taping one component to the work surface makes it easier to align the soldering points accurately.
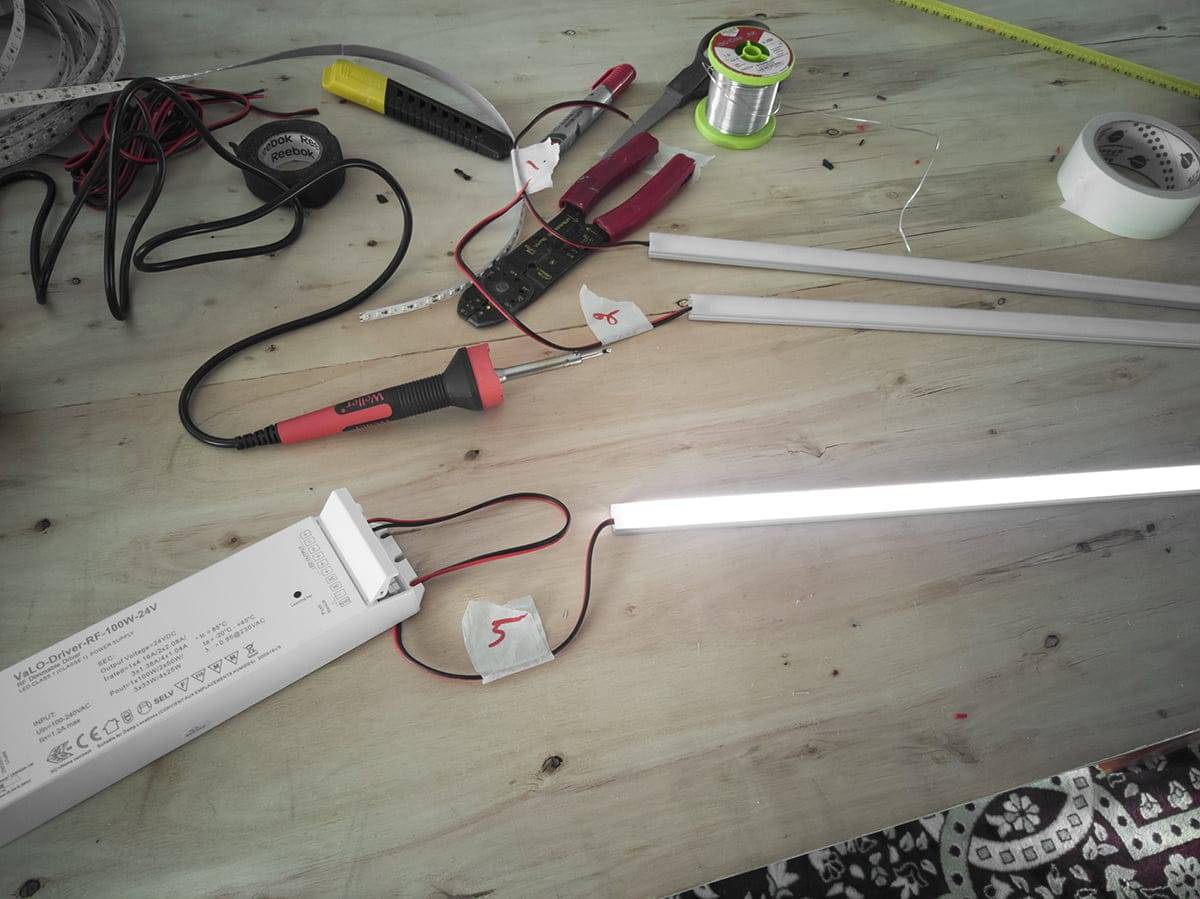
The aluminum profiles are cut to the correct lengths with a saw. Connection wires are soldered to the LED strip.
Installing the LED profiles in place
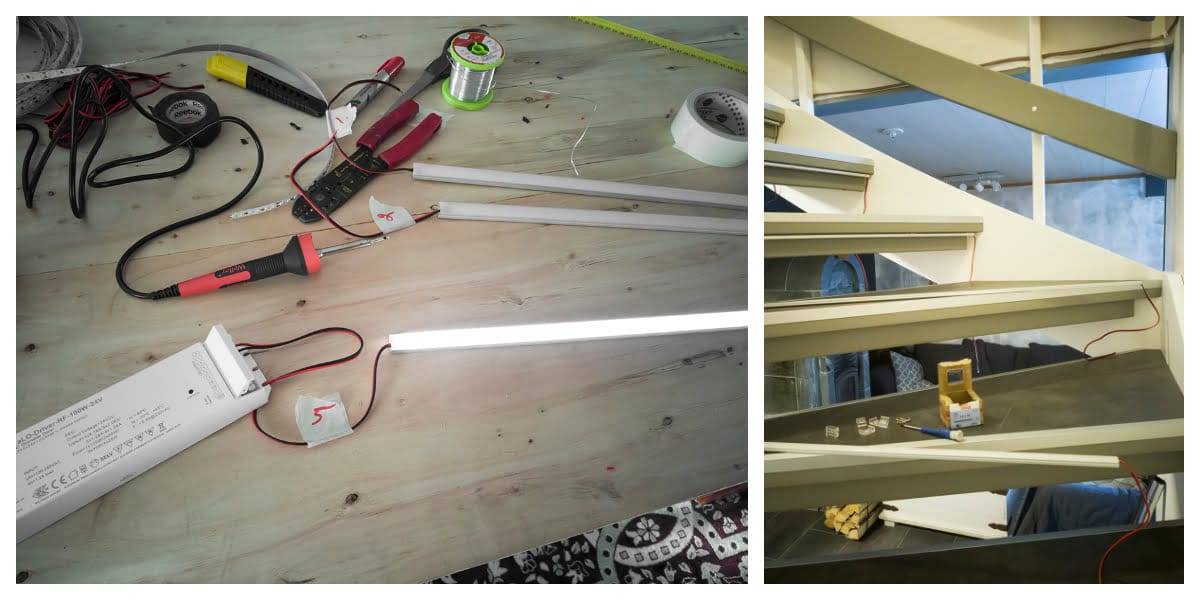
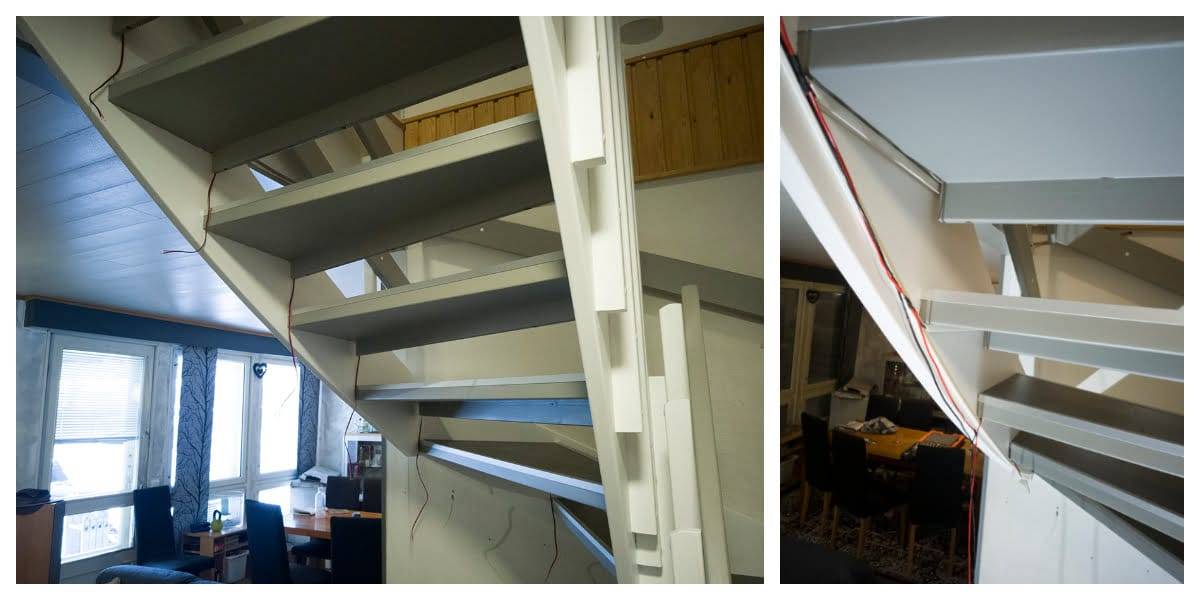
"Once the wires were connected to the LED strips, each individual step light was tested by connecting them to the transformer one at a time. Since the widths of the curved stairs varied, the step light profiles were numbered to ensure they could be easily installed in the correct order.
LED profile installation order
"During the mounting phase, the correct order of the profiles was double-checked. The included plastic clips were used for installation. The clips were screwed in at approximately half-meter intervals, and the profiles fit into them neatly. The LED profiles with wiring are lightweight, so the attachment is very secure even with just two clips per step.
The LED strips are attached to the profiles and tested before installation. The numbered LED profiles are then mounted to the underside of the steps using brackets.
Soldering the wires
A two-core low-voltage cable was used as the connection wire, and the wires from all the LED channels were soldered to it. This is the most labor-intensive part of the project, as the soldering must be done in place—between or underneath the stairs. Once the soldering was completed, the connections were insulated with electrical tape and covered with a white cable duct.
Connection wires, each matching the depth of their respective step, were soldered to the channels so they could reach the main line for soldering. The cables coming from the channels are concealed in a cable duct, and the main line connects all the cables to the power supply.
Connectiong the driver
The driver was connected to power, and the dimmer switches were paired with it. The switches were placed at both the top and bottom of the stairs, allowing control and dimming from either direction. The switches were mounted using the frame tape included in the package, as no screw holes were desired in the wall. A single RF driver can be paired with up to four wireless switches or remote controls.
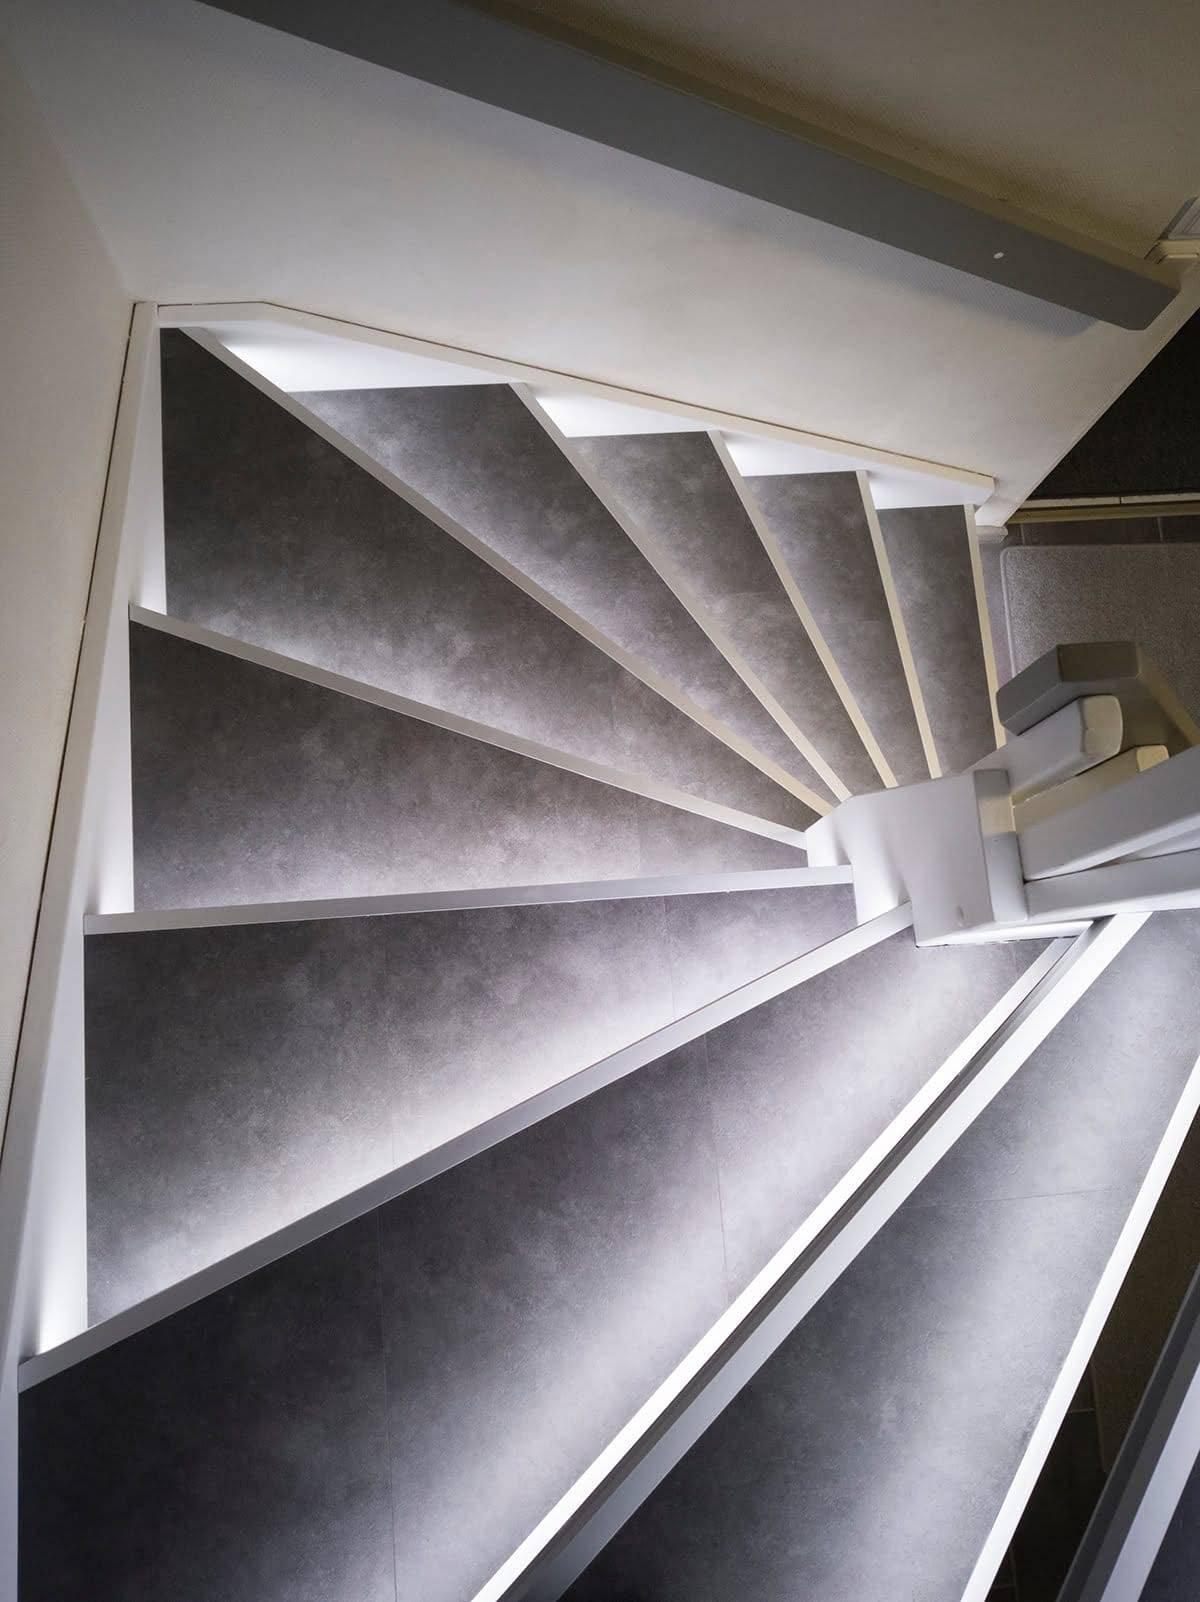
When the lights are on, the entire staircase is brightly illuminated, enhancing the visibility of each step. Increased contrast between the steps makes the stairs easier and safer to use.
Why it’s worth investing in step lighting
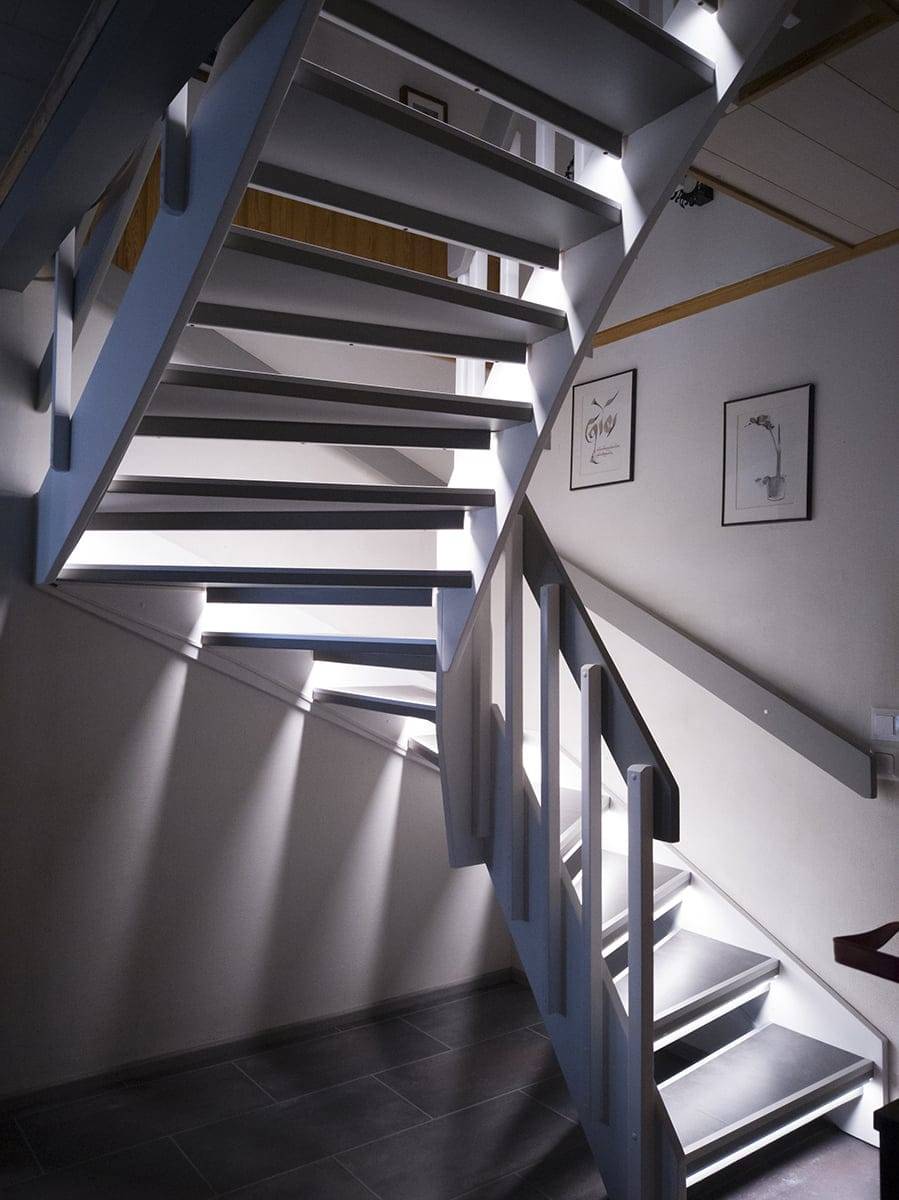
Investing in step lighting is worthwhile because it adds a stylish touch to the staircase. It also significantly improves the overall light level in the stairwell. The light reflects off the steps and the side wall. In the photo, the lights are at full brightness. Depending on the mood and need, the lighting can be dimmed smoothly using the button. The driver has a built-in memory, so the lights turn back on at the same brightness level they were at when last switched off.
The end result turned out very successful and stylish. The lights don’t cause glare, even when viewed from below, as the LED channels are hidden behind the front overhang of the steps.
Step light finished. There is no glare even from below.
If you are interested in lighting your staircase with an LED rail, you can contact us via our website, ledstore. fi, or by calling the store on 045 251 4510. The store is always staffed by lighting professionals. The store, where our warehouse is also located, can be found in Vantaa Koivuhaas at Mesikukantie 16, 01300 Vantaa. We make ready-to-install led strips at LedStore's LedShop.