
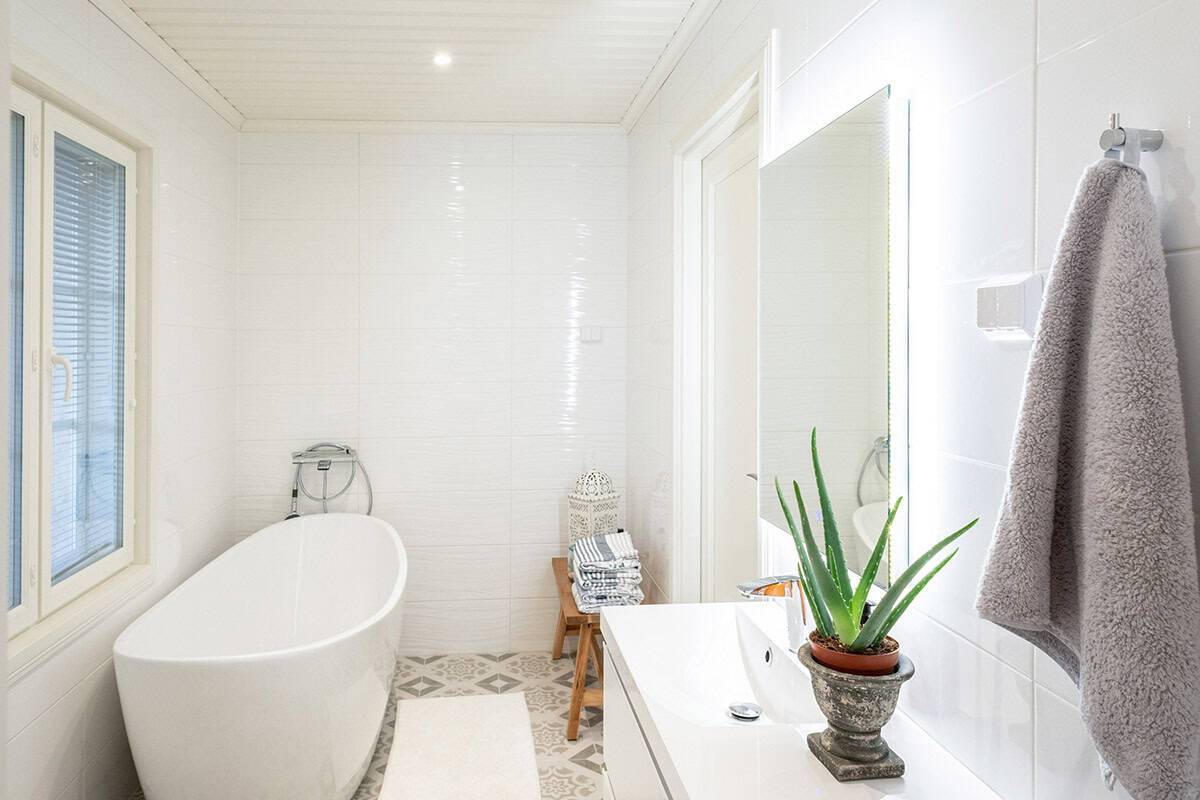
Careful bathroom lighting design ensures proper illumination exactly where it is needed. By planning your lighting thoroughly in advance, you can achieve the solutions you want and avoid costly mistakes. Retrofitting electrical wiring on fully tiled walls is expensive and often not worthwhile. Read on to learn what to consider in order to avoid the most common bathroom lighting mistakes.
Bathroom lighting placement
Rain showers – Make sure to take rain showers into account during the planning stage. A spotlight installed too close to a rain shower may reflect light onto the ceiling like a mirror, while the shower head itself can cast a shadow on the floor. By considering rain showers when placing the lighting, you can achieve a more harmonious layout.
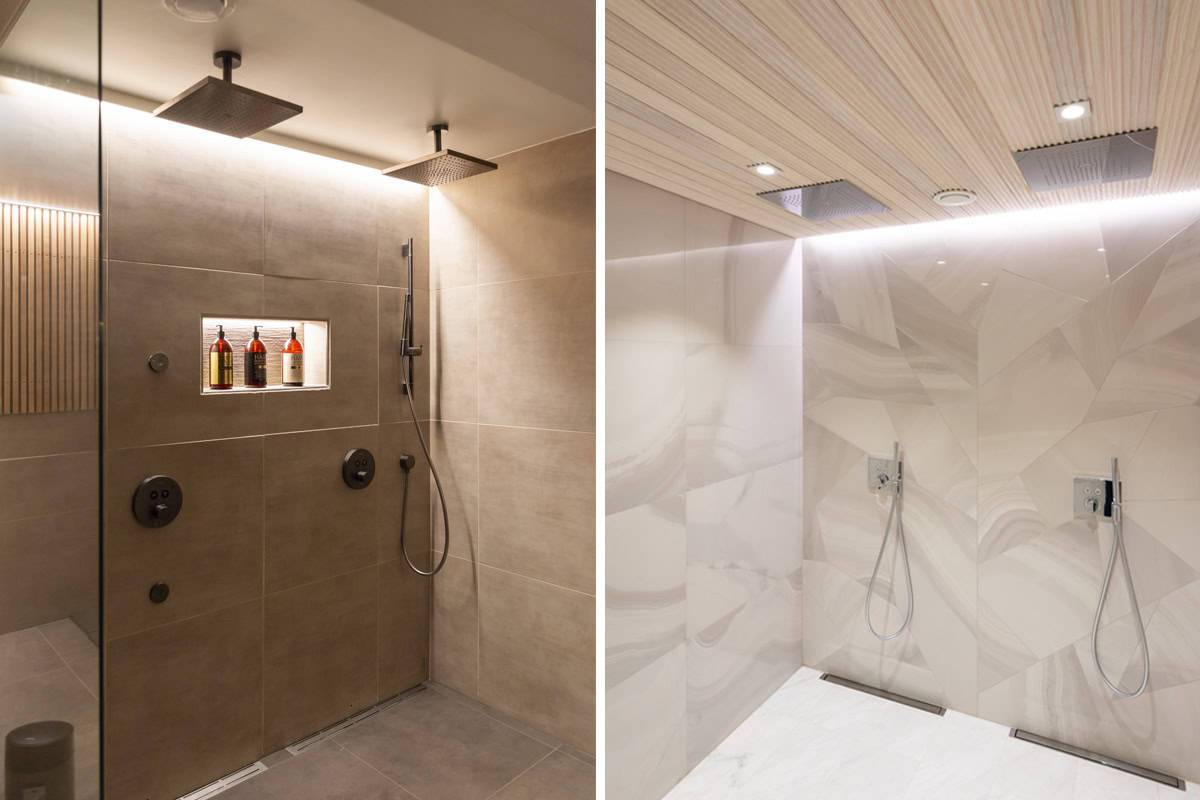
Sauna – When placing LED strips, it’s important to consider that sauna walls are often at least partly made of glass. An LED strip installed parallel to a glass wall will mercilessly highlight water splashes on the glass. Depending on your preference, indirect lighting works well in a sauna, for example under the benches or behind the backrest.
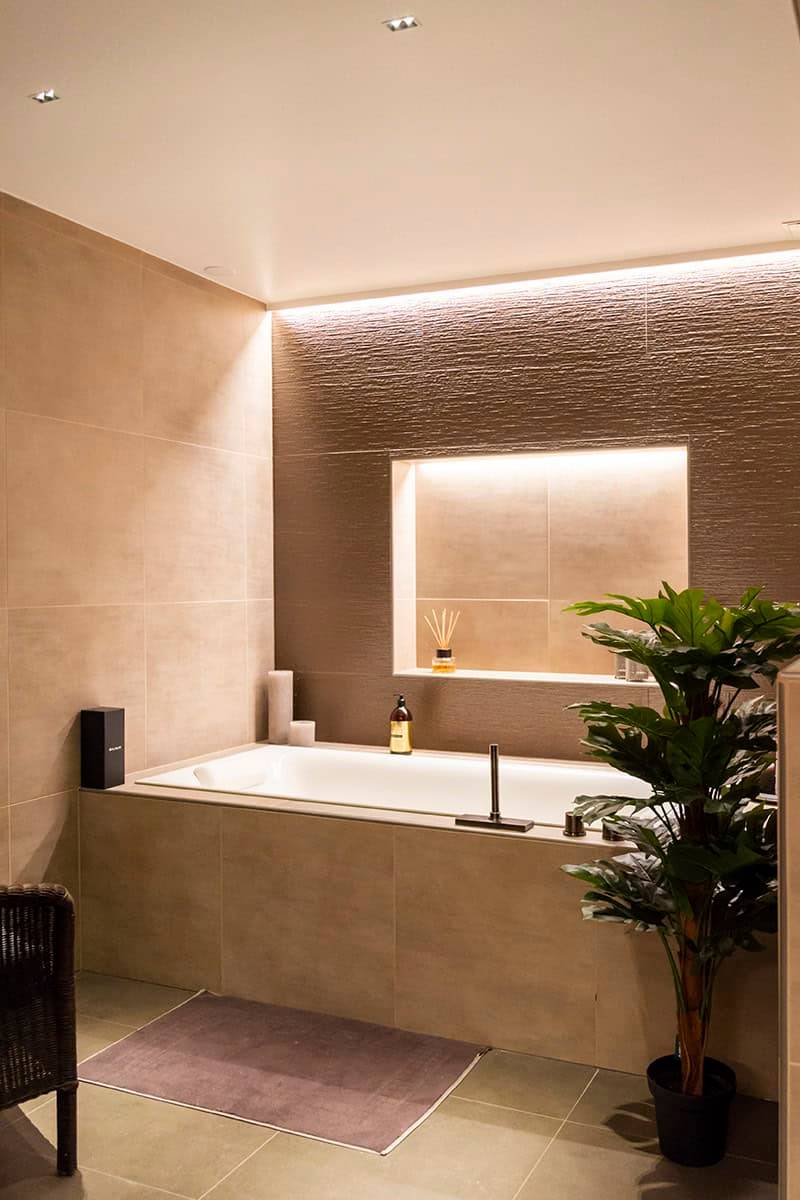
Bathtub – Spotlights installed directly above a bathtub can easily cause glare, which is why we recommend using an LED strip installed in a recess between the ceiling and the wall instead. Spotlights can be placed in other areas of the ceiling, and narrow-beam fixtures can be used if needed.
Mirror – If the mirror is used for applying makeup, we recommend placing a light fixture above the sink so that the light falls onto the face. An LED strip installed on the wall behind the mirror or a mirror light mounted above the mirror can also provide good facial lighting. Light coming through the mirror glass or lighting installed too far back on the ceiling usually does not illuminate the face effectively when the user moves closer to the mirror.
Light tone and interior colors
Color temperature – The tone of the light affects how the selected wall tiles appear. For example, warm light enhances the green tones of olive-colored tiles, while cool light emphasizes bluish hues. Gray tiles may shift toward a sandy tone in warm light and appear blue-gray under cool or neutral lighting. CCT tunable luminaires are popular in bathrooms for this reason. Naturally, the ability to adjust the ambiance is also an important factor.
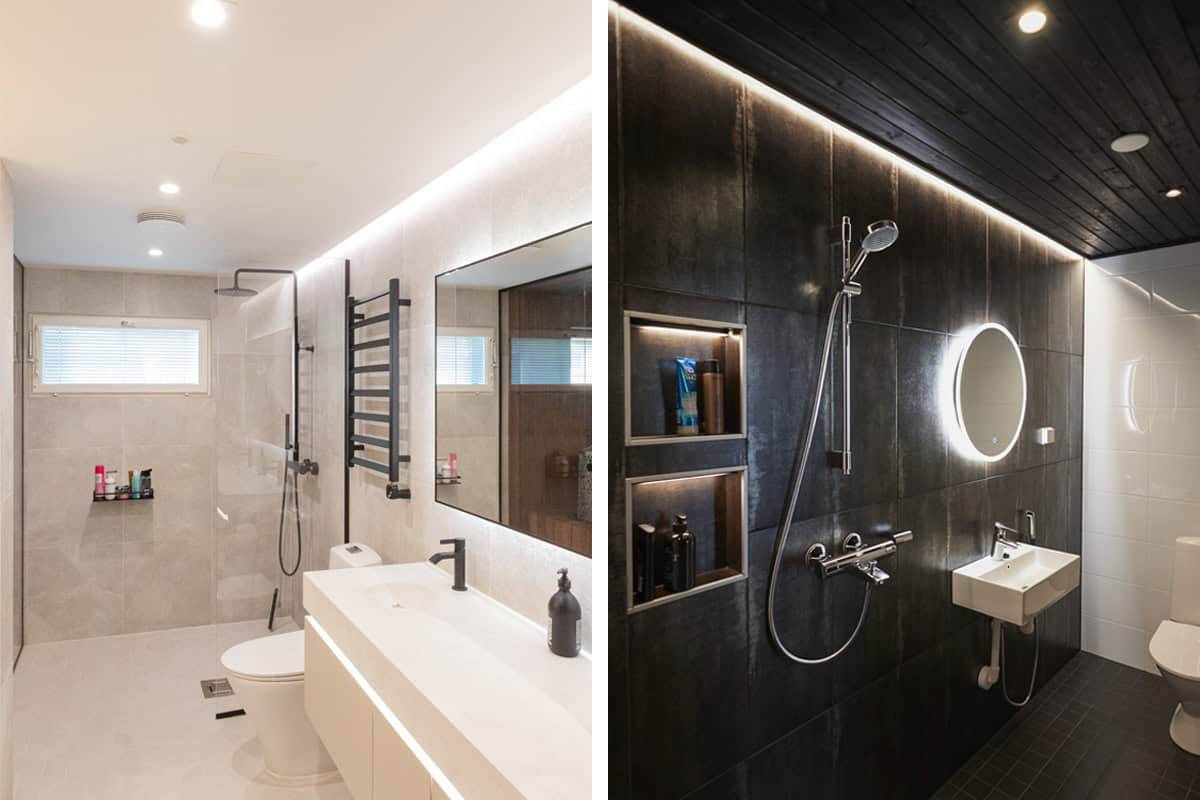
Wall darkness level – If the space features dark, matte finishes, we recommend significantly increasing the amount of lighting. Dark surfaces absorb light surprisingly well, whereas light-colored and glossy surfaces reflect it.
Bathroom lighting usability
Lighting groups – Bathroom lighting should be divided into at least two separate switching groups. This allows you, for example, to turn off the ceiling lights and use only LED strip lighting, enabling a dimmer and more relaxing atmosphere even in a glass-walled sauna.
Notes on lighting control
LED strip under a countertop – In most cases, this type of LED strip is planned to be connected to a motion sensor, but I do not recommend this solution in bathroom spaces. An LED strip controlled by a motion sensor will turn off when no movement is detected, meaning that if you are, for example, taking a bath, the light will likely turn off even though you are still in the room.
Sauna lighting – In most cases, the sauna light switch is located some distance away from the sauna, which works perfectly well for simple on/off lighting. However, if your lighting is dimmable or features adjustable color tones, controlling it with a remote or a smartphone is a much more convenient solution. This allows you to adjust the lighting while maintaining visual contact with the sauna. We’re happy to help you choose the right products!
Bathroom lighting installation
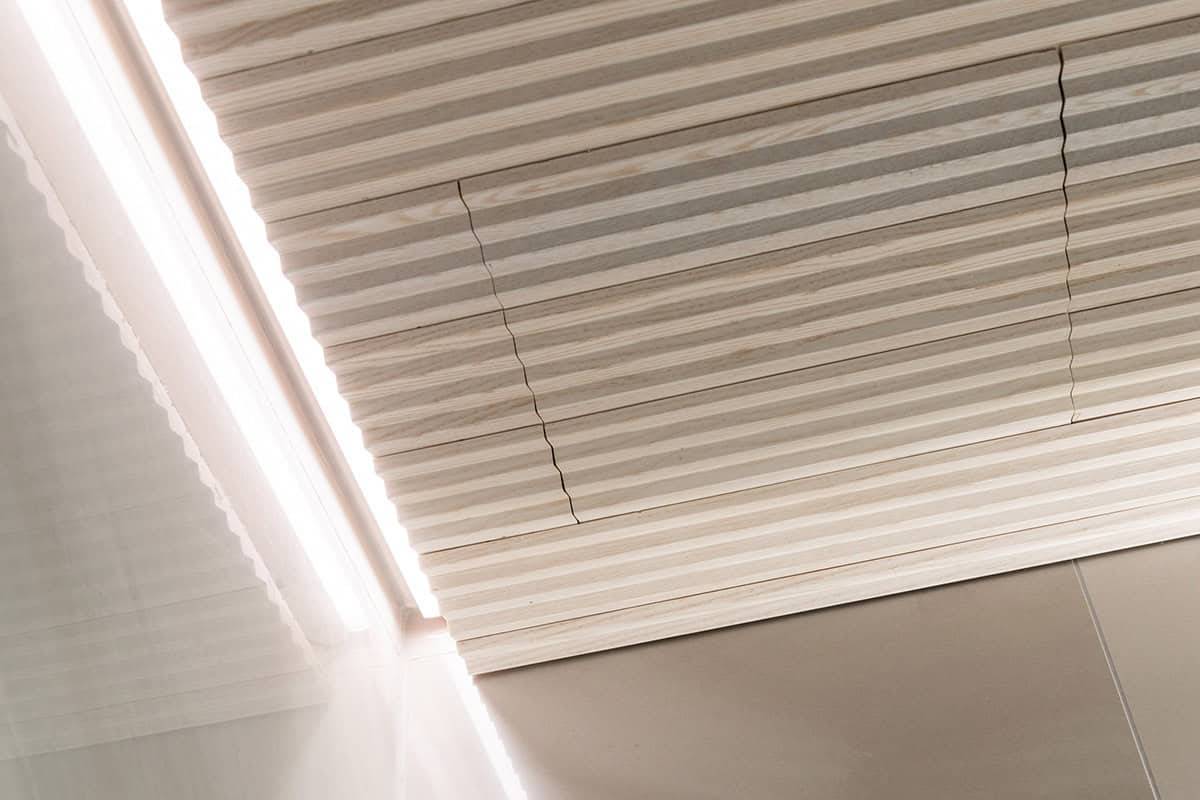
Access hatch – Spotlights and LED strips usually require a suspended ceiling, and in bathrooms, a suspended ceiling is often needed anyway due to ventilation requirements. Lighting drivers sometimes require an access hatch, so its placement and type should be planned in advance. Larger panel-style luminaires can be used as an access hatch, or the hatch can be neatly integrated using the same ceiling material.
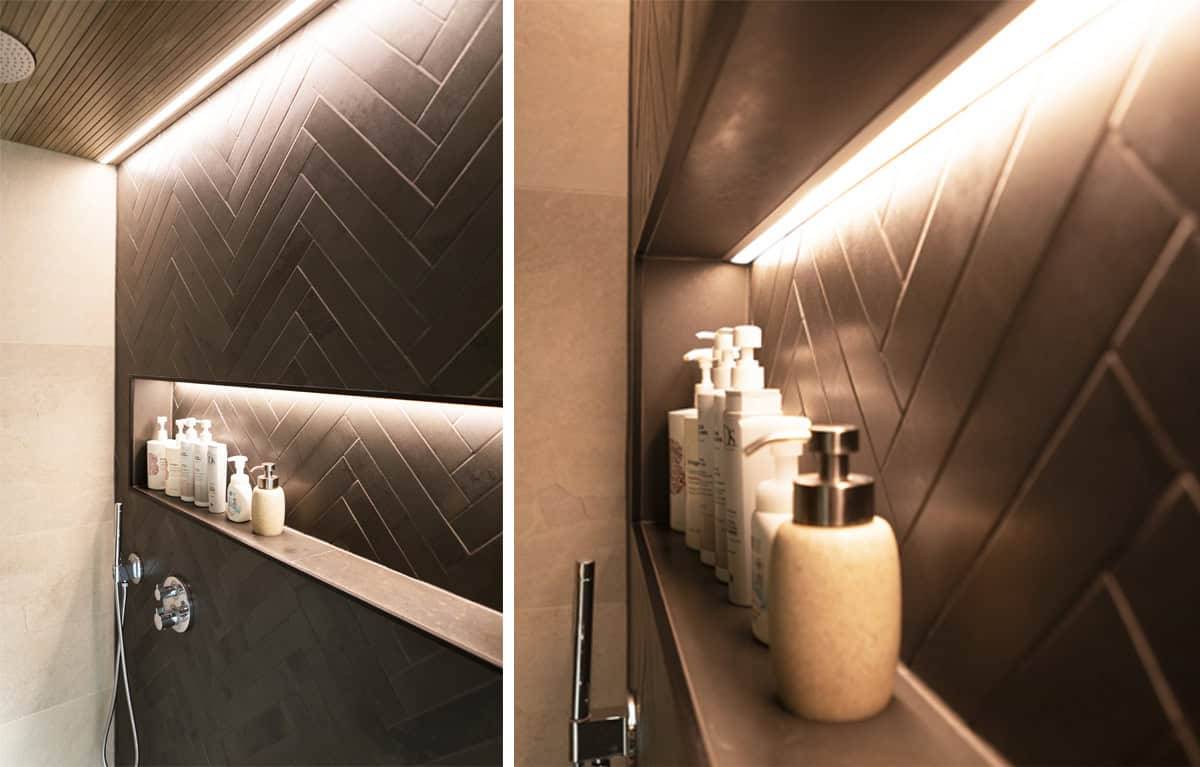
Shampoo niche – For lighting a shampoo niche, we recommend using a low-voltage LED strip, as it is a safe solution for wet areas. The tiling should be left slightly short at the edge so that the profile can be neatly installed in a dedicated recess. We recommend using an IP65 moisture-protected recessed profile, with a trim that covers the tile edge, and carefully sealing both ends of the LED strip. Electrical wiring for the shampoo niche should be planned in advance with the actual installation in mind. LED strips can be ordered pre-cut with appropriately sized connection cables, eliminating the need for soldering during installation.
Wall-mounted electrical wiring – Running electrical wiring on fully tiled walls is expensive. Therefore, when designing bathroom lighting, it is important to carefully plan the locations of wall-mounted luminaires and power outlets. Using conduit for electrical wiring makes it much easier to feed cables compared to loose wiring inside the wall.
Wiring in general – Always take into account the number of conductors required by the luminaire. For example, an RGB+W LED strip requires a five-core cable, while CCT luminaires typically require a three-core low-voltage cable.
