Wireless control, in its simplest form, means creating a radio frequency (RF) link between a receiver connected to a light and a controller. Establishing a wireless connection is simple and it woks reliably. The most reliable operation is when the receiver and the controller connected to the light are located in the same room, less than 30 m apart, and the signal is not obstructed by, for example, a light source. stone walls. Blackouts do not interfere with the controllers, and there are no installation costs for new electrical wiring. The price of wireless control issimilar as wired wall buttons. In this article, we will outline the components of wireless control and how they are connected from the perspective of the ordinary consumer, using common terms.
Wireless control of lighting (RF) - what kind of receivers are needed?
For LED lighting, receivers are selected according to the type of LED. There is one for LED strip lighting and one for spot and panel type lights. The characteristics of the receivers differ in that the receiver for the LED strip is installed between the LED strip and the driver (on the secondary side). The dimmability of the transformer is therefore irrelevant. In the case of spot and panel type lights, the receiver is installed between the transformer and the mains supply (primary side) and the light must have a triac dimmable transformer.
Receivers connected to the mains side, i.e. the primary side, require adequate electrical qualifications. The wiring of the low-current side (12-36V) can be done by the consumer as long as they know enough about it.
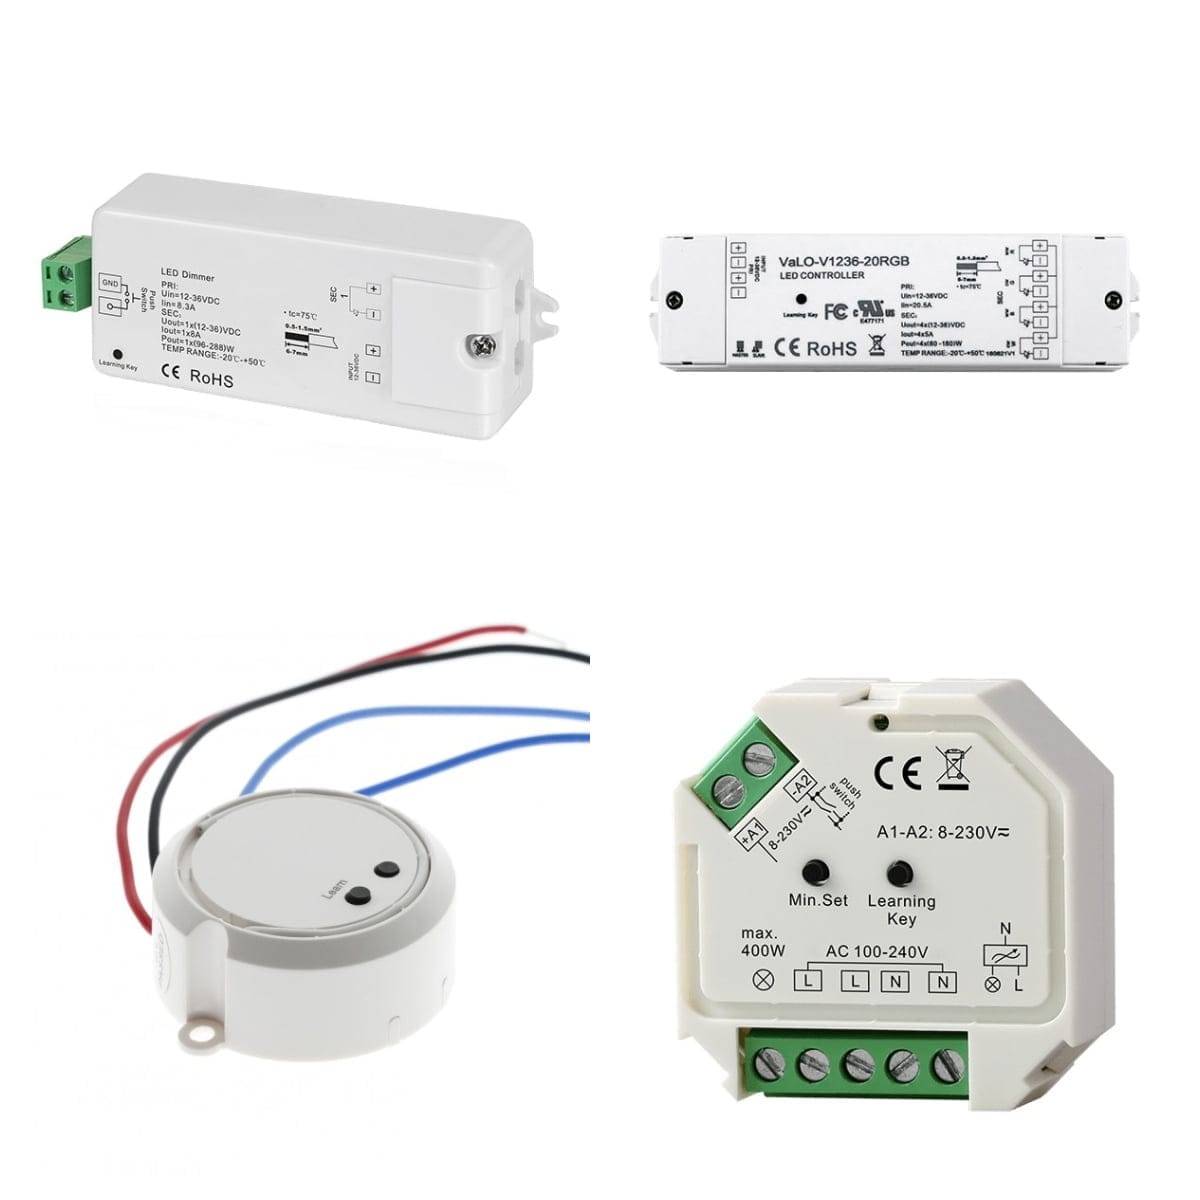
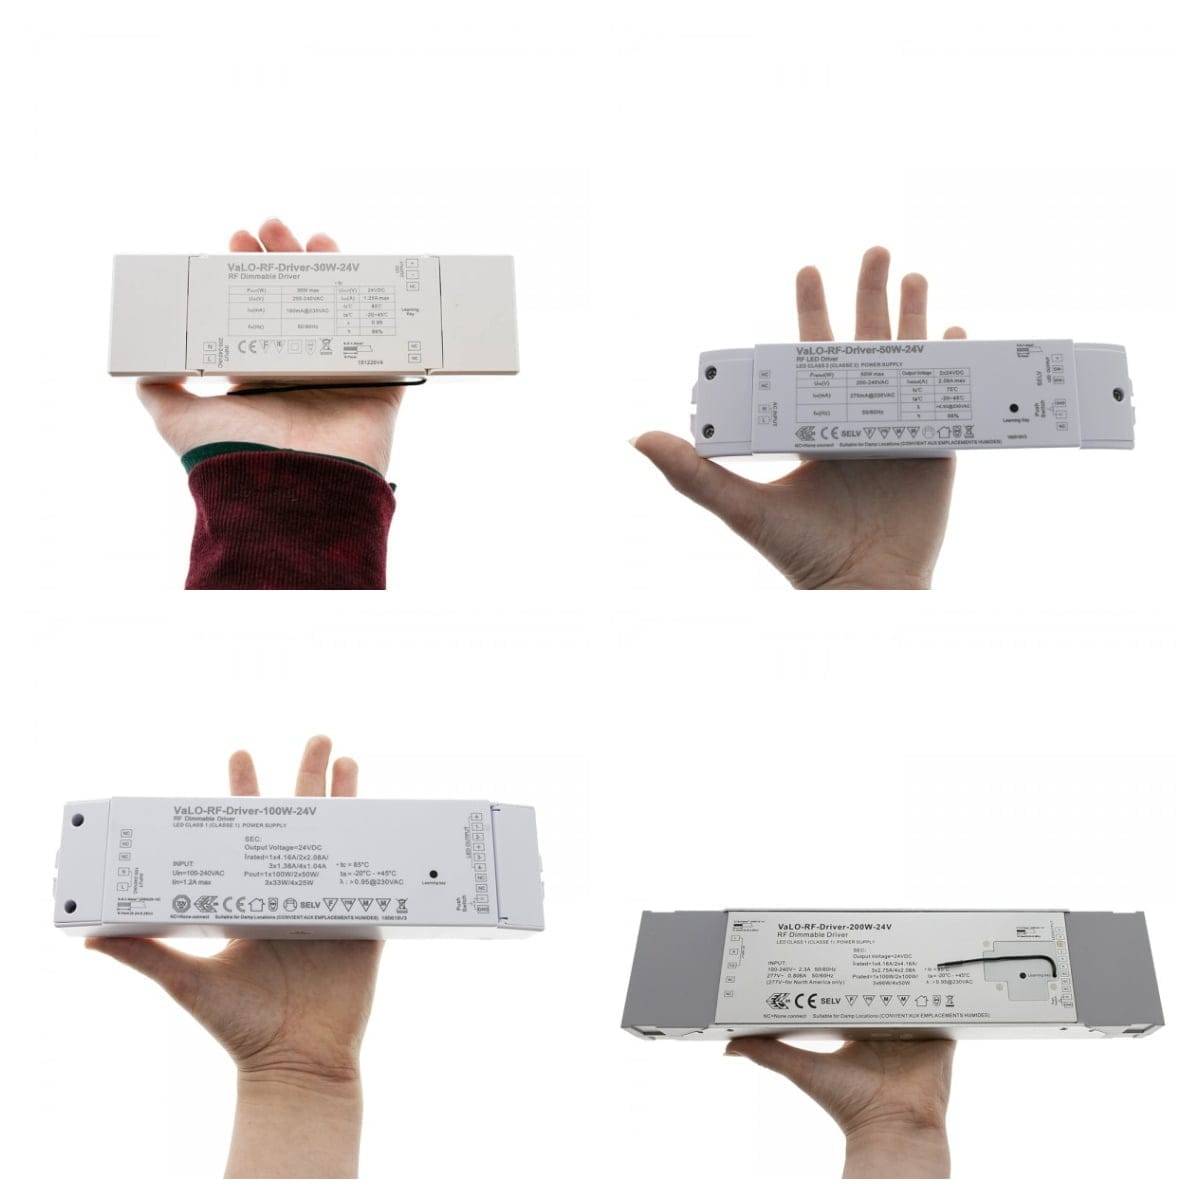
Especially for 24V LED strips, drivers with RF capability are available. With these RF drivers, there is no need for a separate receiver for the LED strip. For wireless control, only a control button is needed. They are a cost-effective alternative when the LED strips are controlled, i.e. switched on, switched off and dimmed in groups. That is, the LED strip or strips at the rear of one driver light up, go out and dim at the same time.
For more demanding spot and panel installations, an RF dimmable, mA adjustable driver is also available. Dipswitches on the transformer allow the amount of current (A) to be adjusted to suit the lights. These are used in particular for colour temperature-controlled spots and panels that need to be controlled wirelessly. The transformers do not have a plug ready. The installation is usually carried out by a professional electrician. On request, we can install a plug for max. with a 5 m plug-in cable, allowing the consumer to connect the transformer to the mains.
Wireless control - button options
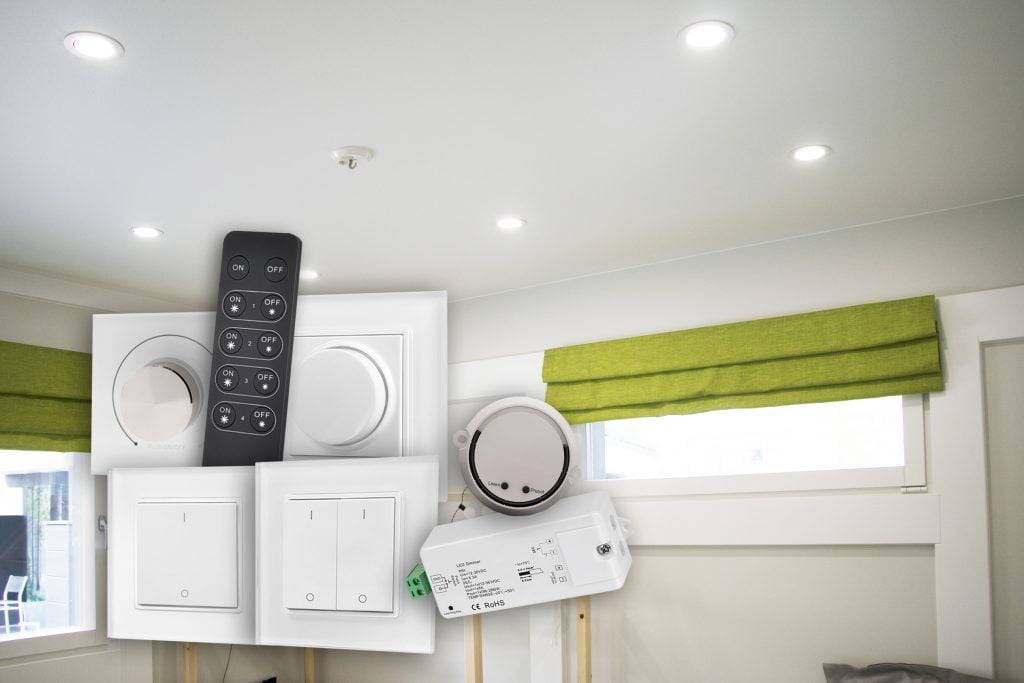
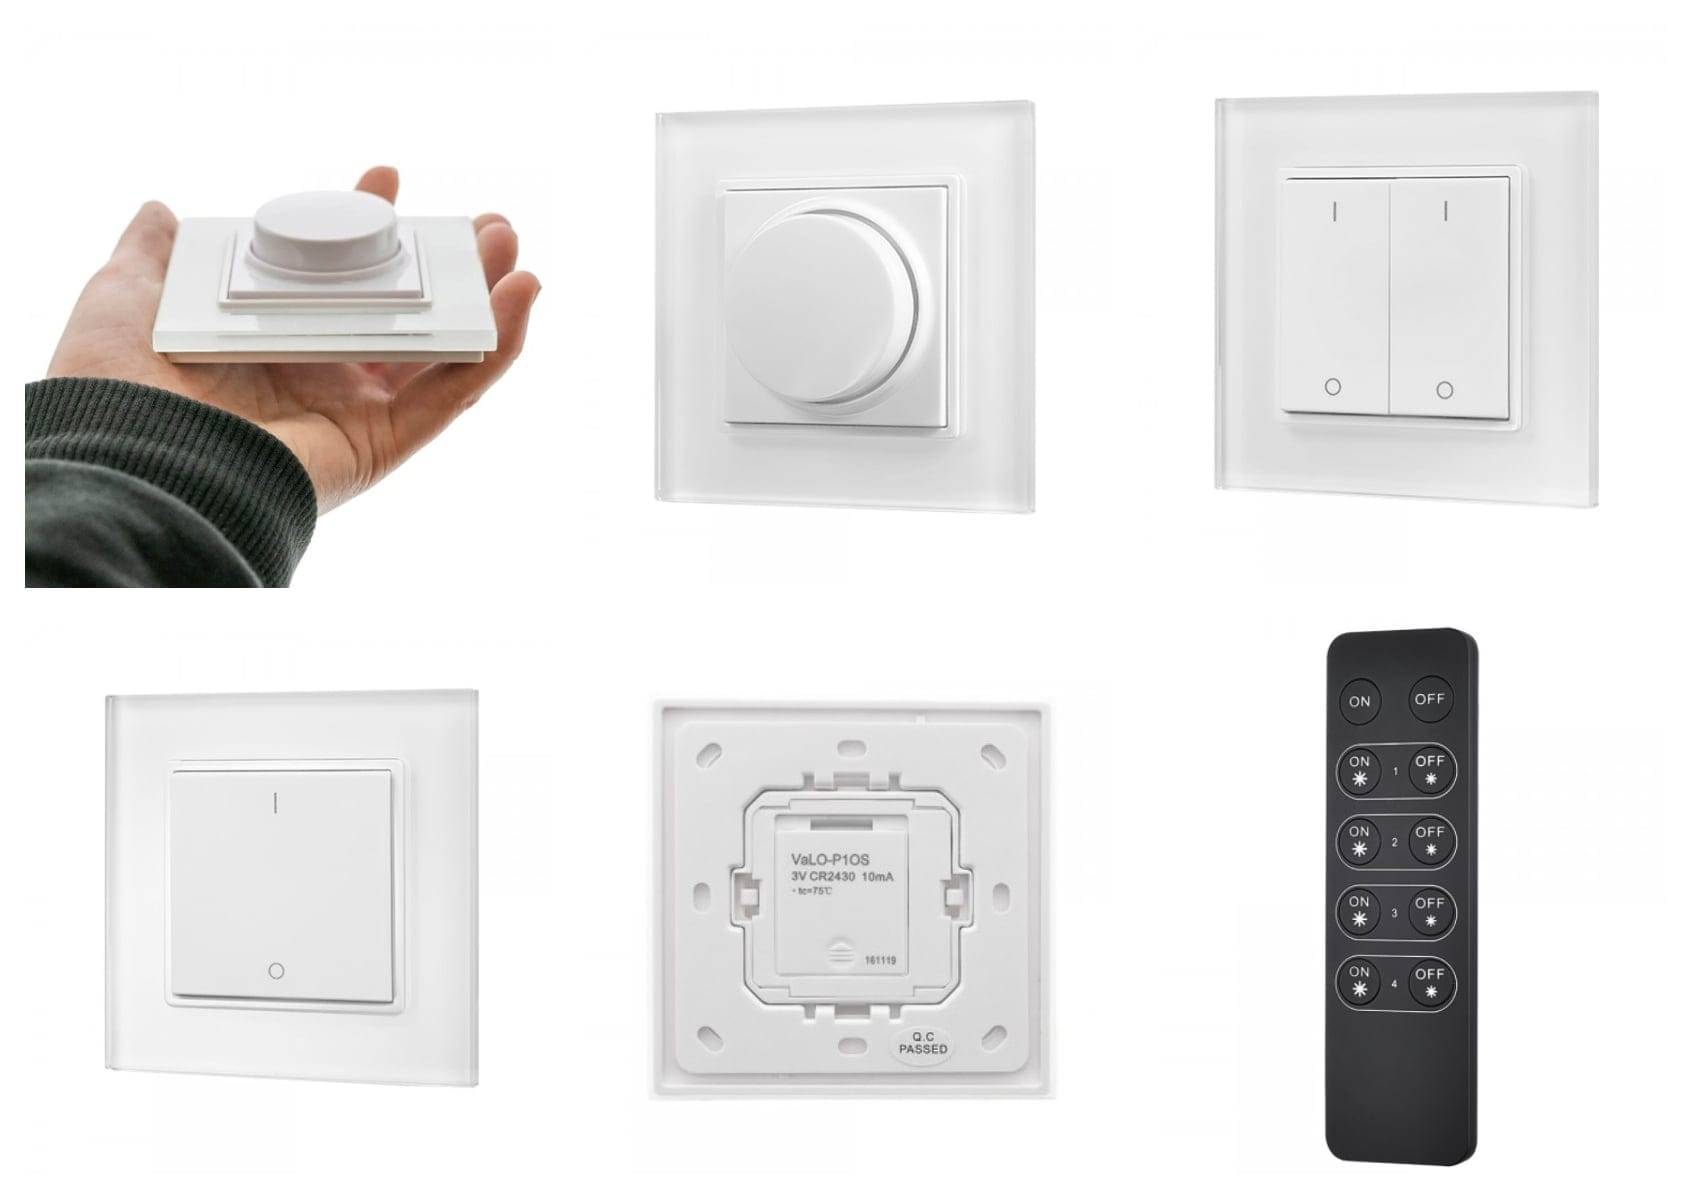
Both wall buttons and controls that look like a traditional remote control can be used as controllers. They are used to turn the lights off and on as well as to dim the lights. The buttons work with all receivers, both primary and secondary. The rotary wall button is the most popular for using one group. Press the lights on and off, rotate clockwise to brighten and counterclockwise to dim.
The one- and two-part buttons brighten the lights when the button is held up ( I ) and dim the lights when the other button ( O ) is held down. There is a battery compartment behind the button. The product comes with a battery. The battery lasts for years and is easy to replace by simply removing the centre of the button.
The black remote control can be used to adjust 1-4 groups of luminaires. From the top button, all groups will light turn on or off at the same time. Below are pictures of the control buttons for the lights. In addition, we also offer wireless buttons for CCT lights and strips and RGBW (colour changing LED strips).
The control buttons also offer an option for situations where the installation location is powered by a wall button, and the light or group of lights is to be controlled wirelessly in addition to the wall button. This dimmer can be used to reliably control all types of LED lights, such as LED strips, panels, spots, wall and ceiling lights, as long as the driver is triac dimmable. The button itself has an rf transmitter, which can be paired with a wireless controller. Installation should be made by a professional electrician, as the controller is installed on mains power.
Grouping and connecting LED strips - receivers and buttons
Creating and using the desired groups of lights is simple. Multiple control buttons can be connected to a single receiver, so the same light/group of lights can be operated (switched on, off and dimmed) with multiple buttons, for example from different parts of a large room. This can also be done by the consumer.
Several different groups of drivers can be combined behind a single button, so one button press can turn on several groups of lights at the same time, if desired. For example, all the wirelessly controlled lights in a single room can be turned on and off at once, if you want.
The basic rule is that the receiver defines the group. One receiver can only belong to one group. All lights/strips wired to the same receiver will operate via this receiver and the control button connected to it.
The picture below illustrates how to install the LED strip receiver between the LED strip and the driver. This allows several groups of strips to be powered from a single transformer. For example, you could think of it as worktop lighting in the kitchen and mood lighting on top of the cupboard. Led strips can have different wattages and even different colour temperatures, as long as the voltage is the same for both, because they take their current from the same driver.
When connecting the Led strip to the receiver, an intermediate cable is often needed to keep the receiver and drivers neatly hidden. You can either solder the required amount of cable to the end of the LED strip, or use WAGO connectors (lever connectors) if the strip already has the cable. A red plus wire and a black minus wire are connected to the LED end of the receiver. The input end of the receiver is also connected to the black and red wires, which are connected to the low-current side of the transformer (12-24V). If necessary, two three-position WAGO connectors are used to bundle the pluses and minuses. If the transformer has a plug, plug it into the socket and the LED strips will light up.
Installation of LED strip receivers and buttons - consider the total load
The LED strip receiver works with both 12V and 24V LED strips. Depending on the product, the maximum load of the LED strip receiver is either 8A, or 20A. An 8A receiver is sufficient for 192 watts of 24V LED strip, or for example for about 10 metres of 14.4W/m strip.
If you want to know the exact load, a small calculation may be necessary to ensure that the receiver can handle the load required by the LED strip. The formula is familiar from physics class, P/U=I, or W/V=A. If the power of the strip is e.g. 14.4W/m and you have five metres of it, the formula is W=14.4*5=72W. If the strip is 24V, the answer is 3A.
How to connect the receiver and the button
The general operating principles and pairing instructions are the same for RF devices, regardless of which receiver you have. After making the connections
- Switch on the power and the lamps or strips will light up
- Remove the plastic cover between the battery of the button.
- To open the connection, first press the learn button on the receiver for about a second.
- Within about 1-2 seconds, press the button you want to connect it to. The light / led strip flashes to indicate that a connection has been established.
Once the connection is established, the wireless button can be used to turn on, turn off and dim/brighten the lamp/led strip. There is no need to re-establish the connection even if the power goes out at some point, the connection will be maintained. If you want to connect more than one button to the same receiver, repeat steps 2 - 4 for the second button.
If the light does not dim properly but flashes on and off, flickers or fades on its own, the pairing is dismantled and tried again. The power cord can be disconnected for a short time and reconnected. To unpair, press the Learn button for 5 seconds while the power is on until the light flashes. Moderation is the key at this stage. Check point two and repeat steps 3 and 4. Keep clear pauses between disconnecting and reconnecting.
Wireless front-end control - receiver selection, light grouping and switching
It is also easy to create and use dimmable groups of lights in the first place. However, installation should be carried out by a professional electrician and the receivers are usually hidden in a false ceiling or inside a light fitting. Also with these 230V receivers you can connect more than one control button to one receiver and the same light/group of lights can be operated (switched on, off and dimmed) with more than one control button, for example from different parts of a large room. Chainability of dimmable triac transformers e.g. in spots makes it easier for the installer to form groups of lights, with the receiver being the first in the group.
The maximum load of the receiver is either 100W or 400W. The most common power consumption of spots is 9W, so you can group up to 10 spots in the receiver. For larger panels, 100W will easily be enough, so for example. for 4pcs of 36W 600*600 panels, a larger, 400W receiver should be chosen.
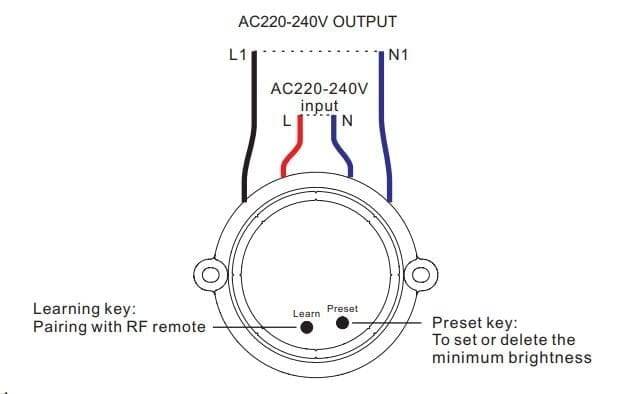
In the figure below, you can see that the receiver is connected to the mains side. Output for LED and input for power supply. The minimum dimming level is also adjustable from the receiver (Preset).
The LED strip can also be used with other wireless control methods
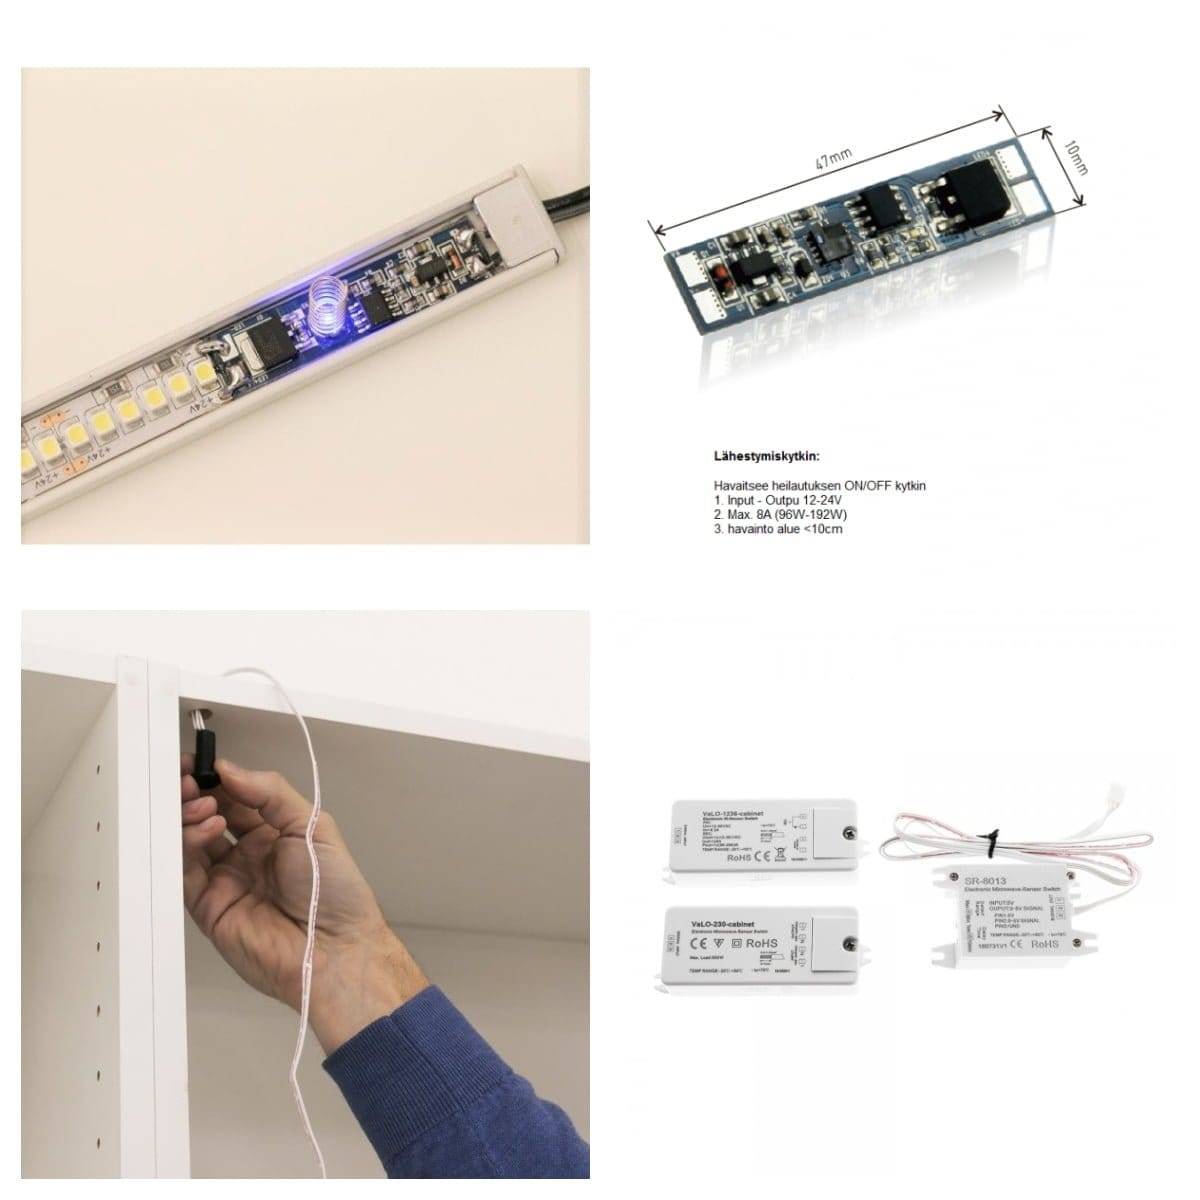
You can also install the LED strip yourself or have a popular dimmable touch or swing switch installed as an operating switch. In addition, a cabinet switch can be used to detect when a door is opened and an approach sensor with adjustable detection distance.
We serve all kinds of LED lighting needs and design packages free of charge with our customers. Please contact us if, for example, you need a custom-made led track from LedPaja in a cost-effective way, or if you have a lighting design need.
Find out more about wireless control products
The wireless control products discussed in this article can be found in our webshop in the category RF wireless control.
LedStore offers a full service chain from lighting design to lights, control solutions and installation, as well as a comprehensive range of expert articles on the blog. Whether it's a single room, a whole home or a larger workspace, LedStore can help you build a lighting solution that lasts and makes your everyday life smoother!
1. Miksi LED-valaistuksen langaton ohjaus on suosittua?
Wireless control offers flexibility and ease of use without complex wiring. It allows you to switch on, dim and adjust the colour temperature using a mobile phone, tablet or wireless switch, for example. This allows lighting to be quickly adapted to different situations.
2. Mitä tekniikoita käytetään LED-valaistuksen langattomassa ohjauksessa?
The most common technologies include Wi-Fi, Zigbee and Bluetooth. Wi-Fi based systems connect to the home network and also allow remote control via the internet. Zigbee is a mesh network that extends the range from one device to another. Bluetooth is an easy solution for short distances without additional central units.
3. Miten LED-valaistuksen langaton ohjaus asennetaan?
Basic installation requires no special cabling, as control is wireless. A control unit is installed in the light to receive the wireless signal. The unit can be part of the power supply or a separate module. It is important to ensure that the light and the controller are compatible with the wireless system to be used.
4. Voiko valaistuksen langattomassa ohjauksessa säätää himmennystä ja värilämpötilaa?
Yes. Current wireless control systems often support both dimming and colour temperature control (CCT control). This allows you to create different moods and lighting situations - a soft, warm light for relaxing or a brighter, more neutral tone for working.
5. Miten laajentaa järjestelmää muihin älylaitteisiin?
The latest wireless lighting systems (such as Zigbee) can be connected to smart home systems, for example, which can be controlled by the same app or voice assistant. For example, you can synchronise lighting with other smart home automation such as heating, security or curtain control.