
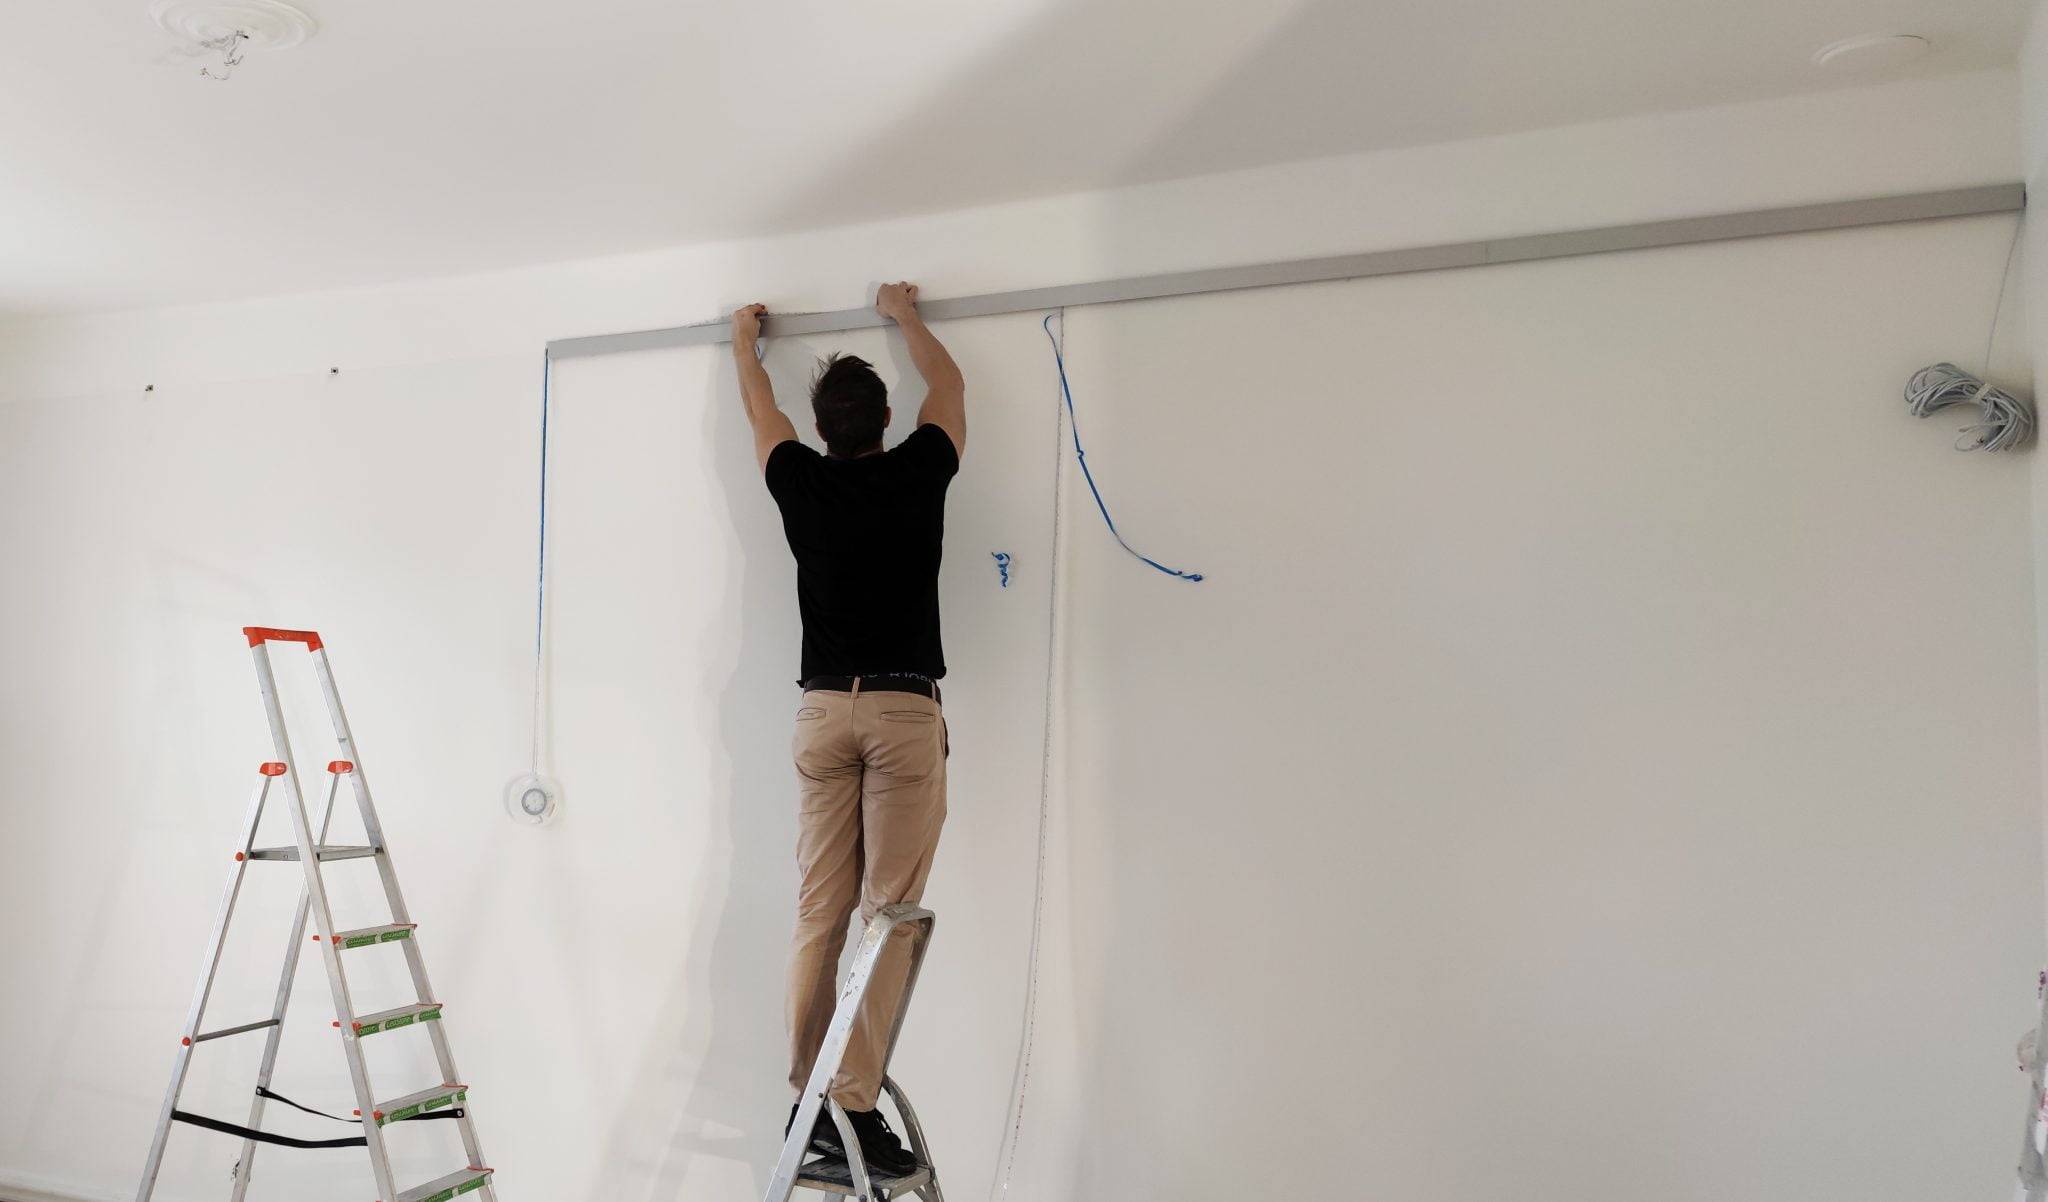
The installation of a Led strip light starts with considering the intended use. In this article, we present tips from LedStore's range and expertise that have helped thousands of customers successfully purchase and install LED strip lighting.
LED strips vary widely in power: the dimmest strip consumes only 3.6 watts per metre, while the most powerful can reach up to 30 watts per metre. Between these extremes are the most common power classes, such as 7.2 W, 12.3 W, 14.4 W, 17 W, 20 W and 22 W per metre. The wattage directly affects the brightness of the light and its suitability for different spaces. For example, indirect mood lighting does not require as much power as bright task lighting on the kitchen floor. The installation location and the desired light output also determine the type of strip.
SMD-type LED strip is a common option, where small LED circuits are separated from each other. This structure creates a light effect where the individual light spots stand out at the latest when the strip is dimmed. If a perfectly uniform and dot-free light surface is desired, the COB type is recommended. COB (chip on board) technology combines the LED circuits tightly on the same base, so that the light continues evenly over the entire length of the LED. Choosing the right LED for the application ensures a functional result. It is also a good idea to ensure that the power supplies and connections used are compatible with the wattage of the strip chosen. Power supply selection and control mode selection are also essential steps in the installation process. You can read more about them in other articles.
Led strip light installation - choice of aluminium profile
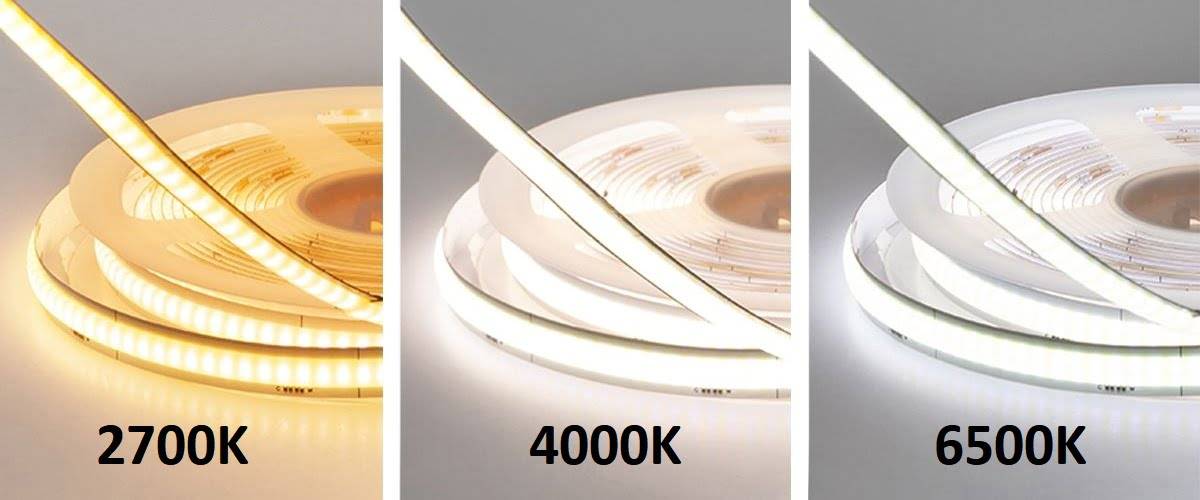
The installation of the Led strip also requires an aluminium profile, which plays an important role in both heat control and light directionality. Low profiles are often used for spot lighting, providing an unobtrusive but neat installation solution under shelves, desks or cabinets, for example. 45 degree angle profiles, on the other hand, allow light to be directed at an angle and are used, for example, underneath overhead cabinets to illuminate the worktop.
With the low profile, adjustable brackets can be used to change the direction of the light infinitely between 0 and 180 degrees. This provides flexibility, especially when the angle of illumination needs to be fine-tuned afterwards.
The flush-mounted profiles allow for a fully integrated finish, where the light surface remains flush with the plasterboard, wood panel or tile surface. This type of installation often requires precise measuring and pre-planning, but the end result is highly finished.
Profiles for indirect lighting can be freely mounted, for example on a wall, on a ceiling or in a corner, so that the light can be directed upwards, downwards or in both directions. The positioning of the profile determines the mood and expressiveness of the light.
The pendant models offer the possibility to hang the strip light over a kitchen island or as a room divider, for example. Wider profiles are also available, allowing multiple LED strips to be mounted side by side for a more efficient and impressive light.
Led strip lead connections by punching
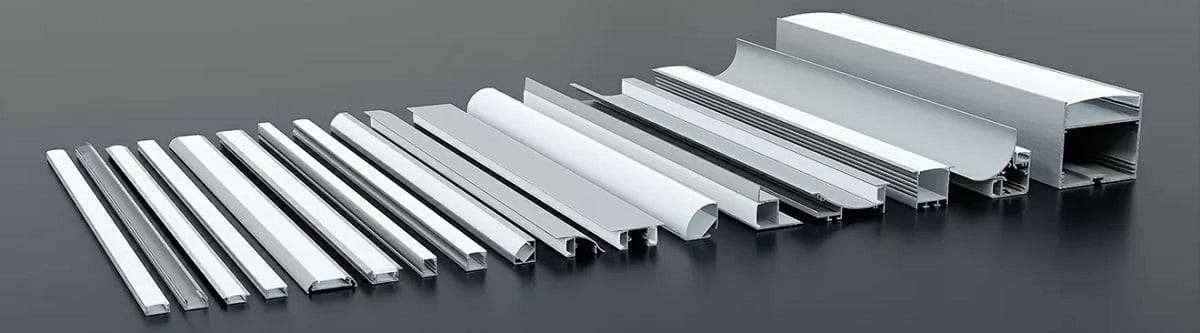
LED strip lights operate at low voltage, usually 12 or 24 volts on a low-voltage circuit, which makes them safer to install yourself. Since there is no mains current involved, fixing the strip to an aluminium profile and preparing the joints is a perfectly feasible operation for many do-it-yourself enthusiasts. The most permanent and reliable way to connect the power cord to the LED strip is to solder it to the connection points on the strip. Pinning creates a mechanically and electrically durable connection that will stand the test of time and use better than, for example, quick connectors. However, punching requires some practice, precision and the right tools - such as a punch, a pewter and protective equipment. With experience, it is easy to learn how to punch, and there are plenty of instructions and videos online to help.
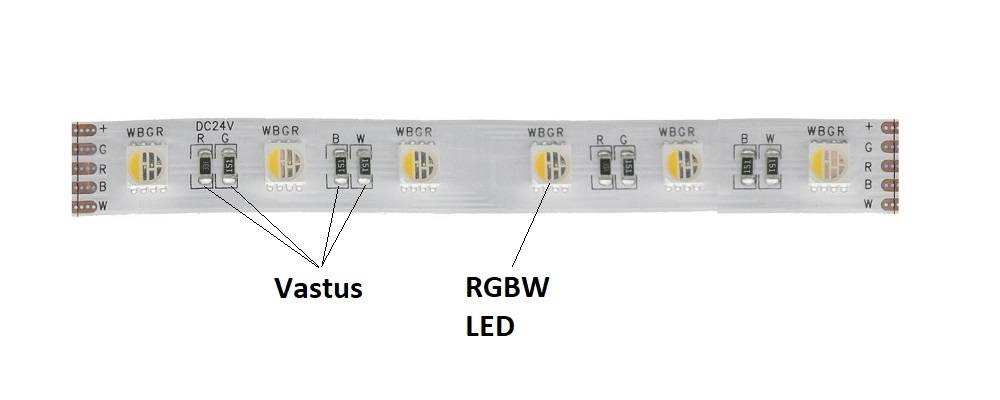
The adjustable white LED strip is a bit more complicated to punch, as it has three wires: one common plus and two separate minuses for different colour temperatures. This puts the emphasis on identifying the correct poles and making clean punch marks. With colour-controllable RGB strips, the challenge is even greater because there are at least four wires - one plus and three minuses for red, green and blue. Accuracy and care are key to ensuring that the lights work properly in use. We have written a comprehensive article on how to connect different LED strips to different drivers and control options on the website "Connecting an LED strip to a driver" on the page
The basic idea is that one end of the connecting cable is connected to a power supply suitable for the LED strip light. It is important to note the polarity: current only flows in one direction, so identifying the plus and minus poles is essential. The aluminium profile allows the wires and strip to be neatly fitted, and the punched joint can be protected with a shrink sleeve or hot-melt adhesive if desired.
Choice of Led strip and aluminium profile for different spaces
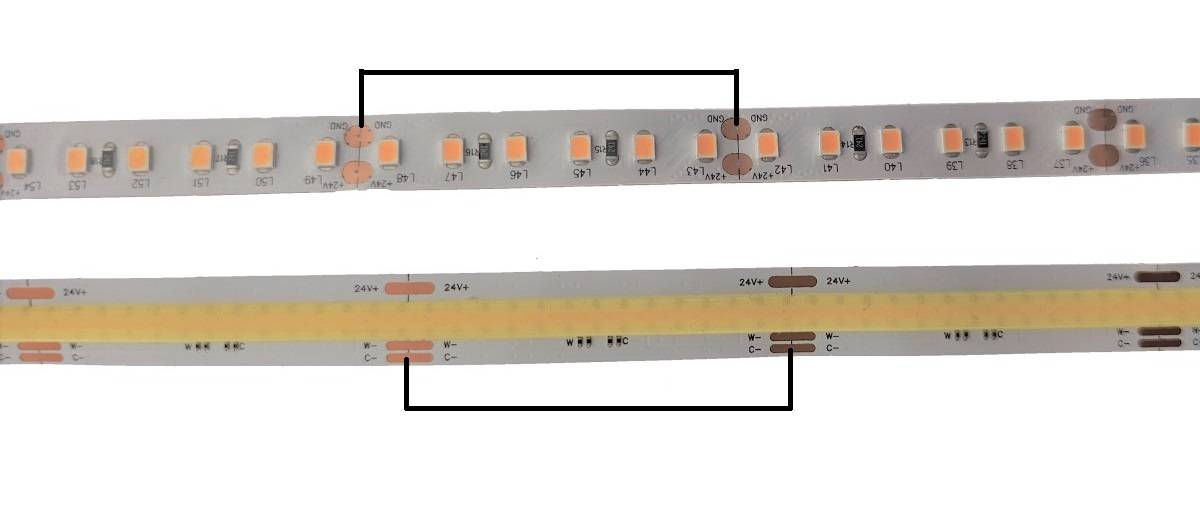
The choice of where to install a LED strip light has a major impact on the final result, both in terms of the practicality of the light and the atmosphere. In the living room, indirect lighting can be achieved with a ceiling-mounted aluminium profile that creates a soft, glare-free light. The ceiling-wall interface is a popular location, as the light is spread evenly throughout the room. In the kitchen, on the other hand, corner profiles or profiles that illuminate directly downwards are often used under upper cabinets, directing light directly onto the worktop and improving visibility when cooking. Above the island, a suspended profile can be installed to provide both light and show-stopping effect.
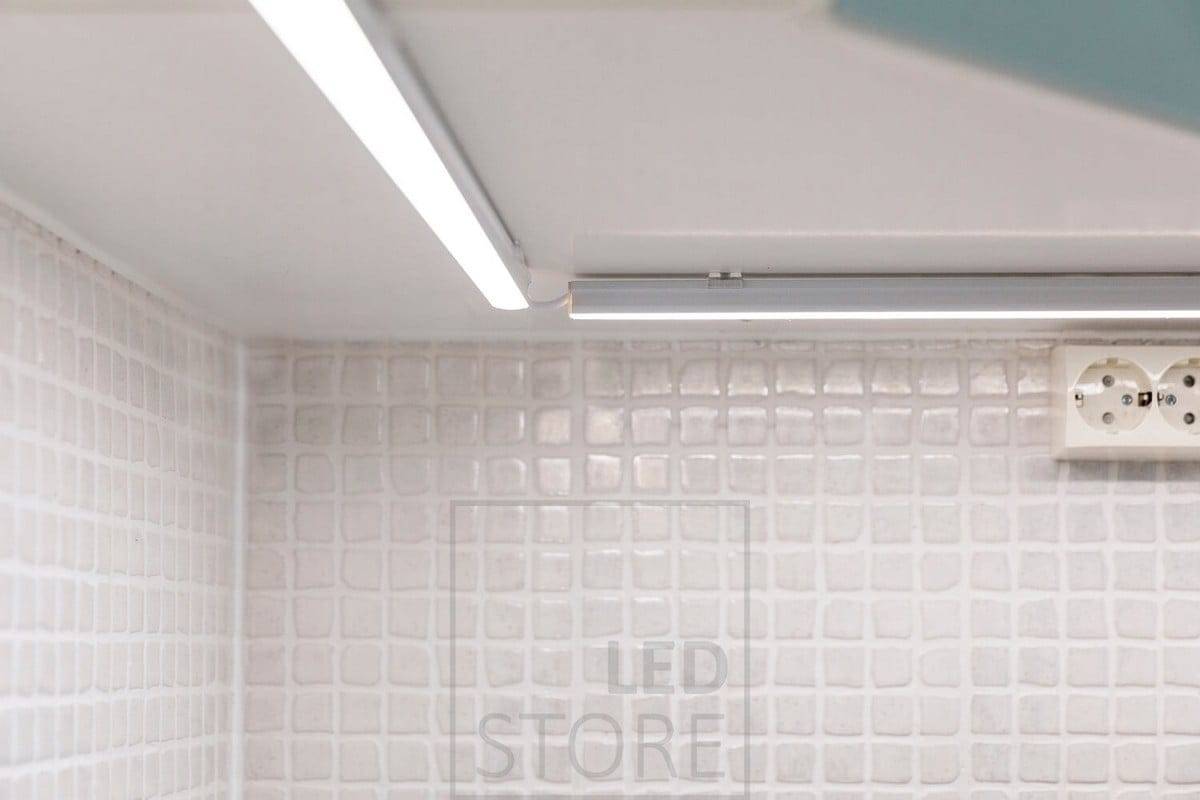
In the hallway, a ribbon of light can run along the edges of the ceiling or behind the mirror, creating an inviting atmosphere as soon as you enter. In the bedroom, the LED strip can be recessed into the top of the bed headboard or used indirectly at the ceiling border, creating a calming effect. In the bathroom and sauna, it is important to choose moisture-proof strips and profiles with an IP rating that meets the requirements of the space. For example, in a washroom, the strip can be installed on the edges of a mirror or in a ceiling recess with a moisture-proof enclosure. In the sauna, the strip is usually placed under the ceiling or behind the backrests, allowing indirect light to enter the room and create a sauna atmosphere.
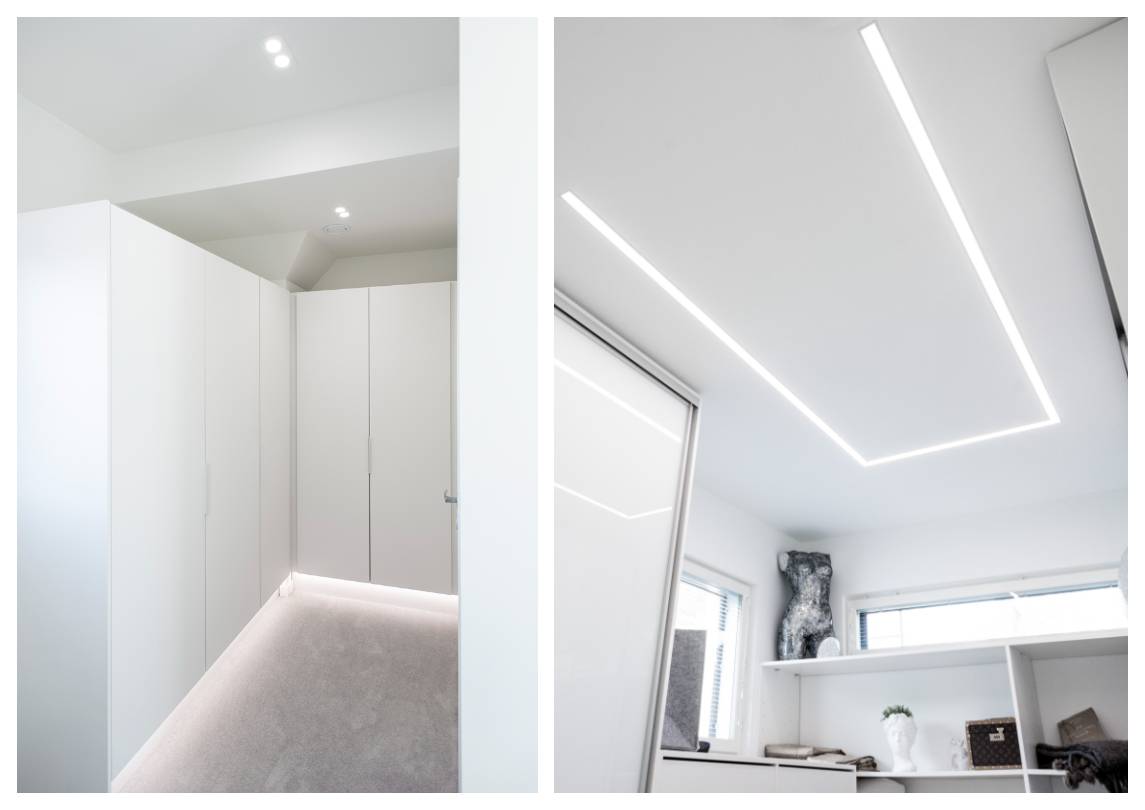
Inside the cabinets, the strip can be recessed into the top edge or mounted on the back of the shelves under the control of a motion sensor. In a staircase, the LED strip can be mounted under steps, on a handrail or on the wall surface to safely guide passage at dusk. The flush-mounted profiles work particularly well when mounted on the ceiling or wall for a modern, unobtrusive look. The materials of the installation surfaces, such as plasterboard, wood paneling and tile, will affect how the profile is fixed and recessed. Each material requires a different fixing method, such as screws, adhesives or mounting clips. Before installation, it is important to size the strips well and ensure the location of the power supply and controls.
The design phase also includes the routing of wires and the placement of any controllers to ensure that the whole works unobtrusively and reliably. It is a good idea to check the cutting spacing of the LED strip in advance and to test the functionality of the strip before final fixing. This will avoid unnecessary dismantling and save time. Planning the installation gives you confidence in the actual implementation and improves the quality of the end result.
Led strip light installation - troubleshooting and the possibility of errors
If the LED strip does not light up after installation, the first thing to check is the operation of the power supply and the voltage compatibility with the strip. 12 V and 24 V strips are not compatible, so the power supply must be checked carefully. A common cause of malfunction is incorrect polarity - if the plus and minus wires are reversed, no light is produced. If the strip only works partially or the colours are not displayed correctly, it could be a polarity error.
For example, if pins touch each other between two wires, a short circuit or a faulty signal is created, which can confuse colours or prevent a light from coming on. A carelessly done soldering can also easily come loose or leave the circuit unstable. Even a small tin plating error, such as cold soldering, often causes erratic operation or flickering light. If the colour temperature does not change correctly on the adjustable white strip, the problem may be related to the negative wires being short-circuited or in the wrong order. Similarly, on RGB strips, an incorrectly terminated colour or plus wire can lock the strip to one shade.
If the LED strip is dimming towards the end of the strip, it is probably a voltage drop over long periods - adding power to one end will help. Also check that the strip is not overheated, as inadequate cooling or an overly efficient strip without an aluminium profile can shorten the life of the strip. Finally, make sure that the joints are properly protected, for example with a shrink sleeve, to minimise the risk of short circuits.
LedStore is a specialist in LED lighting installations
As a whole, successful LED strip lighting installation requires careful planning, the right components and skill. We have prepared dozens of articles to help you plan and carry out your installation, which you can find under the different sections of our blog. For example, in the Led strip lighting category you will find relevant articles on the topic of LED strip lighting installation.
LedStore offers its strong expertise to support anyone planning LED strip lighting for the home or public space. Whether you are looking to create simple indirect lighting for your living room or more complex task lighting for wet areas, you can turn to us from the design stage. We offer a bespoke service, where even the most challenging installation points are realised with a bespoke design and prefabricated light strips. This means that, for example, the lengths of the profiles, the punching and the necessary wiring can be prefabricated to the exact dimensions and space requirements you want.
And if necessary, we can also provide you with the complete installation - professionally, reliably and safely. With more than 15 years of experience in LED lighting, we guarantee a high quality result and worry-free installation. At LedStore, we help you light your space efficiently, stylishly and safely.
LedStore for lighting
Remember that Lamppukauppa Led Store Oy is always ready to support you along your journey by email (myynti@ledstore.fi) and by phone (045 251 4510). Feel free to share photos of your own projects on social media #ledstore.fi on IG and ledstorefinland on FB. We love to see the cool things you can do with our LEDs, and the pictures help provide inspiration for those who are unsure about the power and awesomeness of LEDs.
Did you know that we already have over 3 500 pictures of our LED installations in our Gallery!
