LED SETTI for kitchen partition - SOLO TUNNELMA CCT 30W/m
The colour temperature adjustable SOLO TUNNELMA CCT 30W/m LED strip is the perfect package for anyone who photographs, blogs or just wants lots of light in the kitchen. At the touch of a button you can choose between warm and cool shades.
Contents of the set
The SOLO TUNNELMA CCT 30W/m LED ribbon for kitchen with adjustable colour temperature includes:
- 5 metres of 30W/m SOLO CCT LED strip
- a suitable power supply including a wireless Zigbee receiver
- VaLO Zigbee series wireless push button (the button can be placed on the wall or kept detached)
- 2 surface-mountable aluminium profiles (length 2,5m per profile)
- 5 m 3-pole cable and 2 quick connectors
Product information
SOLO TUNNELMA 30 W/m led strip is very flat and efficient (1260 lumens per meter) and has 280 led circuits per meter. This makes the light uniform.
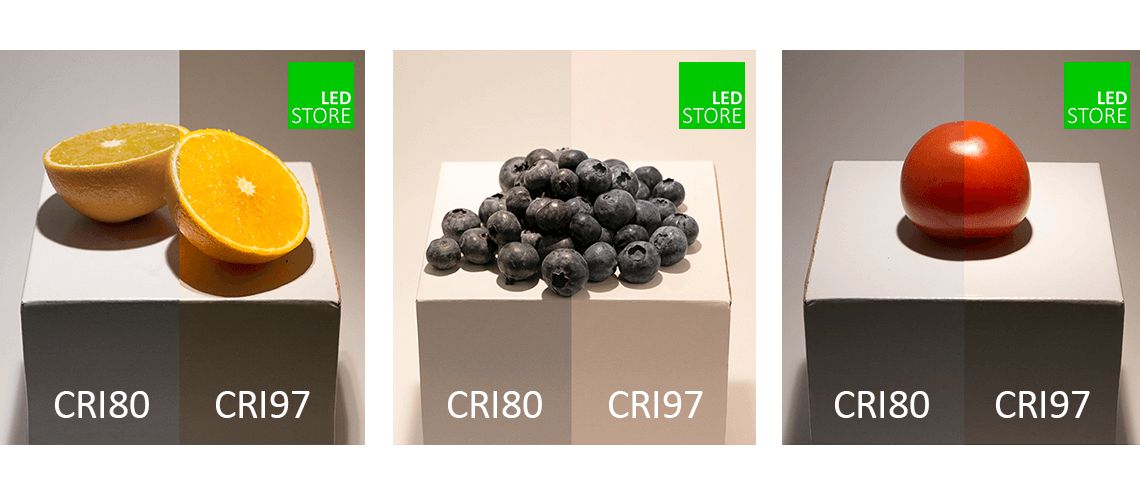
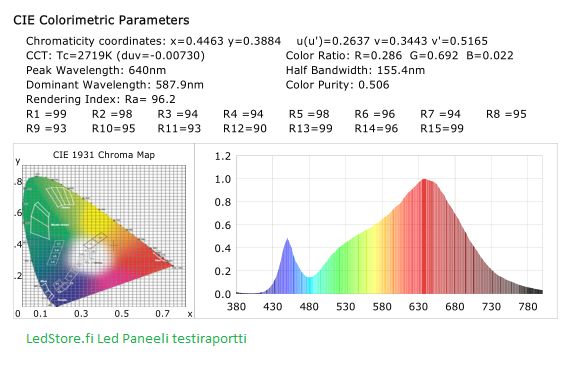
This led strip is perfect for a kitchen that needs a lot of light or a black kitchen. The LED strip is always mounted on an aluminium profile and the 3M special tape on the LED strip ensures a good fixing to the profile. The LED strip is 3mm thick, so it is very unobtrusive. So with this set you get a steady, spotless light. The LED circuitry we use is the newer COB technology, a model with a colour rendering index (CRI) of 92!
About the installation
Then there's the nastier stuff, the angles and extensions. This set is for someone who can do soldering. You can of course make LED strip joints outside the profile, but a professional joint for two strips inside the profile comes with a soldering iron. The strip has only 15cm wires at each end as standard, so by cutting it at the relevant point (every 5cm), you get two strips. So if you want to cut more, you have to connect new wires to the copper points at the cut-off point. The CCT adjustable led strip uses three (3) pole wires: +, warm and cold. Package includes 5 meters of 3 pole wire and quick connectors to extend the wire to the transformer. Led strip product description
The profile for installation in the intermediate space is IP44 from the bottom, i.e. splash-proof, and IP65 from the top, something you can install without worry under a drying cabinet. This way you get uninterrupted light in the space between the two. Aluminium is also easy to cut with a hacksaw or a circular saw, even with a powder blade.
The included transformer doubles as a Zigbee 3.0 receiver. This means you can connect the transformer to your smart home and control it with a Philips HUE or Smartthings system, for example. The transformer has screw connectors on both ends, so you can plug it in with a fixed or plug-in connector (included!) and the connectors can accommodate two wires from different LED strips. Product description of the transformer
The wireless pushbutton comes with a 3V battery and will last 1-3 years, depending on use. The button fits all 55m standard frames seamlessly.
Of course, you can install this partition lights set in other places than the kitchen partition, such as on top of cabinets, on the ceiling border. The only limit is your imagination as you only need a plug, not an electrician.
Installation
The strip should be glued to metal, such as an aluminium profile (supplied), to conduct heat away from the LED circuit. Proper cooling will prolong the life of the LED. The led strip does not bend laterally.
Installation of the strip:
- Measure the mounting location
- Cut the profiles (with a circular saw or hacksaw) and the LED strip to the correct length (every 5cm from the cut-off point)
- Glue the LED strips to the profile on the table before fixing the profiles and press the covers into place.
- solder the led strips to each other and exit with only one wire. You can also do points 4 and 5 the other way round.
- Screw the profile brackets to the bottom of the cabinet.
- There will be 4-5 brackets per 2,5m and snap the profiles on.
- Run the wires from the led strip to the transformer (hole in the grommets 7mm) and connect to the screw terminals.
- Put the plug in the wall and make a pairing between the button and the transformer.
Pairing the button:
- Press the button on top of the transformer four (4) times in a row FAST. The Led strip will flash three times.
- 3 times (three times)
- Press the bottom two buttons (S1 and S2) simultaneously for more than 3 seconds. The indicator light flashes rapidly
- Hold the button next to the transformer. The pairing takes about 10 seconds. The Led strip flashes three times when the pairing is successful.
Pairing the transformer and the button Philips HUE or other Zigbee network:
- open "add a light" or similar in your app. The transformer can be found as a new lamp and you can control it with the app.
- Press the button on top of the transformer five (5) times in a row FAST. The Led strip will flash three times.
- open your app to "add a fixture" or similar.
- Press the bottom two buttons (S1 and S2) 3 times in a row.
- NOTE! The app will NOT CREATE ANYTHING! But the Green light on the button will flash rapidly 3 times, indicating that it is paired! So the button is connected to the Zigbee network, but it is not configured in the app!
- Press the button on top of the transformer 4 times in a row FAST. The Led strip will flash three times.
- Place the button next to the transformer (10cm)
- Press the bottom two buttons (S1 and S2) simultaneously for more than 3 seconds. The indicator light flashes rapidly
- Hold the button next to the transformer. The pairing takes about 10 seconds. The Led strip flashes three times when the pairing is successful.
- You can control from the button AND from the app
If after the button pairing phase you can no longer control from the application, an error has occurred during the button pairing phase in the Zigbee network. So even if the app "can't find the lamp", following the button's indicator light will show that it's connected to something. This is important! So the button has to be on the same network.