Valaisimen asennus – Tietoa LedStoren tuotteiden asennuksesta.
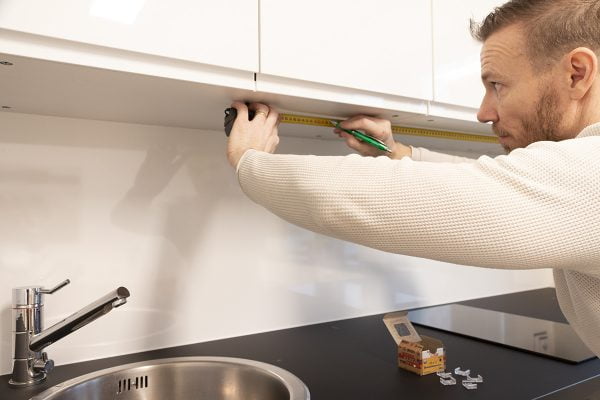
Led-spottien asennus kattoon
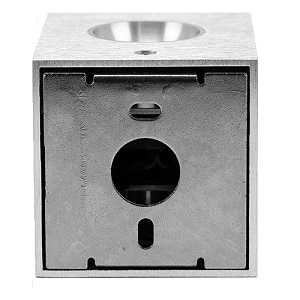
Upotettavan led valaisimen asennus
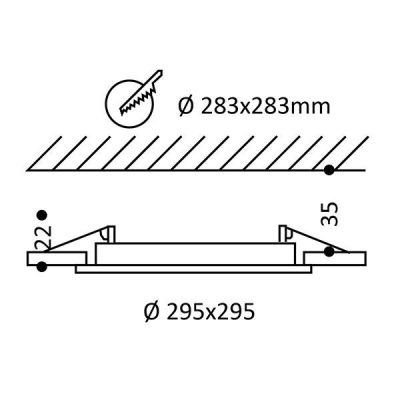
Upotussyvyys
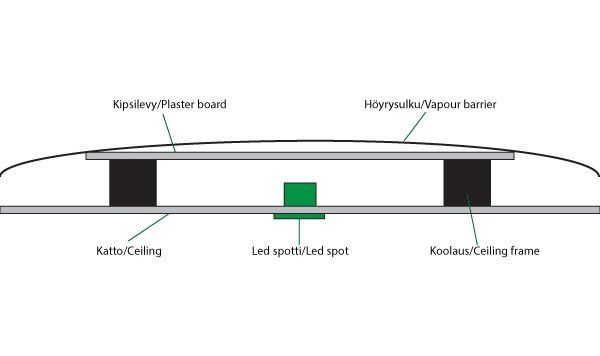
Yläpohjan rakenne
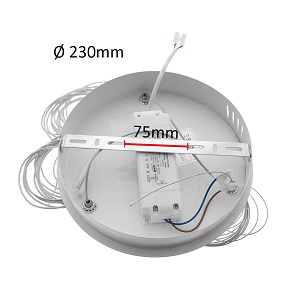
Led-paneeli valaisimen asennus kattoon
Paneelivalaisimen upotus
Pinta-asennettavan valaisimen asennus
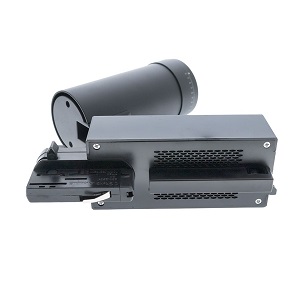
Paneelivalaisimien virtalähteet
Katon rakenteesta
LED-valaisimien virtalähteet
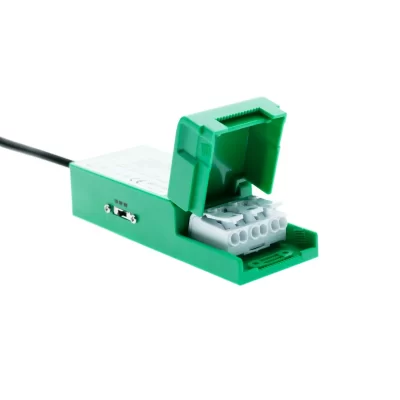
Yleisin vakiomuuntaja (TRIAC himmennettävä) tammikuu 2023:
Led-nauhojen asennus
- Use a transformer suitable for LED strip. The voltage of your Led strip is either 12V or 24V. Your power transformer should be in the same voltage range as your LED strip. The characteristics of the transformer and the controller largely depend on the use of the LED strip, i.e. dimming or colour temperature/colour change characteristics.
- Choose a power supply that can handle at least 10-15% more load than the LED strip needs. Overloading is not harmful, underloading is harmful.
– A 14.4 W/m LED strip needs a power supply with a minimum load of 80 W for five metres. The power of the power supply is calculated by the formula: power of the LED strip per metre * required number of metres * 1.1. I multiplied that by a 10% margin to avoid overloading the power supply. - Choose a moisture-protected IP65 tape for wet areas, unless the led aluminium profile is moisture-protected. The Led aluminium profile is resistant to splashing water. Moisture-proof also for dusty areas, unless the profile is used without a diffuser or cover. LedStore aluminium profiles come with a plastic cover.
- We do not recommend installing the LED strip in room temperatures above 50 degrees Celsius, as this will shorten the life of the LED strip.
- Unroll the LED strip from the reel and check the LED strip’s operation by switching on the power for a short time. Make sure that the LEDs are lit before installing the LED strip.
NOTE! If the LED strip is on a roll, testing should only take a short time, a few tens of seconds at most, so that the LED strip does not get too hot while on the roll and start to melt the adhesive tape. - The Led strip must not be folded, pulled or twisted to prevent it from breaking from the inside. In this case, the current stops flowing between the LED circuits. – Typically, when broken, one or more of the LED circuits between the breakpoints may go out (the LED circuits are in series), but the other parts of the tape will work (the tape sections are connected in parallel). The tape can be repaired by removing the damaged part, and re-soldering the tape to make it whole again.
- Work on the low-current side can be done by the consumer, i.e. the installation of the LED strip can be done when you know what you are doing, and get a plug-in transformer to connect the LED strip to the mains.
- The Led strip may be cut and soldered at the points marked on the strip. The tape is marked with +. After cutting, any moisture barrier is restored by applying a drop of silicone to the cut site.
- LedStore’s LED strips are always mounted on an aluminium profile or metal, so that the heat generated by the LED strip is dissipated and the strip’s promised operating hours of around 50 000 are achieved.
Led-seinävalaisimen asennus
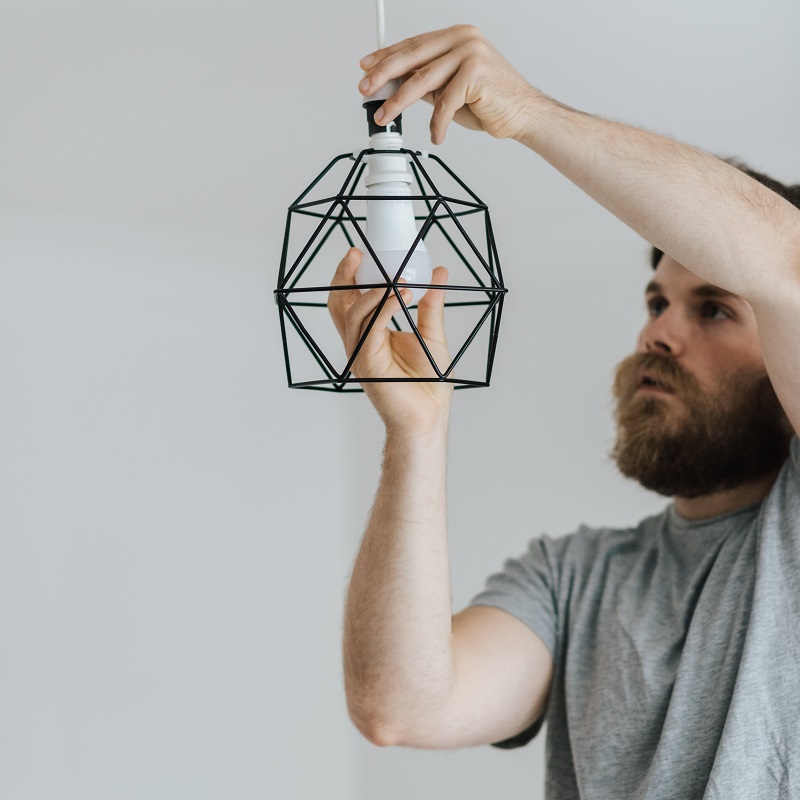
Led-riippuvalaisimen asennus
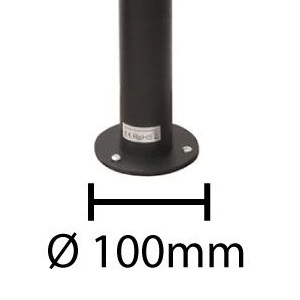
Led-pihapilarien asennus
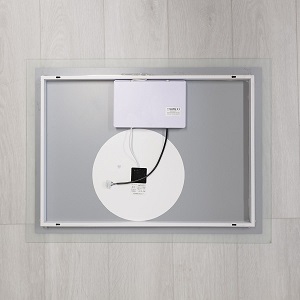
Led-valopeilien asennus
Led-kiskovalaisimen asennus
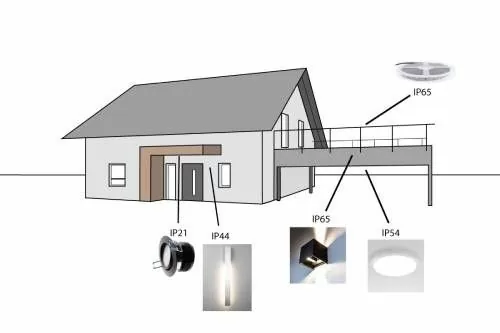
Led valaisimen asennus – kotelointiluokitukset, pöly- ja kosteussuojaus
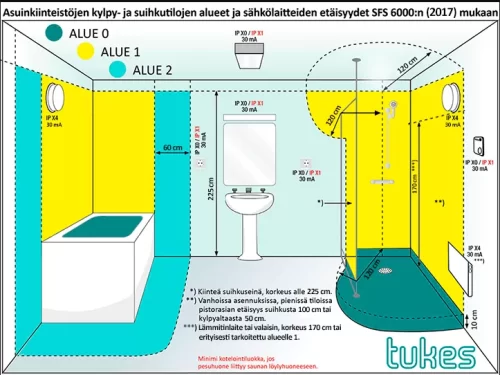
Valaisimen asennus kosteaan tilaan
- IP21 led luminaires: suitable for locations where the water point can be measured at least 120cm, on the ceiling if the room height is at least 225cm.
- IP44 led luminaires: all lighting locations, minimum 170cm from the floor.
- IP54 led luminaires: the same rules apply as for IP44 bathroom luminaires.
- IP65 led luminaires: the same rules apply as for IP44 bathroom luminaires, but the luminaire itself is resistant to direct water.
Valaisimen asennus – Valaistuksenohjaus
Valaistuksen ohjaus asennuksen kannalta
Kodinohjausjärjestelmät, joihin meillä löytyy valaisimia:
- on/off for use with virtually all lamps
- for dimming triac-powered luminaires, i.e. most of our luminaires, we use TRIAC transformers such as Casambi, Plejd, etc. as dimming technology. and DALI transformers are available for panels, spots, LED strips for installation of e.g. KNX system
- Colour temperature control CCT or colour adjustable RGB transformer types DALI, RF Zigbee, “basic” RF. Bridges and applications for the Zigbee protocol include. Philips, Samsung, Tuya, IKEA, Google, Home Assistant.
Asennus on usein sähkötyötä
Usein kysyttyjä kysymyksiä asennuksesta
Valaisimen asennuspalvelu