Home
Blog
Plant lighting
All articles
Most read articles
Lighting design
Katso kaikki Lighting design
Lighting design for offices and work spaces
Outdoor lighting design
Bathroom lighting design
Bedroom lighting design
Led striplight
Katso kaikki Led striplight
Led strip light installation
Led light strip as a technology
Led strip use in different locations
Led strip light problems
References
Renovations
Lighting control
Katso kaikki Lighting control
Zigbee
Safety and city lighting
Katso kaikki Safety and city lighting
Signposting
Security
Street lighting
Led and health
Home's led lighting
Katso kaikki Home's led lighting
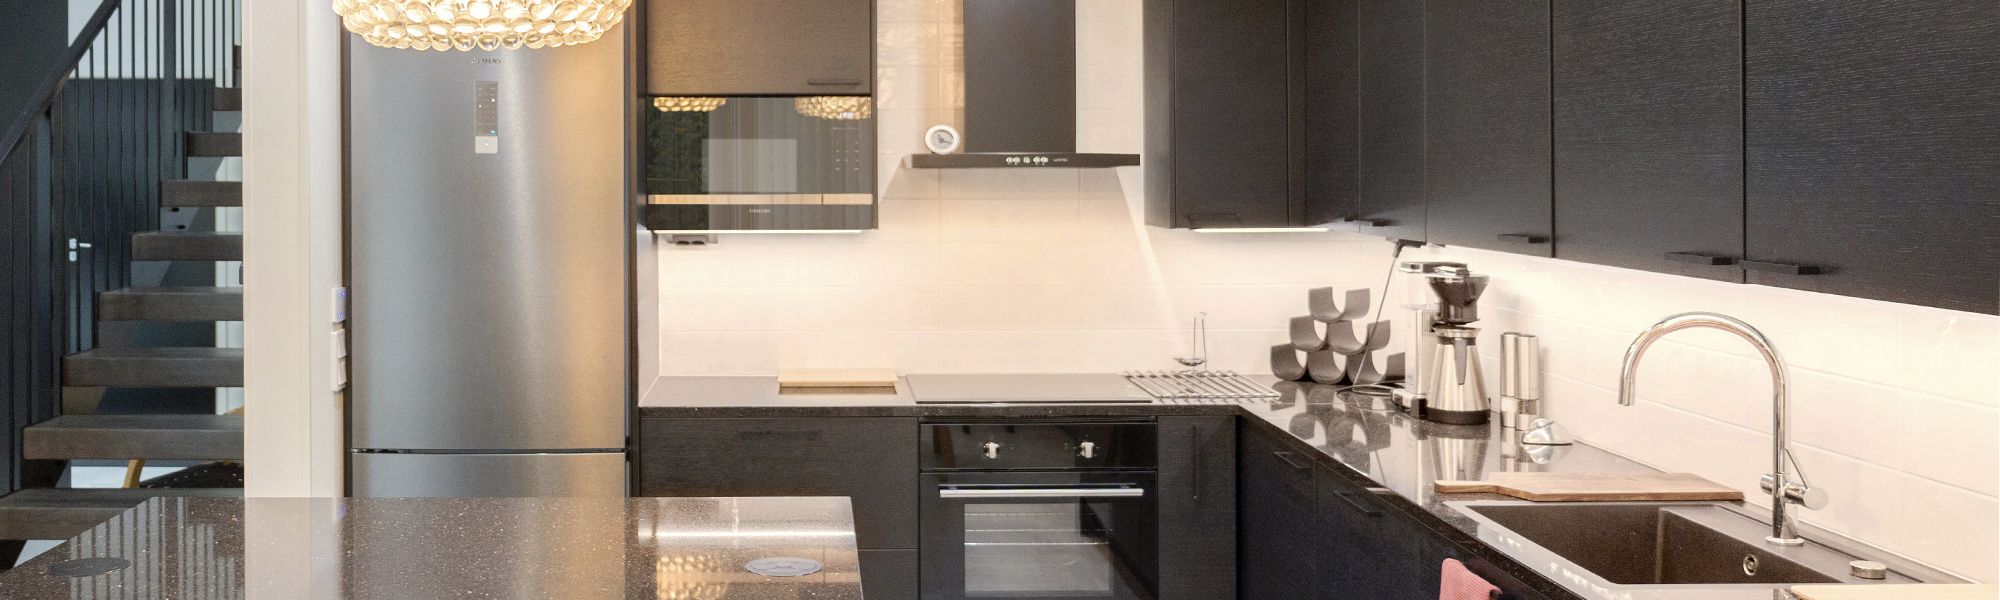
Kitchen lighting
Terrace and garden lighting
Living room lighting
Bathroom lighitng
Sauna lighting
Bedroom lighting
About led technology
Katso kaikki About led technology
Frequently asked questions about led technology
Led technology development
Office led lighting
Katso kaikki Office led lighting
Advertising
Catalogs
News
Led strip instructions
Led strip light does not light up
Led strip light lifetime
Led light strip attachment
Connecting a led strip light to a led driver
Led strip light parallel connection
Rgb led strip light wiring
Cutting the led strip light
Led strip light extension